– 11 –
Turning On the Power
When you press the play button (3 / 8) for a particular
source or the source selecting buttons such as FM/AM and
LINE, the unit automatically turns on (and starts playback
if the source is ready).
• Pressing SET on the unit also turns on the unit.
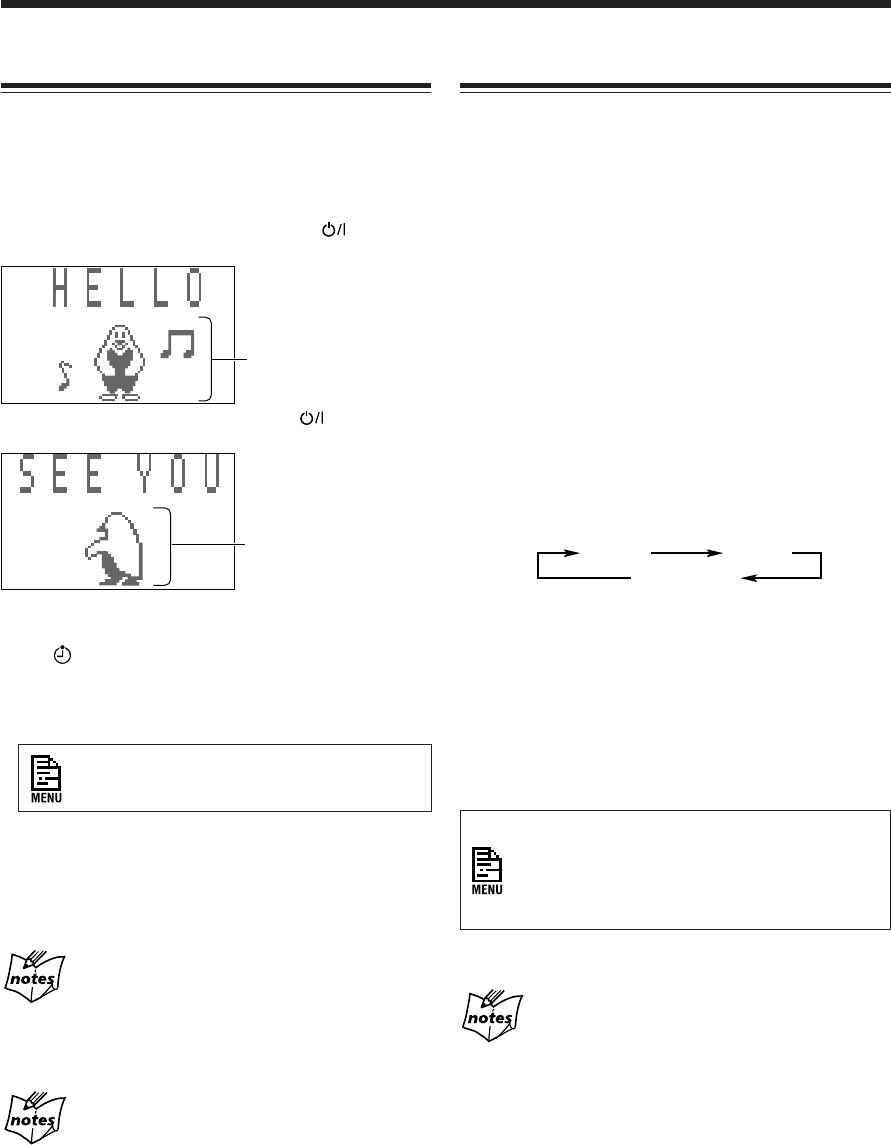
To turn on the unit without playing, press
so that the
STANDBY/ON lamp on the unit lights green.
To turn off the unit (on standby), press
again so that
the STANDBY/ON lamp lights red.
• The
indicator will flash on the display until you set
the clock (when the power is off, “0:00” will also flash).
After setting the clock, the clock time will appear on the
display while the power is off.
To set the clock, use the menu, referring to
“Setting the Clock” on page 52.
• A little power is always consumed even while the unit is
in standby mode.
To switch off the power supply completely, unplug the
AC power cord from the AC outlet.
You can change the opening or ending screen
illustrated above
Instead of showing the above opening or ending screen, you can
make your original screens. To make and store your original
screens, see “Creating Your Own Opening and Ending Screens” on
page 50.
When you unplug the AC power cord or if a power
failure occurs
The clock will be reset to “0:00,” while the tuner preset stations
and other settings will be erased in a few days.
Selecting the Sources and Starting Play
To select the tuner as the source, press FM/AM.
The unit automatically turns on and the last received station
is tuned in.
• For more detailed operations, see pages 18 to 19.
To select the CD player as the source, press CD 3 / 8.
The unit automatically turns on. (Play starts if a CD is on
one of the CD trays.)
To stop play, press 7.
• For more detailed operations, see pages 21 to 25.
To select the MD player as the source, press MD 3 / 8.
The unit automatically turns on. (Play starts if an MD is in
the MD loading slot.)
To stop play, press 7.
• For more detailed operations, see pages 27 to 30.
To select the external equipment as the source, press
LINE. The unit automatically turns on.
• Each time you press the button, the source changes as
follows:
LINE1*: To use the equipment connected to the LINE 1
jacks on the rear.
LINE2*: To use the equipment connected to the LINE 2
jack on the front panel.
DIGITAL IN*: To use the digital equipment connected
to the DIGITAL IN terminal on the rear.
* If you have changed the source name, the changed
name will appear. (See page 64.)
When selecting the equipment connected to the
LINE 1 jacks or the LINE 2 jack, the sound input
level appears for a while. You can adjust the input
level by using the menu. (See page 63 for the
sound input level.)
• For operating the external equipment, see the manuals
supplied with them.
While selecting the digital equipment (“DIGITAL
IN”) as the source
The sampling frequency of the connected digital equipment is
shown in the main display. (If no equipment is connected to the
DIGITAL IN terminal, “UNLOCK” appears.)
LINE1 LINE2
DIGITAL IN
This indication changes
according to the selected
animation character.
When “METER 2” is
selected, no indication
appears. (See page 14.)
This indication changes
according to the selected
animation character.
When “METER 2” is
selected, no indication
appears. (See page 14.)
Ex. When “Penguin” is selected as the animation character
EN10-16.CA-MXS6MD[UJ]/f 00.11.6, 0:42 PM11


