53
ADVANCED FUNCTIONS
• If you set the front speakers to LARGE, you may select from three
possible settings for the subwoofer.
SUB L/R+LFE: This setting sends all low-frequency information
to the subwoofer, including both information that would normally
be played through the front left and right speakers and the special
low-frequency effects (LFE) channel information.
SUB (LFE): This setting plays low-frequency information contained
in the left and right program channels to the front speakers, and
directs only the LFE channel information to the subwoofer.
NONE: This setting steers all low-frequency information to the
front speakers, and no information to the subwoofer output. Use
this setting if you have a passive subwoofer, or a powered sub-
woofer that you connected to the front speaker outputs.
NOTE: If you are using a Harman Kardon HKTS speaker
system, select the SMALL setting for the LEFT/RIGHT, CENTER,
SURROUND and SURR BACK lines, and the subwoofer will
automatically be set to SUB (LFE).
Move the cursor to the left to select the next submenu.
The speaker sizes may also be configured without using the on-screen
menu system. Press the Speaker Setup Button on the remote, and
use the
⁄
/
¤
Buttons to select the desired speaker group (Front
Speakers, Center Speaker, Surround Speakers, Surround Back Speakers,
Subwoofer). Press the Set Button to display the current setting for the
speaker group, and use the
⁄
/
¤
Buttons again to change the setting.
Press the Set Button to return to the previous display, or wait a few
seconds for the AVR to return to normal operation on its own.
NOTE: The Speaker/Channel Indicators on the front panel of
the receiver (see Figure 82) will display the speaker size settings
as follows. For each speaker configured as SMALL, a single box
will appear in the position for that speaker. For each speaker
configured as LARGE, a double box will appear in its position.
If a speaker is configured as NONE, no box will appear. The
subwoofer will be indicated by a single box, or no box if no
subwoofer has been configured. The letters inside the boxes
appear when a digital
signal is being received that has that
channel discretely encoded.
The letters flash when the signal is
not present, such as when a DVD is paused. A line will connect
the SBL and SBR boxes when a 6.1-channel signal is detected,
indicating that the same signal is playing through both speakers.
Figure 82 (repeated) – Speaker/Channel Input Indicators
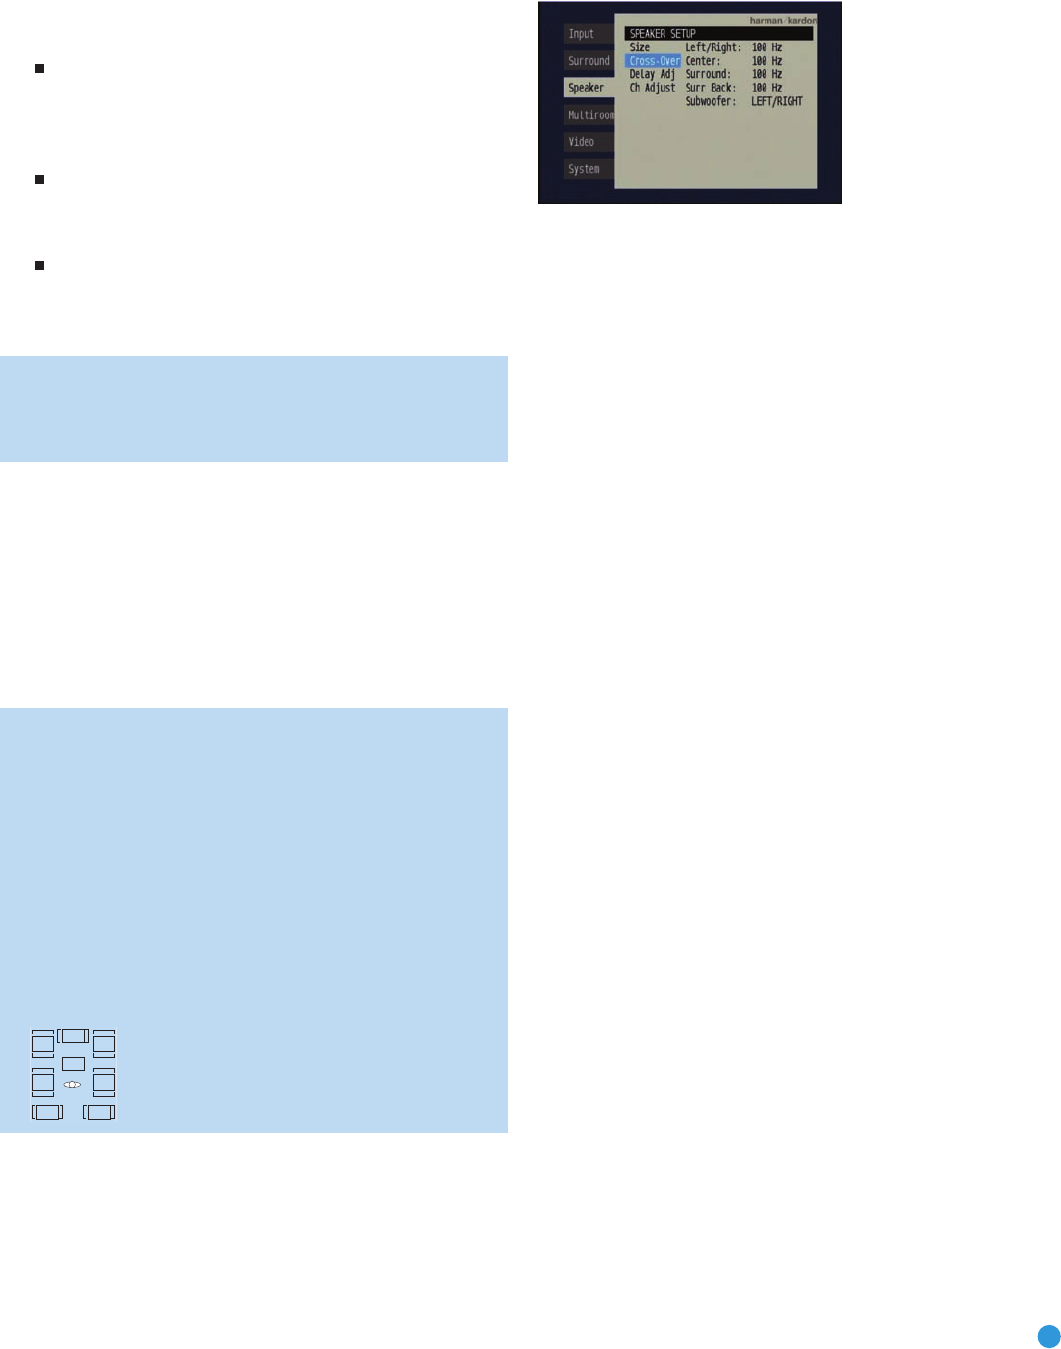
Speaker Crossover Menu
On the Manual Speaker Setup menu, move the cursor to the Cross-
Over line and press the Set Button to display the Speaker Crossover
menu. See Figure 85.
Figure 85 – Speaker Crossover Menu Screen
Setting the Speaker Crossover menu correctly ensures that your speakers
are properly used so that they sound their best. Although you could skip
this step the first time you use the receiver, we recommend that you
take the few extra minutes to enter the correct crossover settings.
You may select from seven possible settings: 40Hz, 60Hz, 80Hz,
100Hz, 120Hz, 150Hz or 200Hz. Depending upon the frequency
response of your speakers, which you recorded in Step One –
Determine Speaker Size, for each speaker group select the number
that matches or is just above the low end of your speaker’s frequency
response. You may record the speaker crossover settings in Table A5
in the appendix.
The Subwoofer line sets the frequency for a low-pass filter that deter-
mines what information is sent to the subwoofer for playback. Since the
subwoofer output combines low-frequency information for all channels,
in order to make sure that no information is lost due to different speakers
having different capabilities, the subwoofer filter should be matched to
the highest crossover frequency used for any speaker group.
Examine each of your speaker-group settings in this menu, and deter-
mine which group is set to the highest frequency. Move the cursor to
the Subwoofer line, press the Set Button and use the
‹
/
›
Buttons to
select that speaker group. If all speaker groups have the same setting,
you may leave the LFE filter at its factory default of the LEFT/RIGHT
speaker group.
Move the cursor to the left to select the next submenu.
It is not possible to adjust the speaker crossover settings without using
the on-screen menu system.
Delay Adjust Menu
As explained above in Step Two – Measure Speaker Distances, some-
times the speakers are placed at different distances from the listening
position, which can muddy the sound, as sounds are heard earlier or
later than desired.
Even if all of your speakers are placed the same distance from the
listening position, you should not skip this menu.
On the Manual Speaker Setup menu, move the cursor to the Delay
Adjust line and press the Set Button to display the Delay Adjust menu.
See Figure 86.
AVR247om.qxd 7/10/07 1:05 PM Page 53


