


29
INSTALLATION
4. Enter a code from Step 1, above.
a) If the device turns off, then press the Input Selector again to accept
the code; it will flash. The remote will exit the Program mode.
b) If the device does not turn off, try entering another code. If you
run out of codes, you may search through all of the codes in the
remote’s library for that product type by pressing the
⁄
or
¤
Button repeatedly until the device turns off. When the device turns
off, enter the code by pressing the Input Selector, which will flash.
The remote then exits Program mode.
5. Once you have programmed a code, it’s a good idea to try using
some other functions to control the device. Sometimes, manufacturers
use the same Power code for several different models, while other
codes will vary. You may wish to repeat this process until you’ve
programmed a satisfactory code set that operates most of the
functions you frequently use.
6. You may find out which code number you have programmed by
pressing and holding the Input Selector to enter the Program mode.
Then press the Set Button, and the LED will flash in the code
sequence. One flash represents “1”, two flashes for “2”, and so forth.
A series of many fast flashes represents “0”. Record the codes
programmed for each device in Table 3.
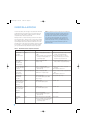
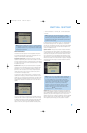
Table 3 – Remote Control Codes
If you are unable to locate a code set that correctly operates your
source device, it will not be possible to use the AVR remote to control
that device. However, you may still connect the source to the AVR 247
and operate it using the device’s original remote control. Alternatively,
you may wish to consider purchasing Harman Kardon’s optional TC 30
activity-based remote, which is programmed by accessing a large data-
base of product codes on the Internet. The TC 30 is also capable of
“learning” codes from your device’s original remote.
Most of the button labels on the remote describe the button’s function
when used to control the AVR 247. However, the button may perform a
very different function when used to control another device. Refer to the
Remote Control Function List, Table A8 in the Appendix, for a list of
each button’s functions with the various product types.
If you wish, you may program Macros, which are preprogrammed code
sequences that execute many code commands with a single button
press. You may also program “punch-through” codes, which allow the
remote to operate the volume, channel or transport controls of another
device without having to switch the remote’s device mode. See pages
58–59 for instructions on these advanced programming functions.
NOTE: The AVR 247 remote is preprogrammed to operate the
transport controls of Harman Kardon DVD players when the AVR,
the Video 2 (cable/satellite) or the Video 3 (TV) source is selected.
You may change this punch-through programming at any time.
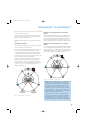
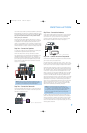
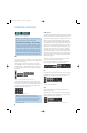
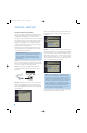
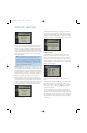
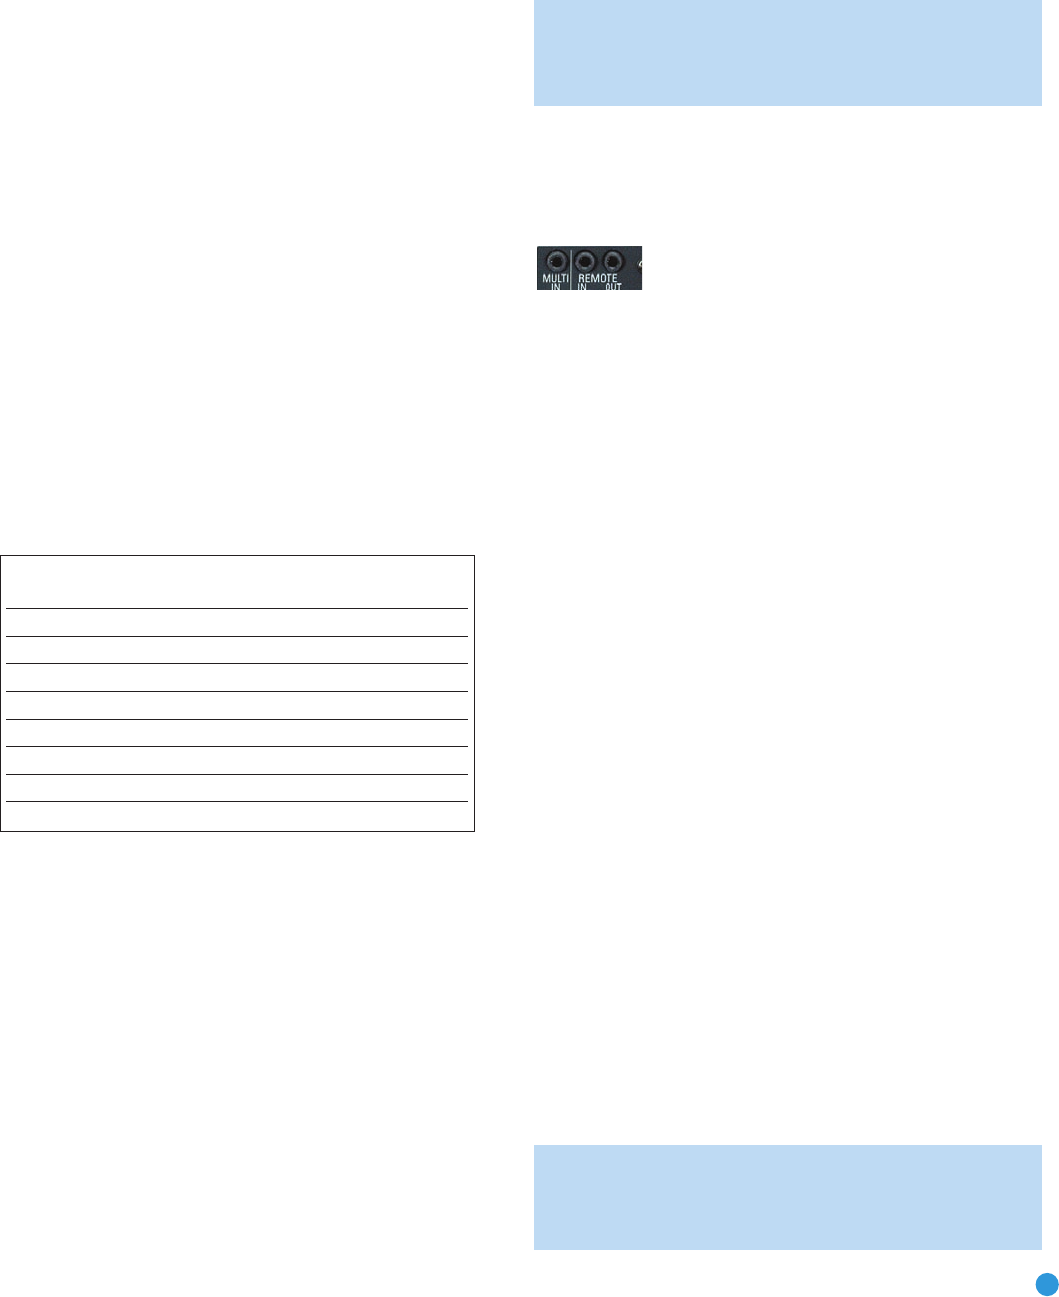
Step Nine – Remote IR Inputs and Output (Optional)
The AVR 247 is equipped with a Remote IR Input, a Multiroom IR Input
and a Remote IR Output to facilitate use of your system with a remote
control in a variety of situations. See Figure 36.
Figure 36 – IR Inputs and Outputs
When the AVR 247 is placed in such a way that aiming the remote at the
front-panel IR sensor is difficult, such as inside a cabinet or facing away from
the listener, you may connect an external IR receiver, such as the optional
Harman Kardon HE 1000, to the Remote IR Input jack. When you are using
the AVR 247 in multiroom mode, you may connect an optional IR receiver,
keypad or other control device to the Multiroom IR Input for remote control
of the AVR 247 (and any sources connected to the AVR’s Remote IR
Output) from the remote zone. Any signals transmitted through the Multiroom
IR Input will only control source selection and volume for the remote zone.
If a source device is being shared with the main listening area, then any
control commands issued to that source will also affect the main room.
If any of your source devices are equipped with a compatible Remote
IR Input, you may use a 1/8" mini-plug interconnect cable (not included)
to connect the AVR’s Remote IR Output to the source device’s Remote
IR Input, which will pass any applicable remote signals transmitted
through the AVR to the source device. This enables you to control your
sources even when the AVR itself is controlled via an external IR receiver.
Check with the manufacturer of the source device for more information
on the type of IR signal expected. The AVR 247 will output a “stripped
carrier” IR signal through the Remote IR Output.
To control more than one source device using the Remote IR Output,
connect all sources in “daisy chain” fashion, with the AVR’s Remote
IR Output connected to the first device’s Remote IR Input, the second
device’s Remote IR Output connected to the next device’s Remote
IR Input, and so forth.
Step Ten – Install a Multiroom System (Optional)
The AVR 247 offers several methods of distributing music to other
listening areas in your home. As indicated in the subheading, a multi-
room system is not required to enjoy the home theater experience.
If you prefer not to install a multiroom system at this time, skip to
Step Eleven to turn on the AVR 247 and configure it.
IMPORTANT SAFETY NOTE: Installing a multiroom system very
often requires running various cables inside walls. Always comply
with the appropriate safety codes when installing concealed wiring.
The AVR 247’s multiroom connections should be installed per the
Source Input Product Type Remote
(circle one) Control Code
Video 1 VCR, PVR
Video 2 Cable, Satellite
Video 3 TV
Video 4 TV
HDMI 1 DVD, VCR, PVR, CBL, SAT
HDMI 2 DVD, VCR, PVR, CBL, SAT
DVD DVD
CD CD, CDR
AVR247om.qxd 7/10/07 1:05 PM Page 29