


40
OPERATION
If you need to use composite or S-video for your multichannel player,
e.g., if your video display does not have component video inputs, then
use the video inputs for another source. Since the AVR automatically
selects the last-used video inputs for audio sources, first select the
source you connected the video cables to, and then the 6-/8-Channel
Inputs for the audio.
Example 1: You would like to connect a DVD-Audio player to the
AVR 247. You plan on playing a variety of discs using this player,
including conventional DVDs and even CDs as well as multichannel
discs. When playing DVDs and CDs, it is preferable to use a digital audio
connection to obtain the best sound quality and the benefit of any digital
surround formats contained on the DVD. However, when playing DVD-
Audio discs, you will need to use the 6-/8-channel analog audio
connections. In addition, some of these discs contain video materials.
The player does not have an HDMI output.
We recommend that you connect this player as follows:
a) Connect the player’s coaxial digital audio output to the Coaxial 1 input
on the AVR. This input is assigned by default to the DVD source.
b) Connect the player’s component video outputs to the Component
Video 1 inputs on the AVR, which are assigned by default to the DVD
source. If your video display doesn’t have component video inputs,
then connect the player’s composite or S-video output to the DVD’s
corresponding video input.
c) Connect the player’s 6-channel analog audio outputs to the AVR’s
6-/8-Channel Inputs and assign the Component Video 1 inputs to
this source using the Input Setup menu, as described in the Initial
Setup section.
d) Program the player’s remote control codes into the DVD Input
Selector. Note that not all commands will necessarily be available.
When you wish to view a DVD, simply select the DVD source.
When you wish to listen to a DVD-Audio disc and view the menus
and other still images on the disc, first select DVD, and then the
6-/8-Channel Inputs as the source.
Example 2: In this example, your multichannel disc player is equipped
with an HDMI output, but it does not comply with HDMI version 1.1.
Connect it as follows:
a) Connect the player’s HDMI output to the HDMI 1 source input, and
make sure to connect the AVR’s HDMI Output to your video display.
The player will transmit both digital audio (e.g., Dolby Digital or DTS
audio found on a DVD-Video disc) and video via the HDMI connection.
It is not necessary to make a separate digital audio connection.
b) Connect the player’s 6-channel analog audio outputs to the AVR’s
6-/8-Channel Inputs, and connect one of the player’s analog video
outputs to a source input on the AVR (e.g., Component Video 3 or
Video 3).
c) Program the player’s remote control codes into the Input Selector
corresponding to the source you used for the analog video connection,
e.g., Video 3.
When you wish to view a DVD, simply select the HDMI 1 source.
When you wish to play a multichannel disc, first select the analog video
source, e.g., Video 3, to obtain the correct video signal, then select the
6-/8-Channel Inputs to select the audio signal.
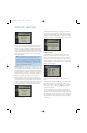
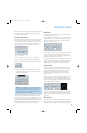
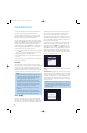
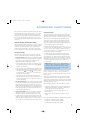
To select the 6-/8-Channel Inputs as the source, use either the Source
Selector on the front panel or press the 6/8CH Input Selector on the
remote. See Figure 68.
Figure 68 – 6-/8-Channel Input Selector
NOTE: The 6-/8-Channel Inputs pass the incoming signals
directly to the volume control, without digitizing or processing
them. Therefore, you will need to configure bass management
settings (i.e., speaker size, delay and output level) on your source
device so that they match the settings you programmed using
EzSet/EQ, which may be viewed using the Manual Setup menu
(see Advanced Functions section). Consult the owner’s guide for
your multichannel player for more information.
The multichannel analog audio connection is not required for DVD-Audio
players compliant with HDMI version 1.1 or better, or HD-DVD and
Blu-ray Disc players that decode the digital audio internally and output
linear PCM signals in digital format. Consult the owner’s guide for your
disc player for more information.
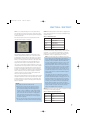
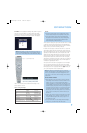
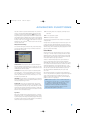
Using the Tuner
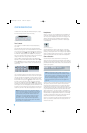
The AVR 247’s built-in tuner may be selected in one of three ways
(see Figure 69):
1. Press the Source Selector Button on the front panel repeatedly until
the tuner is selected. The last-used band (AM or FM) will be active.
2. Press the Tuner Band Button (marked AM/FM). Press this button
again to switch bands. This will also enable you to select XM Radio,
which is described separately in the next section.
3. Press the Tuner Input Selector (marked AM/FM) on the remote. Press
this button again to switch bands (AM, FM or XM).
Figure 69 – Tuner Input Selection
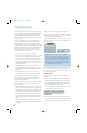
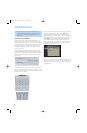
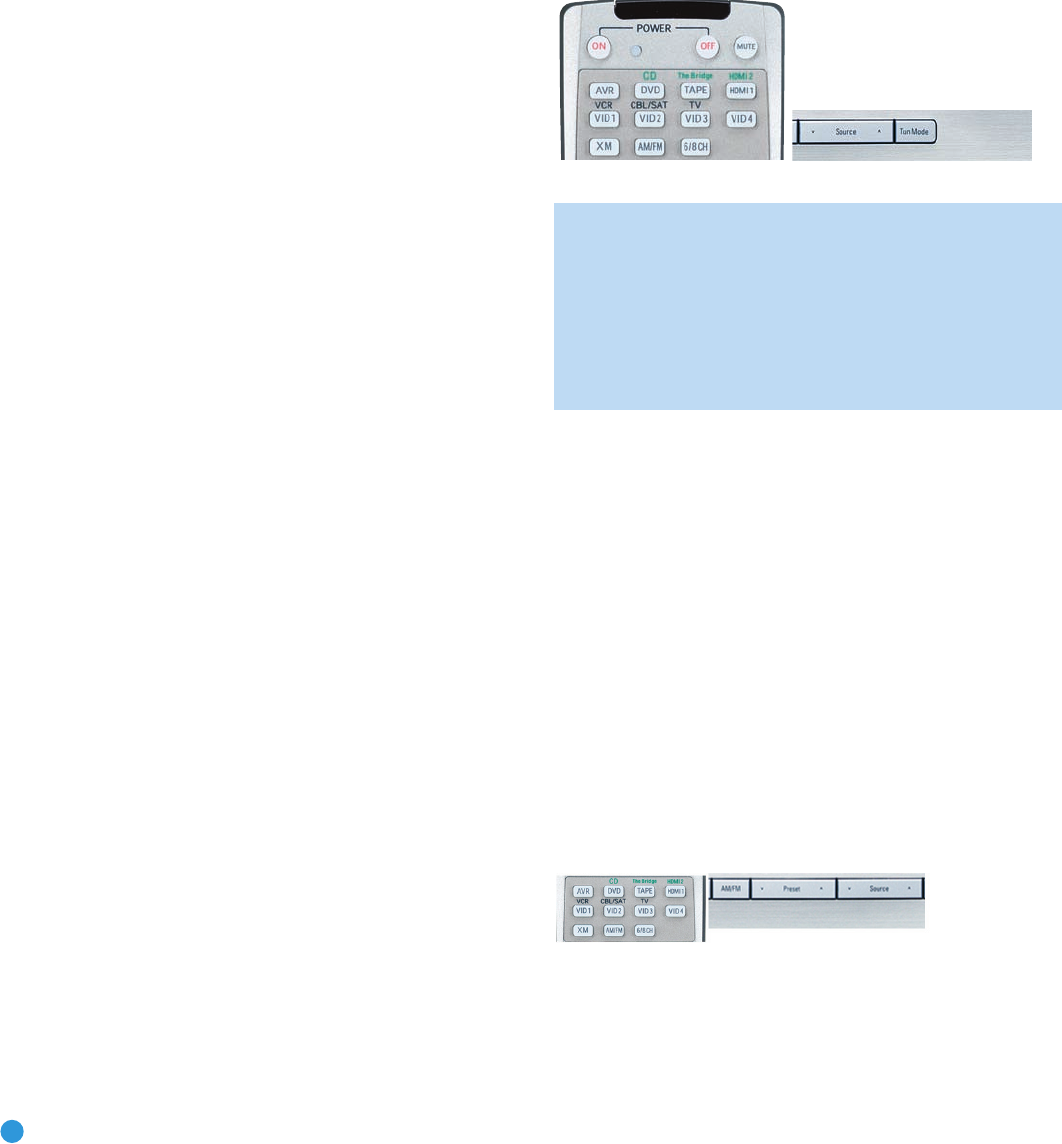
Radio stations may be selected in one of four ways (see Figure 70):
1. If you know the frequency number, enter it directly by first pressing
the Direct Button on the remote, and then using the Numeric Keys.
AVR247om.qxd 7/10/07 1:05 PM Page 40