34
INITIAL SETUP
Figure 53 – EzSet/EQ: Speaker Size/Crossover Test
At the same time the overall size of the speaker’s frequency range is
measured, the AVR will measure the crossover, which is the lowest
frequency each of your main speakers is capable of handling effectively,
in order to set the highest frequency the subwoofer should reproduce.
The system balances the need to ensure that all frequencies are repro-
duced for smooth transitions between the subwoofer and main speakers
without losing any information, against the need to avoid overtaxing
smaller satellite speakers.
NOTE: The crossover determined by EzSet/EQ is not the same
as the crossover frequency specification that appears in the
speaker’s manual. EzSet/EQ is measuring the point at which the
audio signal must be passed from the main speaker to the sub-
woofer. For an individual loudspeaker, the manufacturer specifies
the point or points at which the audio signal is passed from one
transducer within the speaker to another.
Equalization (EQ): Many factors unique to the listening room can affect
the overall sound of a home theater system. For example, a room con-
sisting of hardwood floors and large expanses of glass can sound livelier,
with added reverberation, while a carpeted room fitted with draperies
can dampen sound waves. In addition, the shape of the room can affect
frequency response. If a room has a small alcove near a doorway, for
example, you may notice a difference in bass response depending on
whether you are standing opposite the alcove or to one side of it.
EzSet/EQ is capable of measuring the impact room characteristics
and speaker placement have on each speaker’s performance, and of
making adjustments to low-frequency response to compensate. While
EzSet/EQ is making these adjustments a screen similar to the one shown
in Figure 54 will appear. You may hear EzSet/EQ repeat tones from
various speakers a number of times as it performs the equalization.
Figure 54 – EzSet/EQ: Equalization
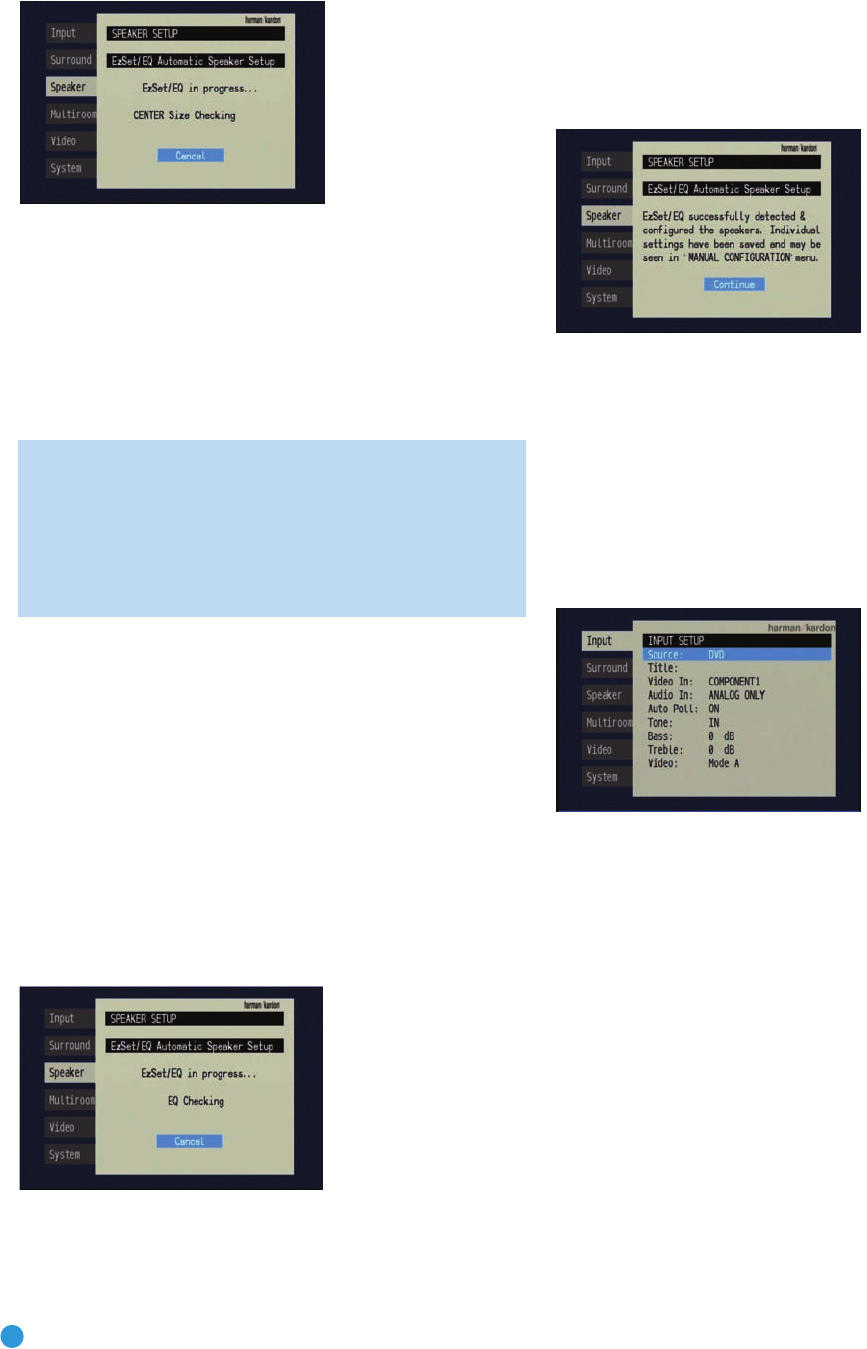
When EzSet/EQ has finished running all of these tests, a screen similar
to the one in Figure 55 will appear. You may press the Set Button, and
the Speaker Setup screen shown in Figure 47 will appear. Select “Manual
Configuration” to view the settings resulting from EzSet/EQ. The manual
Speaker Setup screens are explained in the Advanced Functions section.
Figure 55 – EzSet/EQ: Successful Configuration
Configure Sources
In the Installation section, you physically connected various cables
between your source devices and the AVR. In this section, you will
assign the various audio and video inputs to their sources, ensuring that
the AVR uses the correct connections each time you select a source.
Press the OSD Button to view the menu system. The Input Setup menu
tab will be highlighted. Press the Set Button to select it, and the screen
shown in Figure 56 will appear.
Figure 56 – Input Setup Menu
The first line indicates that the receiver is currently set to the DVD
source.
Press the Set Button and then use the
›
Button
to view the next source.
The sources will be selected
in the following order: Video 1, Video 2,
Video 3, Video 4, HDMI 1, HDMI 2, 6CH Direct, 8CH Direct, DMP/The
Bridge, Tape, CD, Tuner and XM. Pressing the
‹
Button selects the
sources in the reverse order.
For each of these sources, you may adjust the following settings. At a
minimum, you should make sure that sources connected to any of the
component video or digital audio inputs have the correct settings. Other
settings are optional, and you may adjust them at a later time when you
have more experience with the AVR. Refer to the Table A4 worksheet in
the appendix that you filled out during installation as you assign inputs
to each source.
AVR247om.qxd 7/10/07 1:05 PM Page 34


