87
This chapter explains special modes that can be used in scan send mode.
SPECIAL MODES
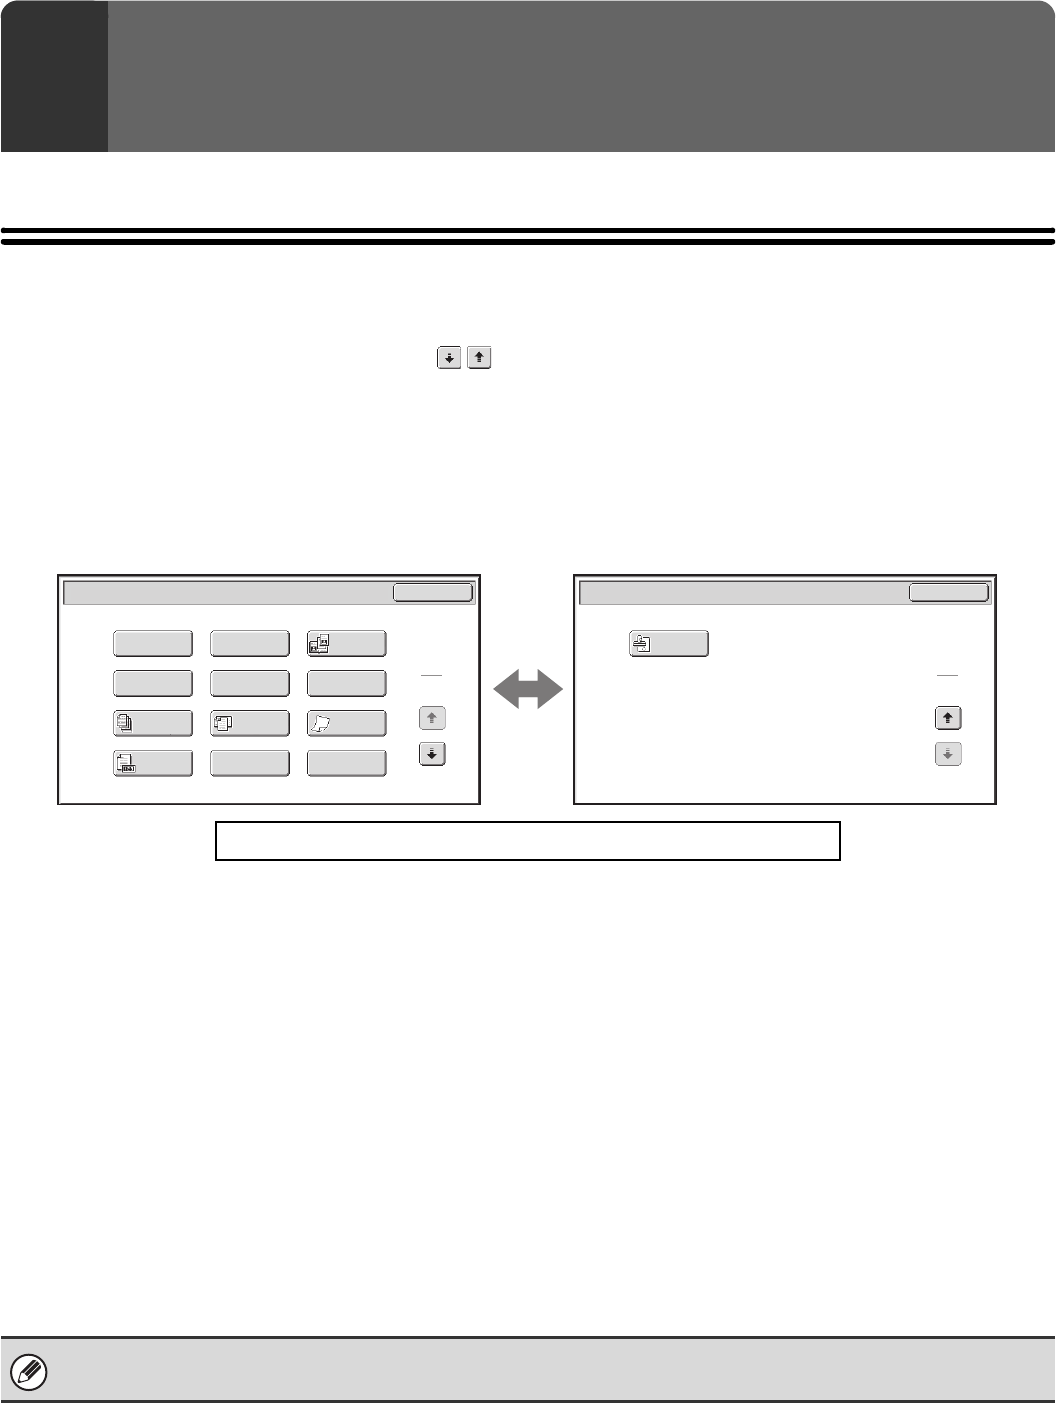
When the [Special Modes] key is touched in the base screen, the special modes menu screen appears. The special
modes menu consists of two screens. Touch the key to switch between the two screens. When the [OK] key is
touched in the special modes screen, the selected settings are entered and the base screen reappears.
☞ Internet fax mode (page 88)
Fax mode (page 88)
Scan mode, USB memory mode, Data entry mode
1st screen 2nd screen
(1) [Program] key*
1, 2
(page 90)
(2) [Erase] key (page 92)
(3) [Dual Page Scan] key (page 95)
(4) [Timer] key*
1
(page 98)
(5) [Suppress Background] key*
3
(page 100)
(6) [Card Shot] key (page 102)
(7) [Job Build] key (page 105)
(8) [Mixed Size Original] key (page 107)
(9) [Slow Scan Mode] key (page 109)
(10) [Original Count] key*
1
(page 111)
(11) [File] key*
1
Touch this to use the File function of document filing
mode. For more information on File, see the Document
Filing Guide.
(12) [Quick File] key*
1
Touch this to use the Quick File function of document
filing mode. For more information on Quick File, see the
Document Filing Guide.
(13) [Verif. Stamp] key*
4
(page 113)
*1 Does not appear in USB memory mode.
*2 Does not appear in data entry mode.
*3 Does not appear when the color expansion kit is not installed.
*4 Does not appear when the stamp unit is not installed.
4
SPECIAL MODES
Click a key in the screen to jump to an explanation of the key.
Scan/Special Modes
Card Shot
OK
Dual Page
Scan
Slow Scan
Mode
Quick File
Mixed Size
Original
Erase
Job
Build
Original
Count
File
Suppress
Background
Program
Timer
1
2
Scan/Special Modes
OK
2
2
Verif.
Stamp
(1)
(13)
(2) (3)
(4) (5) (6)
(7) (8) (9)
(10)
(11)
(12)
Special modes can generally be combined with other special modes, however, there are some combinations that are not
possible. If a prohibited combination is selected, a message will appear in the touch panel.
