C1697M-B (11/08) 91
Setting Up Exported Files Default Directory
1. Under “Export configuration,” perform one of the following options:
• Type the path in the Default directory box.
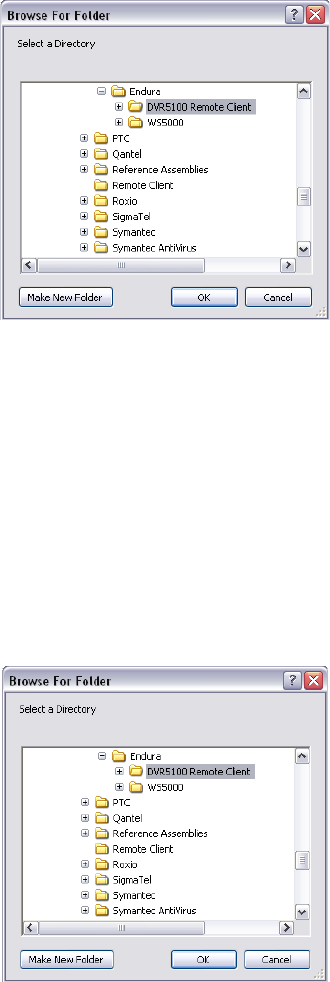
• Click Browse. The Browse For Folder dialog box opens. Locate and select the directory you want to use (refer to Figure 101).
Figure 101. Default Export Configuration
2. To select the default export format, in the “Default format” box, select one of the following options:
• Pelco Video Files (*.pef, default). This format works only on the Pelco DVR5100 Player. It allows you to view overlays and authenticate
exported video and audio files.
• QuickTime
®
MPEG-4 files (*.3gp). This format works on most media players. However, in QuickTime format, the overlays (camera name,
time, date, motion) will not be displayed and video cannot be authenticated.
Setting Up the User’s Default Directory and Format for Exported Snapshots
1. In the “Snapshot configuration” area, do one of the following:
• Type the path in the Default directory box.
• Click Browse. The Browse For Folder dialog box opens. Locate and select the directory you want to use (refer to Figure 102).
Figure 102. Default Snapshot Configuration
2. Select the default snapshot format from the “Default format” list: Portable Network Graphics files (*.png, default), Windows Bitmap Files
(*.bmp), or JPEG files (*.jpeg, *.jpg).


