


97
English
USING i.LINK
ADVANCED
OPERATION
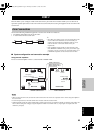
When an i.LINK component is connected, this unit
automatically recognizes the connection and registers the
connected component. Registered i.LINK components,
such as CD or DVD players, can be assigned to a specific
input. Assigning an i.LINK component to a specific input
allows you to select the video input signals from that
component together with the audio signals received via the
i.LINK connection for simultaneous playback.
• If you connect an i.LINK component that does not support
i.LINK (AUDIO), or an i.LINK component that does not
support audio signal transmission, the connected component
will be registered with this unit, but cannot be assigned to a
specific input.
• i.LINK components without a vendor or model name, such as
IEEE1394 repeater/hub, are not registered.
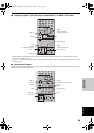
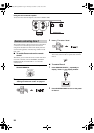
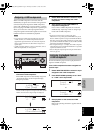
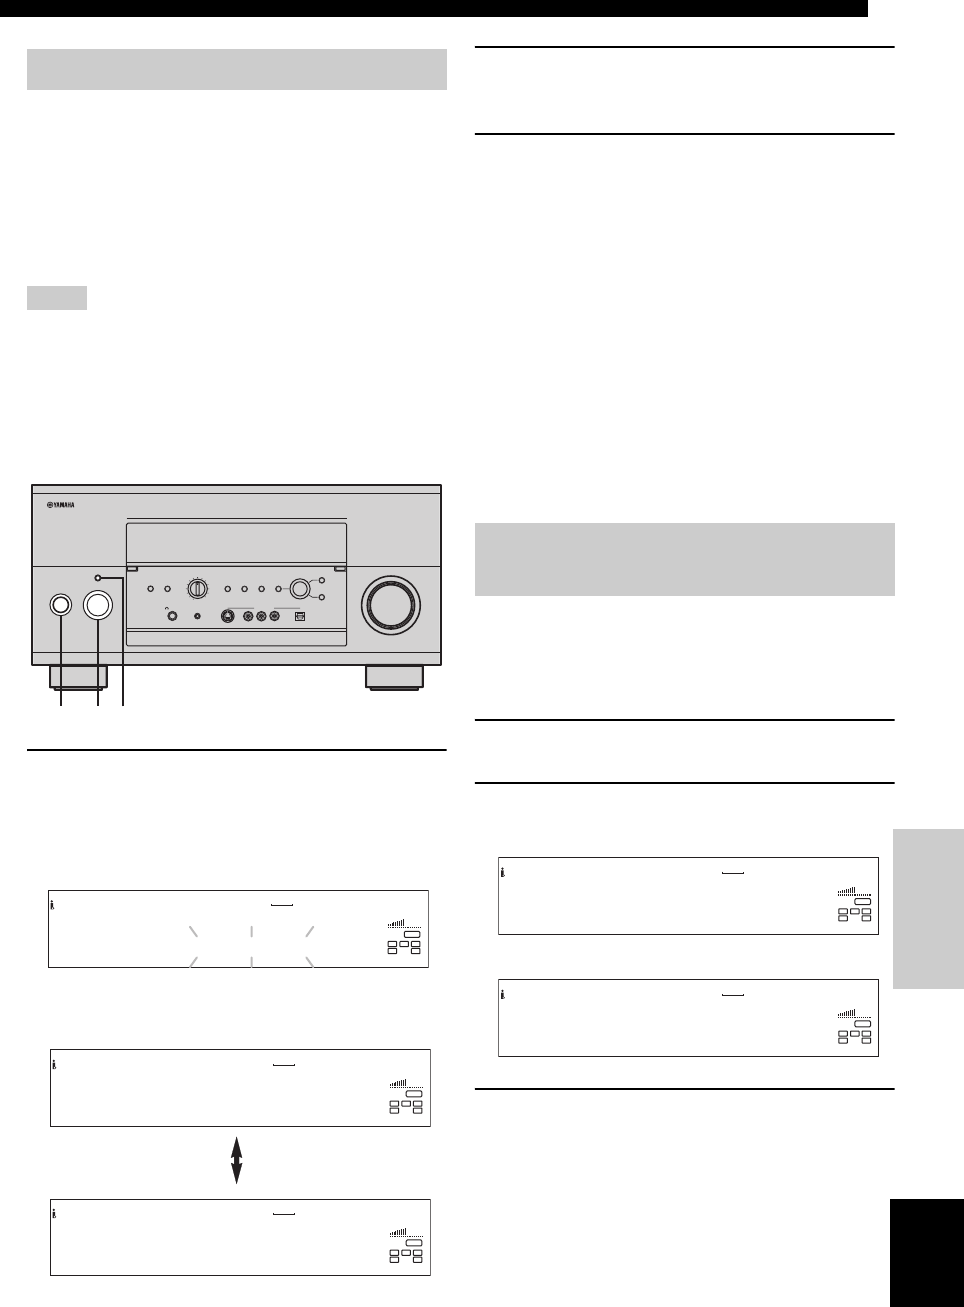
1 Turn on the power for this unit and the
connected i.LINK component.
The i.LINK component is automatically recognized.
“Link Check” flashes on the front panel display
during this procedure.
After the i.LINK component is recognized, the name (model
number) and name of the assigned input are displayed.
2 Rotate INPUT SELECTOR to select the input
to which you want to assign the i.LINK
component.
3 After selecting, press PURE DIRECT to
complete the assignment.
If two or more i.LINK components are connected
simultaneously, repeat steps 2 and 3 to assign input
for the other i.LINK components.
y
• If you do not want to assign a specific input, select
“MULTI CH” in step 2, then press PURE DIRECT. If you do
this, the i.LINK component is assigned to MULTI CH INPUT.
Even after you assign the i.LINK component to a specific input,
you can still use MULTI CH INPUT to select i.LINK (AUDIO)
components using INPUT SELECTOR.
• After recognition in step 1 is complete, the i.LINK component
is automatically assigned to MULTI CH INPUT if no operation
is performed within 10 seconds.
• You can change the input assignment using the i.LINK Select
menu (see page 99).
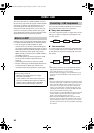
Perform the following steps to listen to playback from a
registered i.LINK component.
If the i.LINK component has been assigned to a
specific input
1 Rotate INPUT SELECTOR to select the input
assigned to the i.LINK component.
2 Press INPUT MODE repeatedly to set “Auto”
or “i.LINK” as the input mode.
3 Start playback on the connected i.LINK
component.
Refer to the operating instructions supplied with the
component.
Assigning i.LINK components
Notes
PHONO
DVR
PURE DIRECT
2CH/MULTI CH
SPEAKERS
VIDEO AUX
REC OUT/ZONE 2
INPUT MODE
SOURCE/REMOTE
DVDDTV/LD
MD/TAPE
CD-R
CD
TUNER
VIDEO AUX
VCR 2
VCR 1
SAT
CABLE
AB
STRAIGHT
EFFECT
MULTI CH
INPUT
DSP
PROGRAM
BALANCE
TONE
CONTROL
VOLUME
INPUT SELECTOR
MULTI JOG
SILENT OPTIMIZER
MIC
PHONES
OPTICAL
R
AUDIO
L
VIDEO
S VIDEO
STANDBY
/ON
132
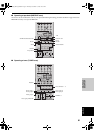
i.LINK Info.
MULTI CH
V–AUX DVR
VCR 1VCR 2 DTV/LDSAT CABLE DVD
MD/TAPE
CD–R
CD
TUNER
PHONO
RL
C
SL
SR
VOLUME
LFE
Link Check
DVD-AAAAA
MULTI CH
V–AUX DVR
VCR 1VCR 2 DTV/LDSAT CABLE DVD
MD/TAPE
CD–R
CD
TUNER
PHONO
RL
C
SL
SR
VOLUME
LFE
-> DVD
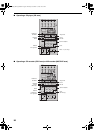
i.LINK Assign ?
MULTI CH
V–AUX DVR
VCR 1VCR 2 DTV/LDSAT CABLE DVD
MD/TAPE
CD–R
CD
TUNER
PHONO
RL
C
SL
SR
VOLUME
LFE
->InputSelector
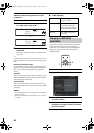
Listening to playback from an
i.LINK component
Input DVD
MULTI CH
V–AUX DVR
VCR 1VCR 2 DTV/LDSAT CABLE DVD
MD/TAPE
CD–R
CD
TUNER
PHONO
RL
C
SL
SR
VOLUME
LFE
Auto:---
Input DVD
MULTI CH
V–AUX DVR
VCR 1VCR 2 DTV/LDSAT CABLE DVD
MD/TAPE
CD–R
CD
TUNER
PHONO
RL
C
SL
SR
VOLUME
LFE
i.LINK:---
or
00EN.00_DSPZ9_GB.book Page 97 Thursday, November 13, 2003 10:55 AM