80
GB
E:\STR-DA7100ES\2320745143\2320745143STRDA7100ESUC\01GB-
STRDA7100ESUC\050AMP.fm
masterpage: Left
STR-DA7100ES
2-320-745-14 (3)
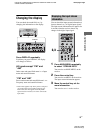
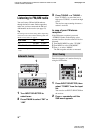
2 Press > repeatedly until the
SUB menu appears.
3 Move the easy scroll key to
select “PRESET +” or
“PRESET –,” then press the key
repeatedly to tune in the preset
station you want to create an
index name for (page 76).
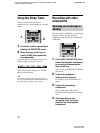
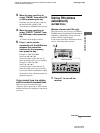
4 Press MAIN MENU repeatedly
to select “TUNER,” then press
the control key.
You can also use MAIN MENU on the
receiver.
5 Move the control key V/v to
select “NAME IN.”
You can also use MENU on the receiver.
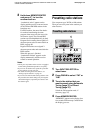
6 Press the control key.
You can also use MEMORY/ENTER on
the receiver.
The cursor flashes and you can select a
character. Follow the procedure given in
“To create an index name” (page 61).
Using the Radio Data
System (RDS)
(Models of area code CEL only)
This receiver also allows you to use RDS
(Radio Data System), which enables radio
stations to send additional information along
with the regular program signal. You can
display RDS information.
Simply select a station on the FM
band using direct tuning (page 76),
automatic tuning (page 76), or
preset tuning (page 78).
When you tune in a station that provides RDS
services, the RDS indicator lights up and the
program service name appears on the display.
Note
RDS may not work properly if the station you tuned
to is not transmitting the RDS signal properly or if
the signal strength is weak.
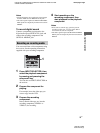
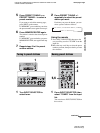
While receiving an RDS station,
press DISPLAY.
Each time you press the button, RDS
information on the display changes cyclically
as follows:
Top level
One of the followings items, as well as band,
and preset number are displayed:
• PS (Program Service name)
a)
• Present station name
b)
• Frequency
Lower level
PTY (Program Type) indication
c)
t RT
(Radio Text) indication
d)
t CT (Time)
indication (in 24-hour system mode) t
Sound field currently applied
Receiving RDS broadcasts
Displaying RDS information


