114
GB
E:\STR-DA7100ES\2320745143\2320745143STRDA7100ESUC\01GB-
STRDA7100ESUC\080REM.fm2-320-745-14 (3)
masterpage: Left
STR-DA7100ES
2-320-745-14 (3)
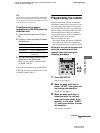
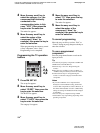
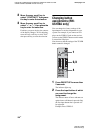
4 Move the easy scroll key to
select the category (i.e., the
component that is actually
connected to the
corresponding jacks; in this
case, “VCR”), then press the
key to enter the selection.
The maker list appears.
5 Move the easy scroll key to
select the maker of the
component (“Aiwa,” for
example), then press the key to
enter the selection.
When programming the remote to control
a Sony component, select “Sony.”
Programming is now completed.
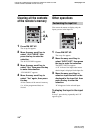
Programming the TV operation
buttons
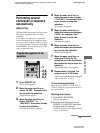
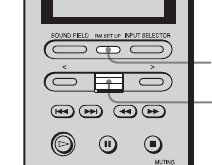
1 Press RM SET UP.
The set up list appears.
2 Move the easy scroll key to
select “IR SET,” then press the
key to enter the selection.
The IR SET list appears.
3 Move the easy scroll key to
select “TV-KEY,” then press the
key to enter the selection.
The category list appears.
4 Move the easy scroll key to
select “TV,” then press the key
to enter the selection.
The maker list appears.
5 Move the easy scroll key to
select the maker of the
component (“Aiwa,” for
example), then press the key to
enter the selection.
To cancel programming
Move the easy scroll key to select “Exit” or
“Cancel” during any step, then press the key to
enter the selection.
To use a programmed
component
Press the programmed button to activate the
input you want.
Tip
You can freely assign any component to USER1 and
USER2 items in the IR SET list.
1 Perform steps 1 and 2 in “Programming the
remote.”
2 Move the easy scroll key to select “USER1” or
“USER2,” then press the key to enter the selection.
3 Continue from step 3 in “Programming the
remote” to select the category and maker of the
component.
Notes
• If you select “IR SET” for a component that
already has a learned button setting, the learned
codes for that component are cleared. However, if
the cleared learned button is used in a Macro Play
setting, the setting for that button will be changed
to “NO SET.”
• You can set up one component using i.LINK.
• Some buttons may stop working, depending on the
operating component.
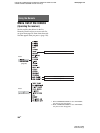
1
2,3,
4,5


