


16
GB
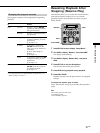
DJ Performance Functions
Looping Part of a Track Starting Tracks as Quickly
as Possible (Hot Start)
Setting a loop allows you to play a certain part of the
current track repeatedly without any pauses or breaks.
In addition, the loop points are stored even after you exit
the loop, making it easy to return to the same loop.
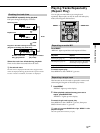
1 During playback, press LOOP IN at a point where
you want the loop to start.
“LOOP” blinks in the display.
2 Press LOOP OUT at the point where you want the
loop to end.
“LOOP” lights steadily and the loop begins.
To exit the loop
Press LOOP OUT again.
Playback proceeds as normal when it reaches the loop out
point. “RELOOP” lights in the display to indicate that the
loop position has been stored.
To return to the previous loop
Press RELOOP.
Playback returns to the loop in point and starts looping.
Notes
• It is not possible to set a loop longer than 20 seconds. The loop
set mode deactivates automatically if you do not press LOOP
OUT within 20 seconds of pressing LOOP IN.
• Loops cannot span two (or more) tracks. The loop set mode
deactivates automatically if the track changes before you press
LOOP OUT.
• The loop position is erased when :
- You stop playback
- You set another loop
- Turn the scrub dial during pause
• The loop function is not possible if a pad with a red indicator
was used to start playback from a cue point.
• In some cases, when you try to set another loop, “Impossible”
is displayed and you will not be able to set another loop. If this
occurs, stop playback and then set the loop.
The Hot Start function allows you specify up to 8 tracks.
You can store the beginning of a track in memory to
enable playback of that track to start quicker than normal
when you press the track’s pad.
You can specify any 8 tracks for use with this function.
1 During stop, press EDIT/NO twice to display “Setup
Menu”.
2 Turn AMS to display “Hot start ?”, then press AMS.
“/0/” blinks in the display.
3 Turn AMS to display the number of the track you
want to hot start, then press AMS.
The selected track number stops blinking and another
“0” appears to indicate that the unit is ready for
another track number.
If you make a mistake
Press 0 or ) repeatedly so that the mistaken track
number blink, turn AMS to change the track number,
then press AMS.
4 Repeat step 3 to specify up to 8 tracks.
“Multi Full!” appears when you enter the 8th track.
5 When you’ve finished, press ENTER/YES.
“Complete!!” is displayed and the hot start settings are
complete.
6 Press PLAY MODE repeatedly to display “HOT
START”.
“Memorizing” appears and the pad indicators blink
while the unit assigns the tracks to the respective pads.
E.g., if your hot start setting was “/2 n 8 n 5/”:
– Track 2 is assigned to Pad 1
– Track 8 is assigned to Pad 2
– Track 5 is assigned to Pad 3
The indicators above the corresponding pads light red.
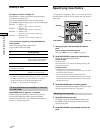
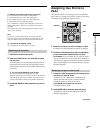
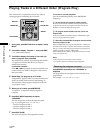
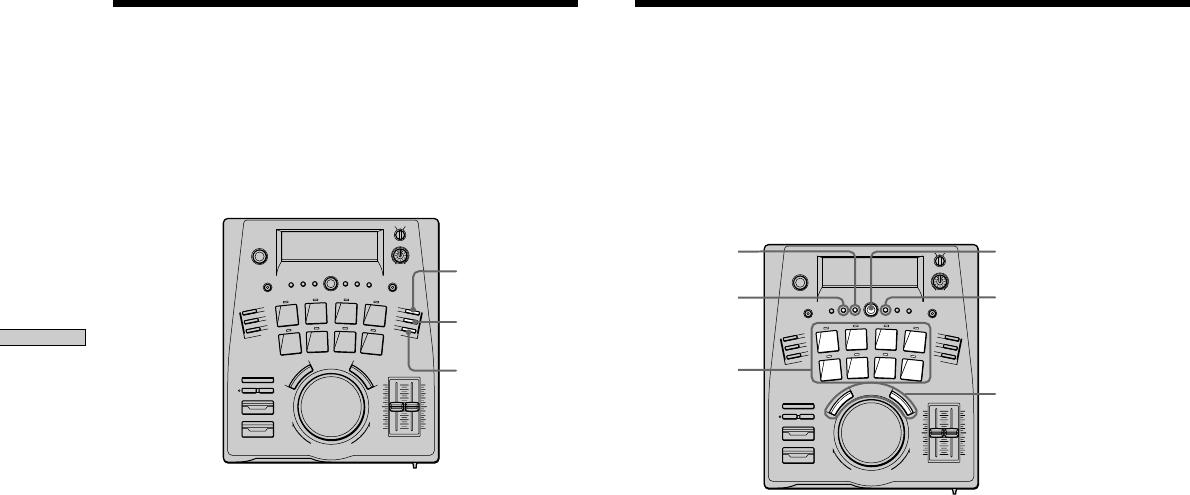
AMS
0/)
EDIT/NO
Pads
ENTER/YES
PLAY MODE
LOOP OUT
LOOP IN
RELOOP