


Page 32 of 78
i n t e l l i g e n t w i r e l e s s p l a t f o r m
airClient™ Nexus PRO TOTAL User Guide
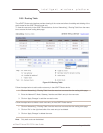
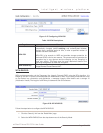
6. Enter DNS Server IP address(es).
7. Click on the ’Apply Changes’ to change the settings.
Note: The system will validate the input parameters and notify users of invalid entries.
The Starting IP address will be in the same network segment as the device wired-side Ethernet IP
address.
IP address 0.0.0.0 for the DNS Server IP indicates no DNS Server is being used.
The DHCP Server is only available to hosts connected to the same LAN segment as the device
wired-side Ethernet port.
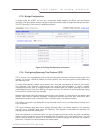
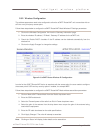
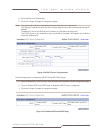
Figure 2-20 DHCP Server Configurations
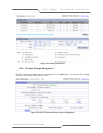
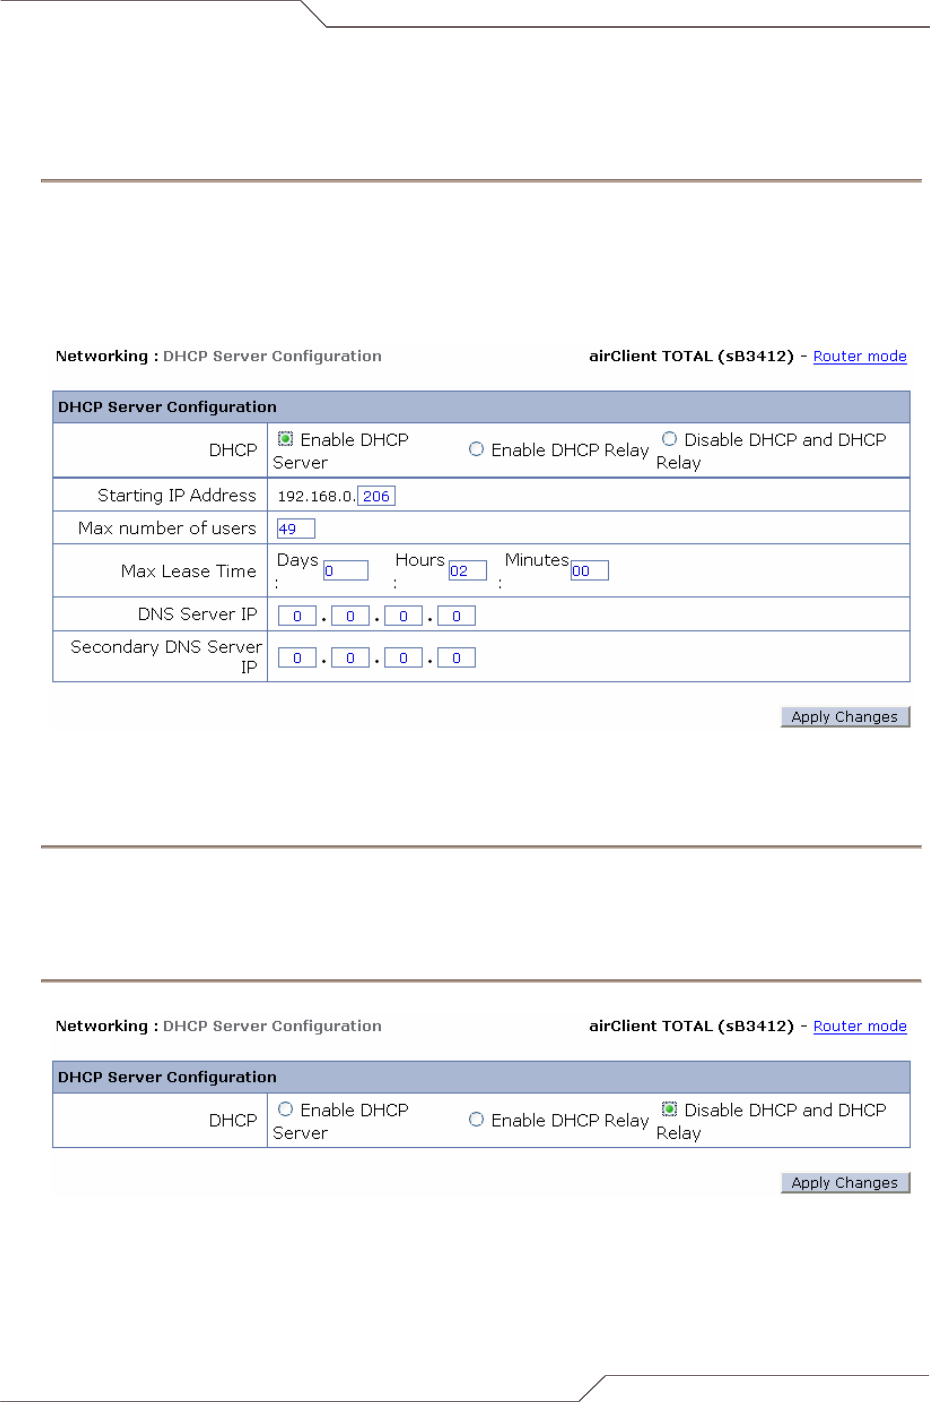
Follow the steps below to disable the aCNPT Router/NAT DHCP server:
1. Click on ‘Networking’ | ‘DHCP Server’ from the menu bar to access the DHCP configuration page.
2. Click on ‘Disable DHCP and DHCP Relay’ to disable the DHCP server configuration.
3. Click on the ’Apply Changes’ to change the settings.
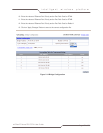
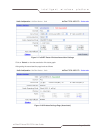
Figure 2-21 Disable DHCP and DHCP Relay