


Playback with HOME MEDIA GALLERY inputs
10
85
En
Proxy Hostname/Proxy Port
This setting is required when you connect this receiver to
the Internet via a proxy server. Enter the IP address of
your proxy server in the ‘Proxy Hostname’ field. Also,
enter the port number of your proxy server in the ‘Proxy
Port’ field.
Tip
• Press / or the numeric buttons to enter
alphanumeric characters. To delete alphanumeric
characters entered one at a time, press or
CLEAR. ‘Cancel Key Editing Lose Changes?’
appears when you press RETURN or while the
cursor is placed in the leftmost position on the
alphanumeric character entry screen. In this case,
press ENTER to exit from the screen and RETURN to
return to the screen.
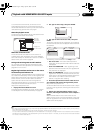
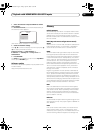
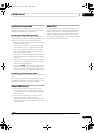
1 Set the operation selector switch to
SOURCE
.
2Press
HOME MEDIA GALLERY
to select ‘Home
Media Gallery’ as the input source.
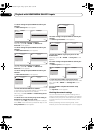
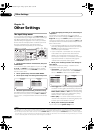
It may take several seconds for this receiver to access the
network. The following screen appears when the Home
Media Gallery is selected as the input source.
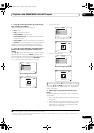
3 Select ‘
Setup
’ and press
ENTER
to confirm your
selection.
The Setup screen appears.
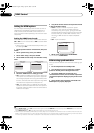
4 Select ‘
Network Setup
’ and press
ENTER
to confirm
your selection.
The Network Setup screen appears.
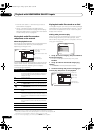
5Either ‘
Network Found
’ or ‘
No Network Found
’
appears. Check the network connection status and
press
ENTER
.
• Network Found – Connected to a component on the
network.
• No Network Found – Not connected to a
component on the network.
The Network IP Settings screen appears.
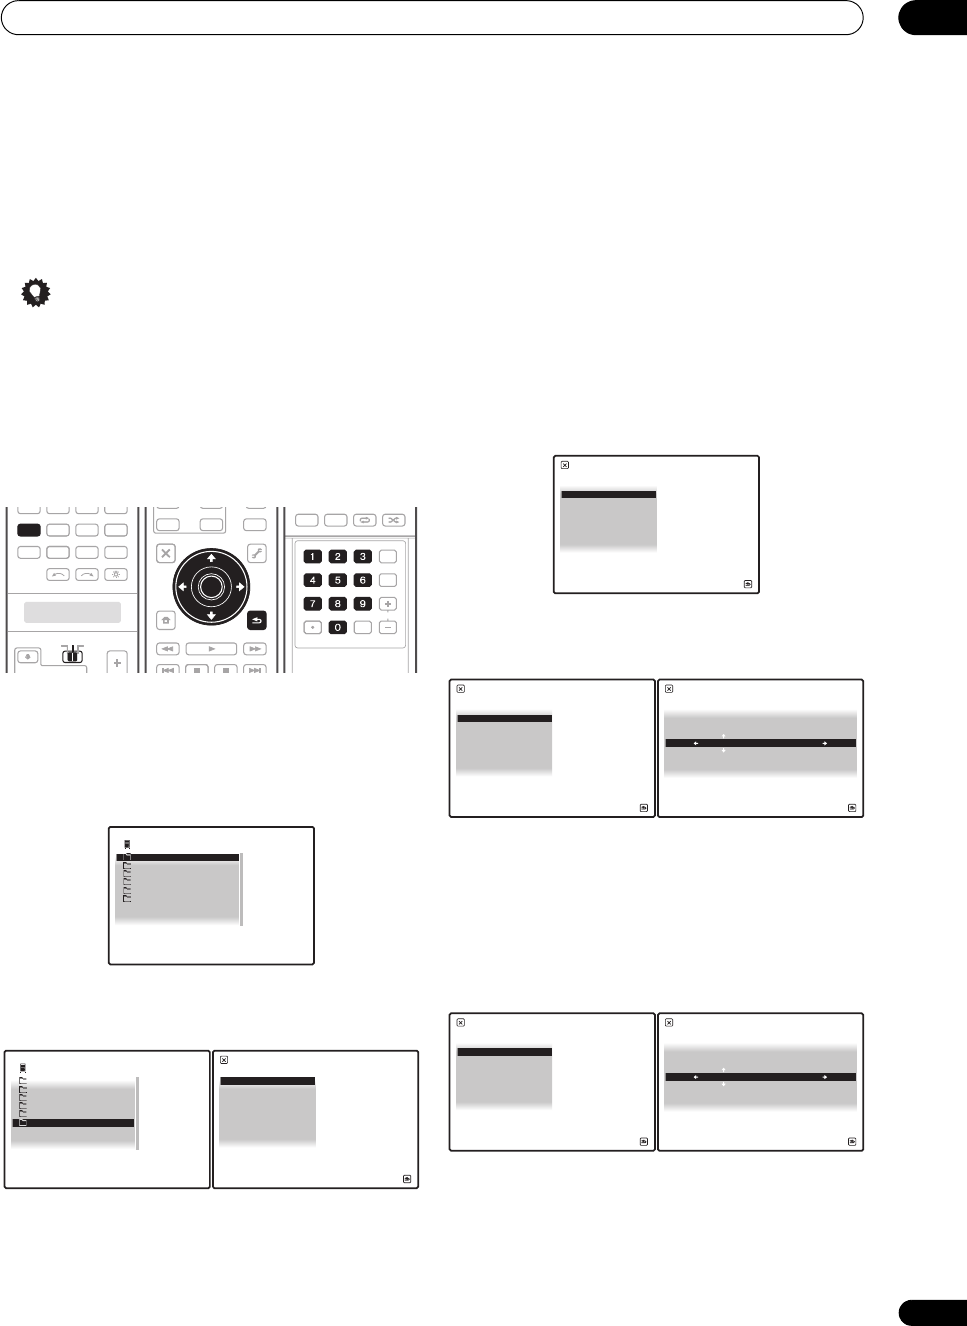
6Select ‘
Static IP Address
’ and press
ENTER
to
confirm your selection.
The IP address screen appears. When you select
‘Automatic (DHCP)’, the network is automatically set up,
and you do not need to follow Steps 7 to 16. Proceed with
Step 17.
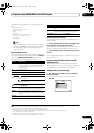
7Select ‘
Change
’ and press
ENTER
to confirm your
selection.
The Edit IP address screen appears.
8 Enter the IP address.
Press / to select a number and / to move the
cursor. After you select the last number, press or
ENTER. You can also use the numeric buttons to enter a
number. The Subnet Mask screen appears.
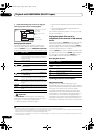
9Select ‘
Change
’ and press
ENTER
to confirm your
selection.
The Edit Subnet Mask screen appears.
10 Enter the subnet mask.
After entry, press or ENTER. The Gateway IP screen
appears.
SOURCE
TV RCV
VIDEO1
GALLERY
HOME MEDIA
INPUT SELECT
CD
HDMI
VOLCH
XM
SIRIUSTUNER
PHONO
VIDEO2 VIDEO3
TV
CD-R
TUNER
AUDI O
PARAMETER
TOP MENU
BAND
iPod CTRL
CATEGORY
EXIT
TOOLS
HOME
MENU
STATUS
THX MPX MEMORY
PHASE CTRL CH LEVEL
MENU
T. ED I T
VIDEO
PARAMETER
INPUT MUTE
TUNE
TUNE
ST ST
MUTE
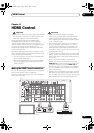
TV CONTROL
ENTER
RETURN
TOP MENU
BAND
TUNE
TUNE
ENTER
MPX
PGM
STEREO/
A.L.C.
BD MENU
SIGNAL SEL SLEEP AUDIODIMMER
SR+
CLR
SBch MCACC
A.ATT GENRE
HDMI OUT
D.ACCESS
ENTER
CLASS
DISP
CH
AUTO/
DIRECT
STANDARD ADV SURR
D.ACCESS
1 / 6
Top Menu
USB
Internet Radio
1
Neural Music Direct
******
Favorites
Setup
A/V RECEIVER
6 / 6
Top Menu
USB
Internet Radio
1
Neural Music Direct
******
Favorites
Setup
A/V RECEIVER
Information
Network Setup
Setup
A/V RECEIVER
Return
Top Menu
1 / 2
Network IP Settings
A/V RECEIVER
Return
Top Menu
Automatic (DHCP)
Static IP Address
2 / 2
IP address
A/V RECEIVER
Return
Top Menu
192.168.000.002
Change
1 / 5
Edit IP address
A/V RECEIVER
Return
Top Menu
192.168.000.002
Subnet Mask
A/V RECEIVER
Return
Top Menu
255.255.255.000
Change
2 / 5
Edit Subnet Mask
A/V RECEIVER
Return
Top Menu
255.255.255.000
SC07-05.book Page 85 Friday, April 25, 2008 11:59 AM