Other Settings
12
94
En
The Other Setup menu
The Other Setup menu is where you can make
customized settings to reflect how you are using the
receiver.
1 Set the operation selector switch to
RCV
, then press
HOME MENU
.
An on-screen display (OSD) appears on your TV. Use /
// and ENTER to navigate through the screens
and select menu items. Press RETURN to confirm and
exit the current menu.
2 Select ‘
System Setup
’ from the
HOME MENU
.
3 Select ‘
Other Setup
’, then press
ENTER
.
4 Select the setting you want to adjust.
If you are doing this for the first time, you may want to
adjust these settings in order:
• Multi Ch In Setup – Specifies the optional settings
for a multi-channel input.
• ZONE Audio Setup – Specify your volume setting for
a MULTI-ZONE setup (see ZONE Audio Setup on
page 95).
• SR+ Setup – Specify how you want to control your
Pioneer flat panel TV (see SR+ Setup for Pioneer flat
panel TVs on page 95).
• HDMI Control Setup – Synchronizes this receiver
with your Pioneer component supporting HDMI
Control (see Setting the HDMI Control mode on
page 90).
• Flicker Reduction – Adjust the way the OSD screen
looks (see Flicker Reduction Setup on page 95).
5 Make the adjustments necessary for each setting,
pressing
RETURN
to confirm after each screen.
Multi Channel Input Setup
You can adjust the level of the subwoofer for a multi-
channel input. Also, when the multi-channel input is
selected as an input source, you can display the video
images of other input sources. In the Multi Channel Input
Setup, you can assign a video input to the multi-channel
input.
1 Select ‘
Multi Ch In Setup
’ from the
Other Setup
menu.
2 Select the ‘
SW Input Gain
’ setting you want.
• 0dB – Outputs sound of the subwoofer at the level
originally recorded on the source.
• +10dB – Outputs sound of the subwoofer at the level
increased by 10 dB.
3 Select the ‘
Video Input
’ setting you want.
When the multi-channel input is selected as an input
source, you can display the video images of other input
sources. The video input can be selected from the
following: DVD, TV/SAT, DVR 1, DVR 2, VIDEO 1, VIDEO
2, VIDEO 3, OFF.
4 When you’re finished, press
RETURN
.
You will return to the Other Setup menu.
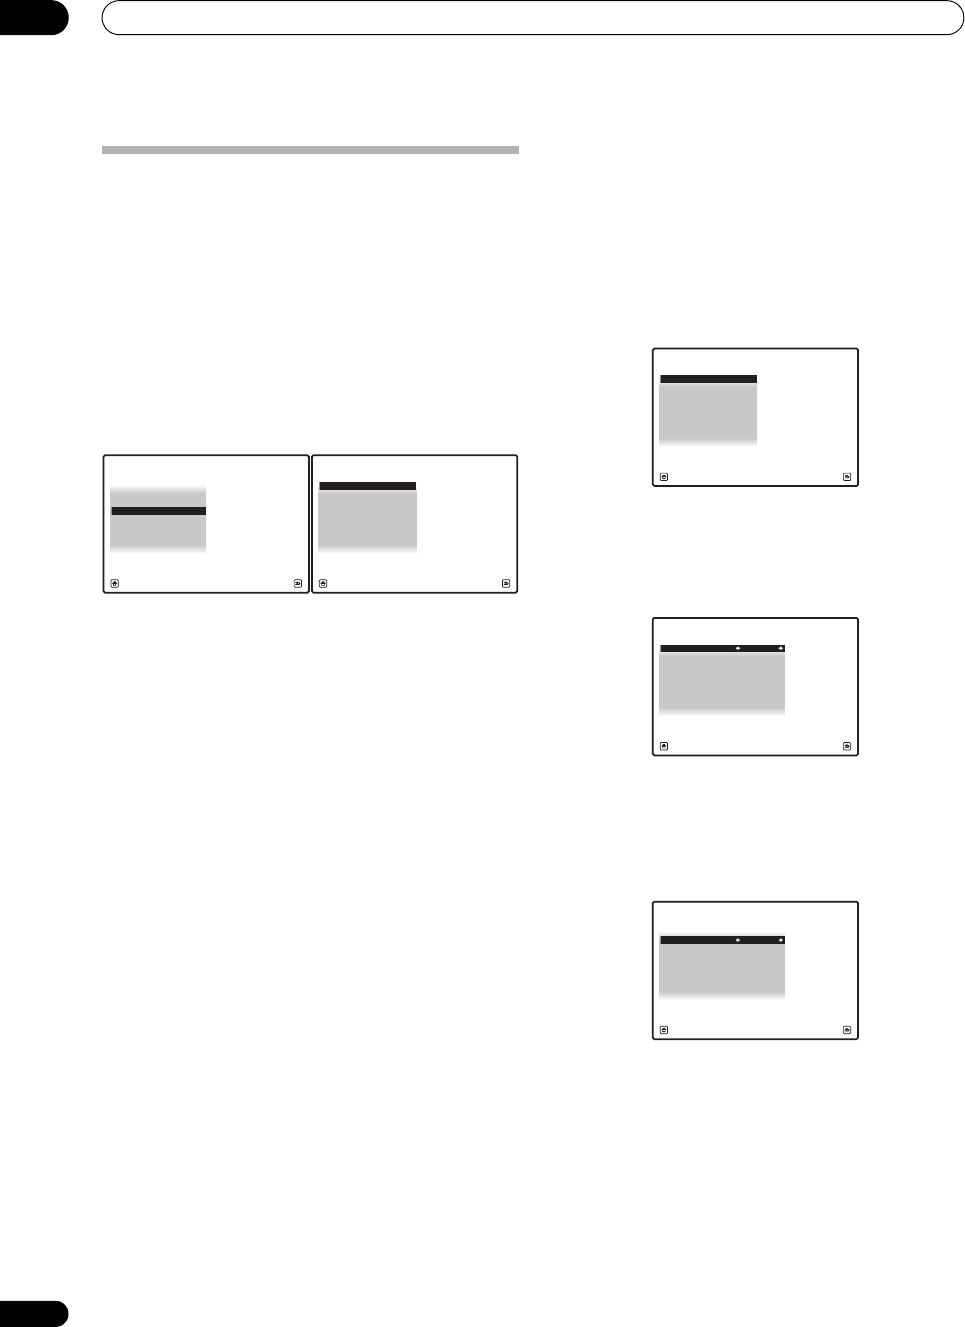
A/V RECEIVER
Exit Return
a.Manual SP Setup
b. Input Setup
c. OSD Language
d. Other Setup
4.SystemSetup 4d.Other Setup
A/V RECEIVER
Exit Return
1. Multi Ch In Setup
2. ZONE Audio Setup
3. SR+ Setup
5. Flicker Reduction Setup
4. HDMI Control Setup
4d.Other Setup
A/V RECEIVER
Exit Return
1. Multi Ch In Setup
2. ZONE Audio Setup
3. SR+ Setup
5. Flicker Reduction Setup
4. HDMI Control Setup
4d1.Multi Ch In Setup
A/V RECEIVER
Exit Finish
SW Input Gain : 0dB
Video Input : DVD
4d1.Multi Ch In Setup
A/V RECEIVER
Exit Finish
SW Input Gain : +10dB
Video Input : DVD
SC07-05.book Page 94 Friday, April 25, 2008 11:59 AM


