Playback with HOME MEDIA GALLERY inputs
10
84
En
Photo files
Files of up to 12 M pixels can be played.
Advanced operations for Internet radio
Saving Internet radio stations
This receiver can remember the Internet radio stations
that you often listen to in 3 classes (A, B, and C) with up
to 10 stations in each class to make the total of 30
stations at its maximum capacity.
Before proceeding with the following steps, check
whether you have followed Steps 2 to 4 on page 76.
1 Set the operation selector switch to
SOURCE
.
2 Tune into the Internet radio station that you want
to save.
Tune into the desired Internet radio station by following
Steps 2 to 4 on page 76.
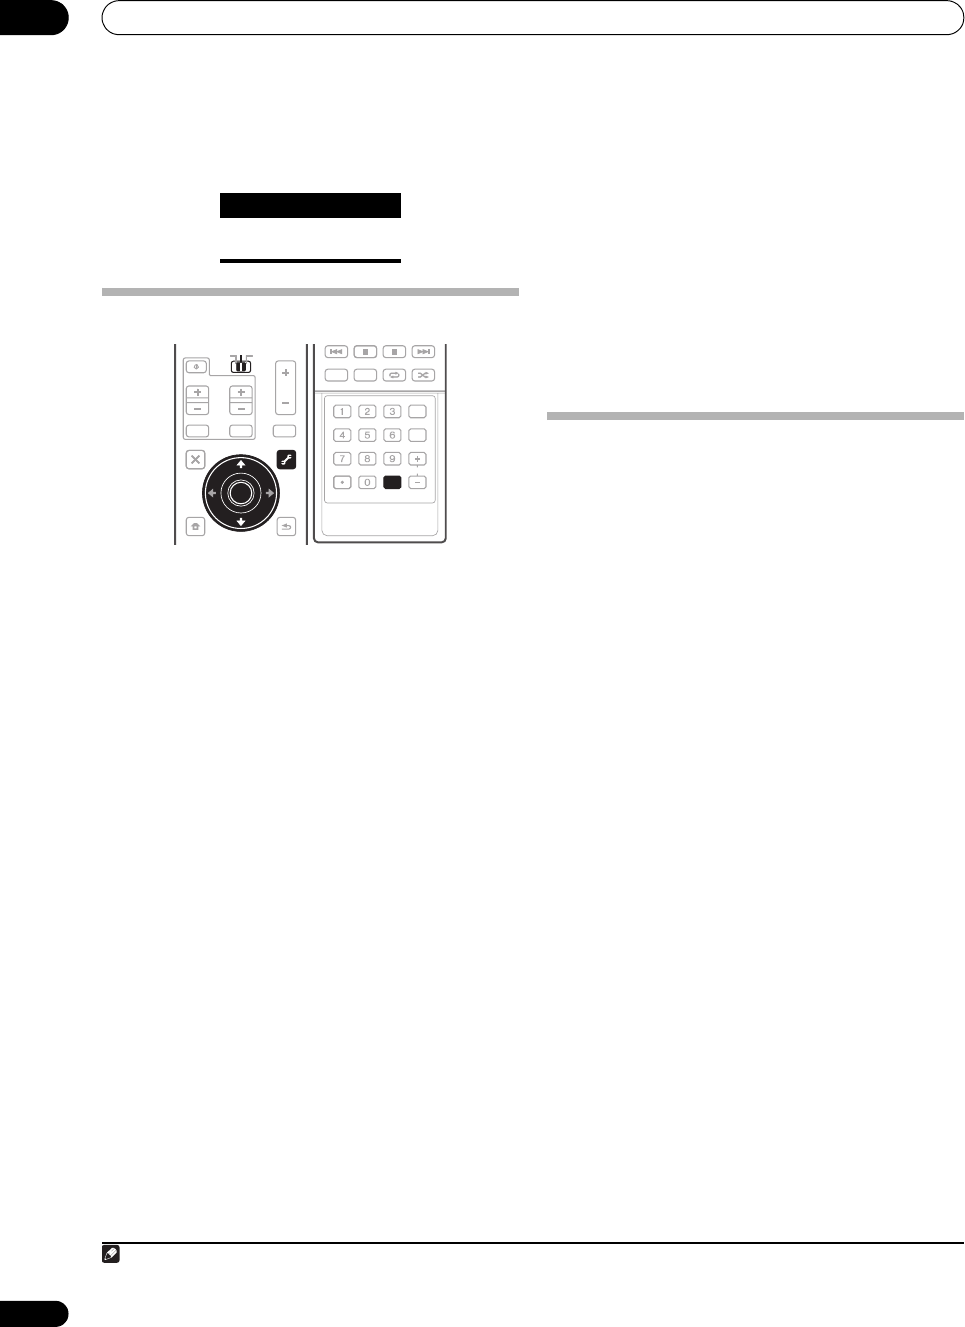
3 Press
T.EDIT
to switch to the station-saving mode.
4 Press
CLASS
to select the class that you want to
save the station in.
Select the desired class from A, B, and C.
5Use
/
to select the number that you want to
save the station as, and then press ENTER.
You can also select the station number by using the
number buttons. Select the desired number from 0 to 9.
Retrieving saved Internet radio stations
You need to save Internet radio stations first before
retrieving them. If there are no Internet radio stations
currently being saved, see Saving Internet radio stations
above and save at least one Internet radio station before
proceeding with the following steps.
1 Set the operation selector switch to
SOURCE
.
2 Select the class that you want to retrieve an
Internet radio station from.
Each time you press CLASS, the class switches to A, B,
and C in turn.
3Use
/
to select the station number that you
want to retrieve.
You can also select the station number by using the
number buttons.
‘Preset Not Stored’ appears when you select an Internet
radio station currently not being saved.
Setting up the network
In case the router connected to the LAN terminal on this
receiver is a broadband router (with the built-in DHCP
server function), simply turn on the DHCP server
function, and you will not need to set up the network
manually. You must set up the network as described
below only when you have connected this receiver to a
server without the DHCP server function. Before you set
up the network, consult with your ISP or the network
manager for the required settings. It is advisory that you
also refer to the operation manual supplied with your
network component.
1
IP Address
The IP address to be entered must be defined within the
following ranges. If the IP address defined is beyond the
following ranges, you cannot play back audio files stored
on components on the network or listen to Internet radio
stations.
Class A: 10.0.0.1 to 10.255.255.254
Class B: 172.16.0.1 to 172.31.255.254
Class C: 192.168.0.1 to 192.168.255.254
Subnet Mask
In case an xDSL modem or a terminal adapter is directly
connected to this receiver, enter the subnet mask
provided by your ISP on paper. In most of the cases, enter
255.255.255.0.
Gateway IP
In case a gateway (router) is connected to this receiver,
enter the corresponding IP address.
DNS Server Preferred/DNS Server Alternate
In case there is only one DNS server address provided by
your ISP on paper, enter ‘DNS Server Preferred’. In case
there are more than two DNS server addresses, enter
‘DNS Server Alternate’ in the other DNS server address
field.
Category Extension
JPEG .jpg
.jpeg
AUDI O
PARAMETER
TOP MENU
BAND
iPod CTRL
CATEGORY
EXIT
TOOLS
HOME
MENU
STATUS PHASE CTRL CH LEVEL
MENU
T. ED I T
VIDEO
PARAMETER
SOURCE
TV RCV
INPUT MUTE
TUNE
TUNE
ST ST
MUTE
VOL
VOL
TV CONTROL
CH
ENTER
RETURN
TOP MENU
BAND
TUNE
TUNE
ENTER
PGM
STEREO/
A.L.C.
BD MENU
SIGNAL SEL SLEEP AUDIODIMMER
SR+
CLR
SBch MCACC
A.ATT GENRE
HDMI OUT
D.ACCESS
ENTER
CLASS
DISP
CH
AUTO/
DIRECT
STANDARD ADV SURR
D.ACCESS
Note
1 In case you make changes to the network configuration without the DHCP server function, make the corresponding changes to the network
settings of this receiver.
SC07-05.book Page 84 Friday, April 25, 2008 11:59 AM


