


6
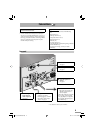
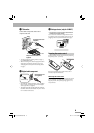
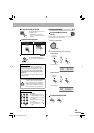
! TV/monitor
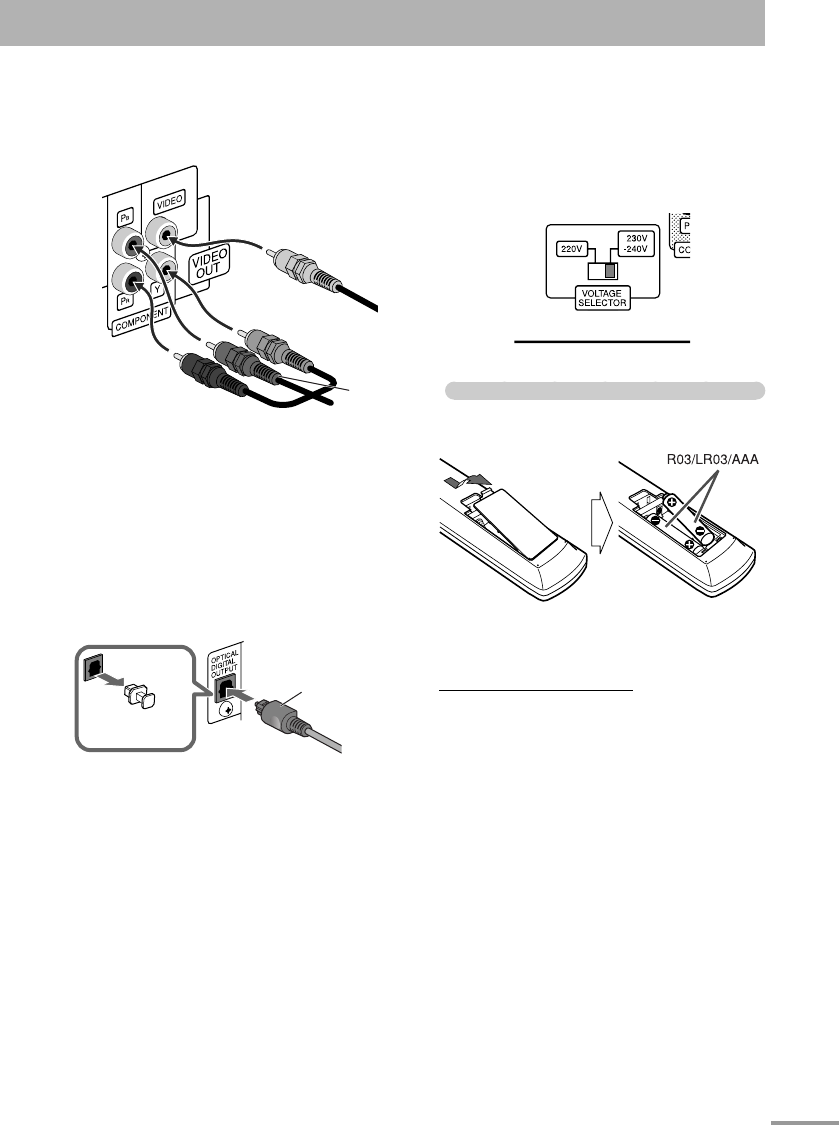
Connect either a component video cord or a
composite video cord.
• To select progressive scanning mode (see page 7),
use COMPONENT jacks.
• After connecting a TV, select the appropriate video
signal output according to the color system. See
“Changing the Color System and Scanning Mode”
on page 7.
⁄ Digital audio component
• Set “DIGITAL AUDIO OUTPUT” in the “AUDIO”
menu correctly according to the connected digital
audio equipment (see page 46).
• The digital signal through the OPTICAL DIGITAL
OUTPUT terminal is transmitted only when “DVD/
CD” is selected as the source.
Optical digital cord
(not supplied)
Protective cap
Green
Red
Blue
Component video cord (not
supplied)
Composite video cord
(supplied)
Yellow
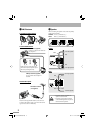
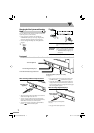
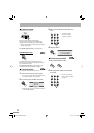
@ Voltage selector (only for CA-NXG7)
• This operation is not required for Saudi Arabian
models and Australian models.
Use a screwdriver to slide the voltage selector so that
it is pointing to the correct voltage in the area you are
plugging in the unit. (See also the back cover page.)
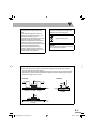
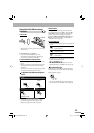
Preparing the remote control
Insert the battery into the remote control by matching
the polarity (+ and –) correctly.
If the range or effectiveness of the remote control
decreases, replace both batteries.
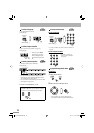
When using the remote control
Point the top of the remote control towards the remote
sensor as directly as possible. If you operate it from a
diagonal position, the operating range (approx. 5 m)
may be shorter.
text_EN_NXG7G3.indb 6text_EN_NXG7G3.indb 6 08.7.14 11:41:35 AM08.7.14 11:41:35 AM