56
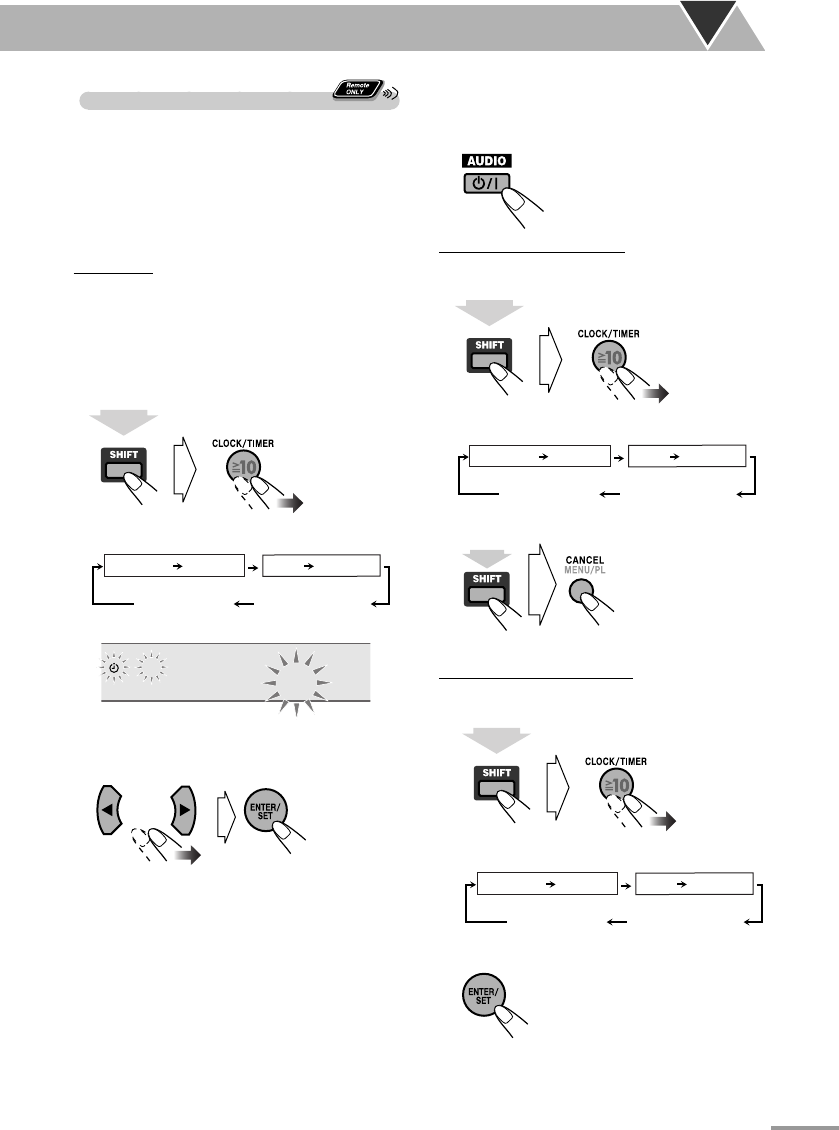
Setting the Recording Timer
• Finish the timer setting at least 2 minutes before the
on-time.
• To exit the timer settings, press CLOCK/TIMER
(while holding SHIFT) as required.
• To correct a mis-entry during process, press
CANCEL (while holding SHIFT). You can go back to
the previous step.
Preparation:
• Connect a USB mass storage class device to the USB
2 terminal.
• Change the source to “USB2” and check that the USB
device is properly detected by the System.
• Make recording settings (see page 29).
1 Select the timer setting mode.
(while holding...)
REC
ON 8:00
2 Set the timer as you like.
Repeat the procedure for the following settings
until finished.
1 Set the hour then the minute for on-time.
2 Set the hour then the minute for off-time.
3 Select the recording source—“TUNER AM,”
“TUNER FM,” or “AUDIO IN.”
4 For “TUNER AM” or “TUNER FM”: Select a
preset channel.
5 Select the volume level.
• You can adjust the volume level (“0” to “MAX”
and “VOLUME – –”). If you select “VOLUME
– –,” the volume is set to the same level as when
the System was last turned off.
Once settings are completed, the timer setting
information appears in sequence.
3 Turn off the System (on standby), if you
have set the timer with the System turned
on.
• Recorded files are stored into
the group “Timer.”
To cancel the Recording Timer
1 Select “REC TIMER.”
(while holding...)
2 Turn off the Timer.
(while holding...)
To turn on the Recording Timer
1 Select “REC TIMER.”
(while holding...)
DAILYREC TIMER
ON (Time)
Canceled
Clock setting
(See page 20.)
Daily TimerRecording Timer
ON (Time)
2 Activate the Timer.
3 Wait until the indication disappears.
DAILYREC TIMER
ON (Time)
Canceled
Clock setting
(See page 20.)
Daily TimerRecording Timer
ON (Time)
DAILYREC TIMER
ON (Time)
Canceled
Clock setting
(See page 20.)
Daily TimerRecording Timer
ON (Time)
text_EN_NXG9G5.indb 56text_EN_NXG9G5.indb 56 08.8.5 10:53:03 AM08.8.5 10:53:03 AM


