


20
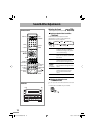
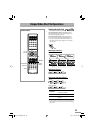
Setting the Clock
Without setting the built-in clock, you cannot use Daily
Timer or Recording Timer (see page 54).
• To exit the clock settings, press CLOCK/TIMER
(while holding SHIFT) as required.
• To correct a mis-entry during the process, press
CANCEL (while holding SHIFT). You can return to
the previous step.
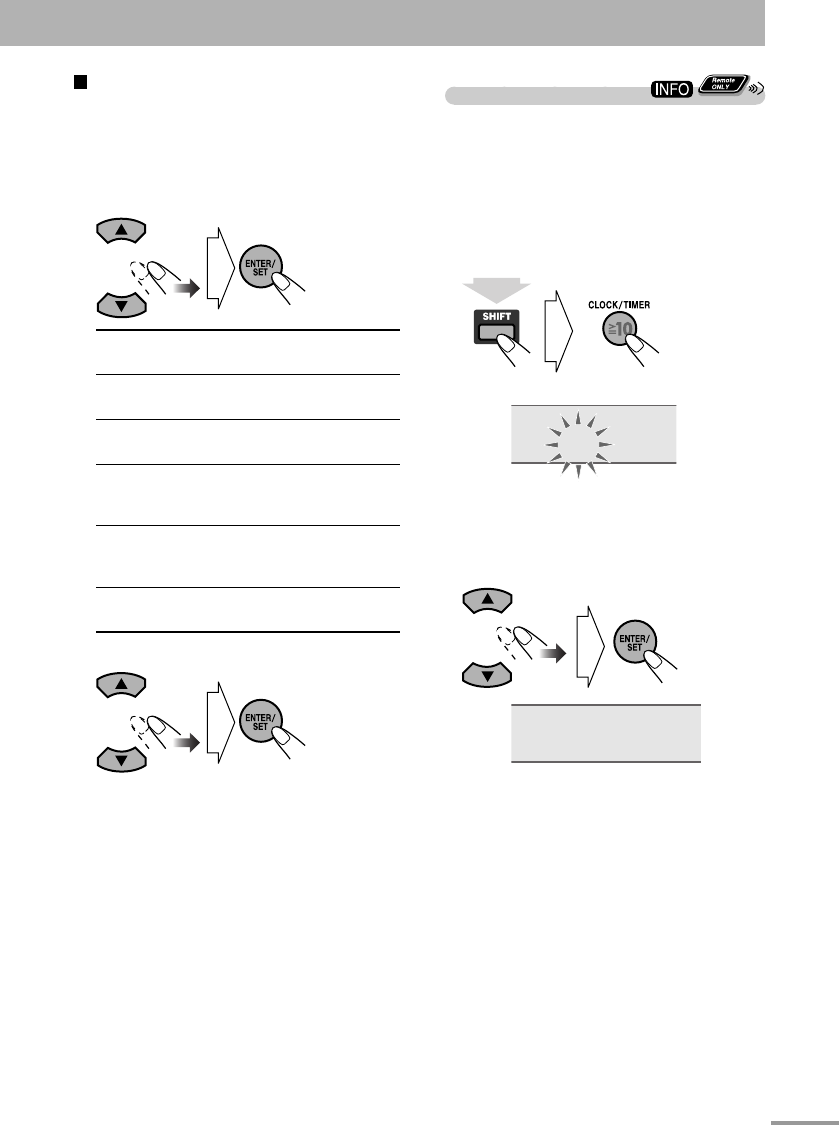
1 Activate the clock setting mode.
(while holding...)
0:00
• If you have already adjusted the clock before,
press the button repeatedly until the clock setting
mode is selected.
2 Adjust the hour, then the minute.
CLOCK SET
Now the built-in clock starts working.
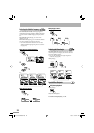
To adjust the picture tone
1 Select “USER1” or “USER2.”
• Follow steps 1 and 2 explained in “To select a
preset picture tone.”
2 Select a parameter you want to adjust.
GAMMA
Adjust if the neutral color is
bright or dark (–3 to +3).
BRIGHTNESS
Adjust if the entire picture is
bright or dark (–8 to +8).
CONTRAST
Adjust if the brightness ratio
is unnatural (–7 to +7).
SATURATION
Adjust if the picture is
whitish or blackish (–7 to
+7).
TINT
Adjust if the human skin
color is unnatural (–7 to
+7).
SHARPNESS
Adjust if the picture is
indistinct (–8 to +8).
3 Adjust the parameter.
4 Repeat steps 2 and 3 to adjust other
parameters.
To clear the screen, press VFP again.
text_EN_NXG9G5.indb 20text_EN_NXG9G5.indb 20 08.8.5 10:52:17 AM08.8.5 10:52:17 AM