79
Advanced Setup—Continued
This section explains the items on the Miscellaneous
menu.
Volume Setup
Note:
This procedure can also be performed on the AV receiver
by using its [Setup] button, arrow buttons, and [Enter]
button.
Volume Setup/OSD Setup
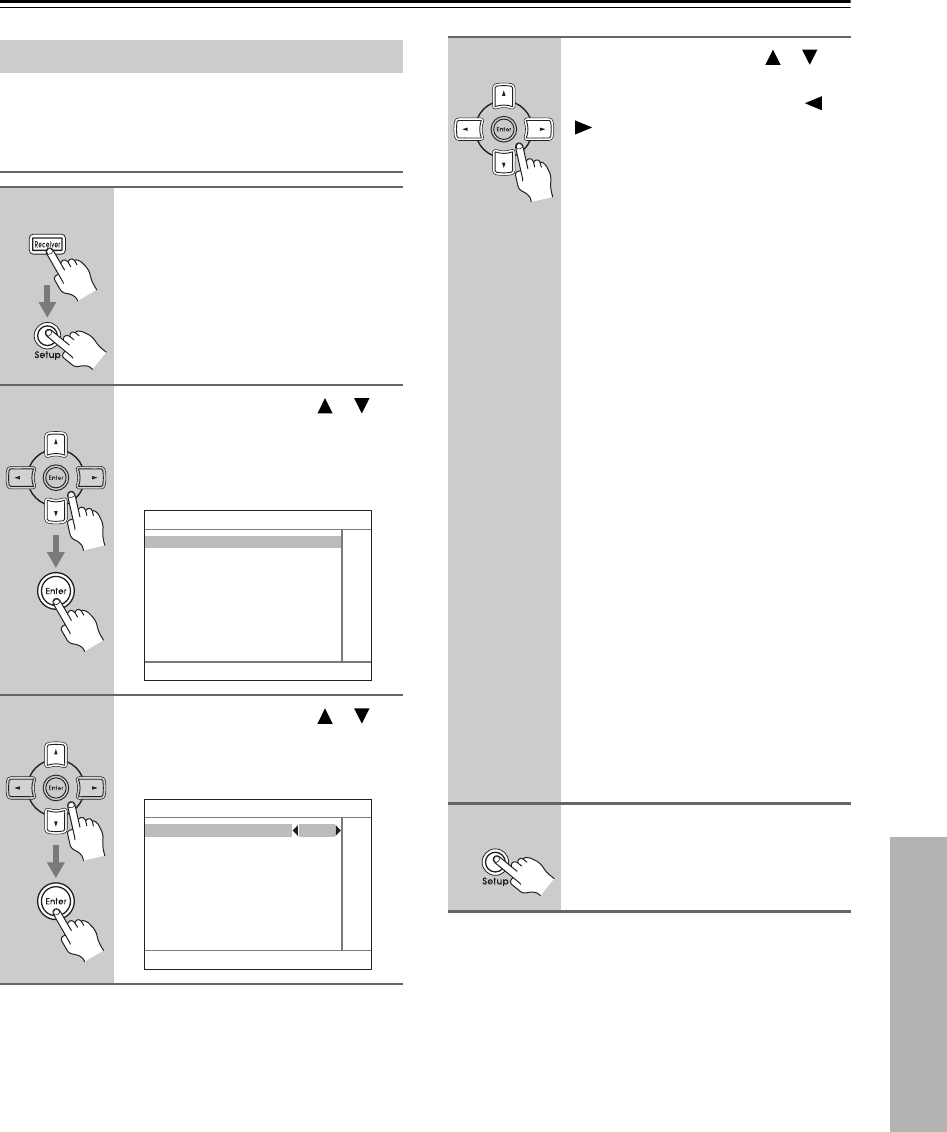
1
Press the [Receiver] button fol-
lowed by the [Setup] button.
The main menu appears onscreen.
2
Use the Up and Down [ ]/[ ]
buttons to select
“6. Miscellaneous,” and then
press [Enter].
The Miscellaneous menu appears.
3
Use the Up and Down [ ]/[ ]
buttons to select “1. Volume
Setup,” and then press [Enter].
The Volume Setup menu appears.
6. Miscellaneous
1. Volume Setup
2. OSD Setup
3. 12V Trigger A Setup
4. 12V Trigger B Setup
5. 12V Trigger C Setup
6–1. Volume Setup
Maximum Volume Off
Power On Volume Last
Headphone Level 0dB
Zone2 Maximum Volume Off
Zone2 Power On Volume Last
4
Use the Up and Down [ ]/[ ]
buttons to select the settings,
and use the Left and Right [ ]/
[ ] buttons to set them.
Maximum Volume / Zone2 Maximum
Volume
With these preferences, you can pre-
vent the volume being set too high by
specifying maximum volume levels for
the main room and Zone 2.
The range is from 50 to 99. To specify
no maximum volume, select Off.
Power On Volume / Zone2 Power On
Volume
With these preferences, you can specify
the volume settings to be used in the
main room and Zone 2 when the AV
receiver is turned on.
The range is MIN, 1-99, MAX. To use
the same volume level that was used
when the AV receiver was turned off,
select Last.
The “Power On Volume” cannot be set
higher than the “Maximum Volume”
setting.
Headphone Level
With this preference, you can specify
the headphone volume relative to the
main volume. This is useful if there’s a
volume difference between your speak-
ers and your headphones. The head-
phones level can be set from –12 dB to
+12 dB.
5
When you’ve finished, press the
[Setup] button.
The setup menu closes.
