Setting Up Your HD Receiver
Page 2-13
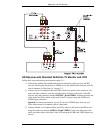
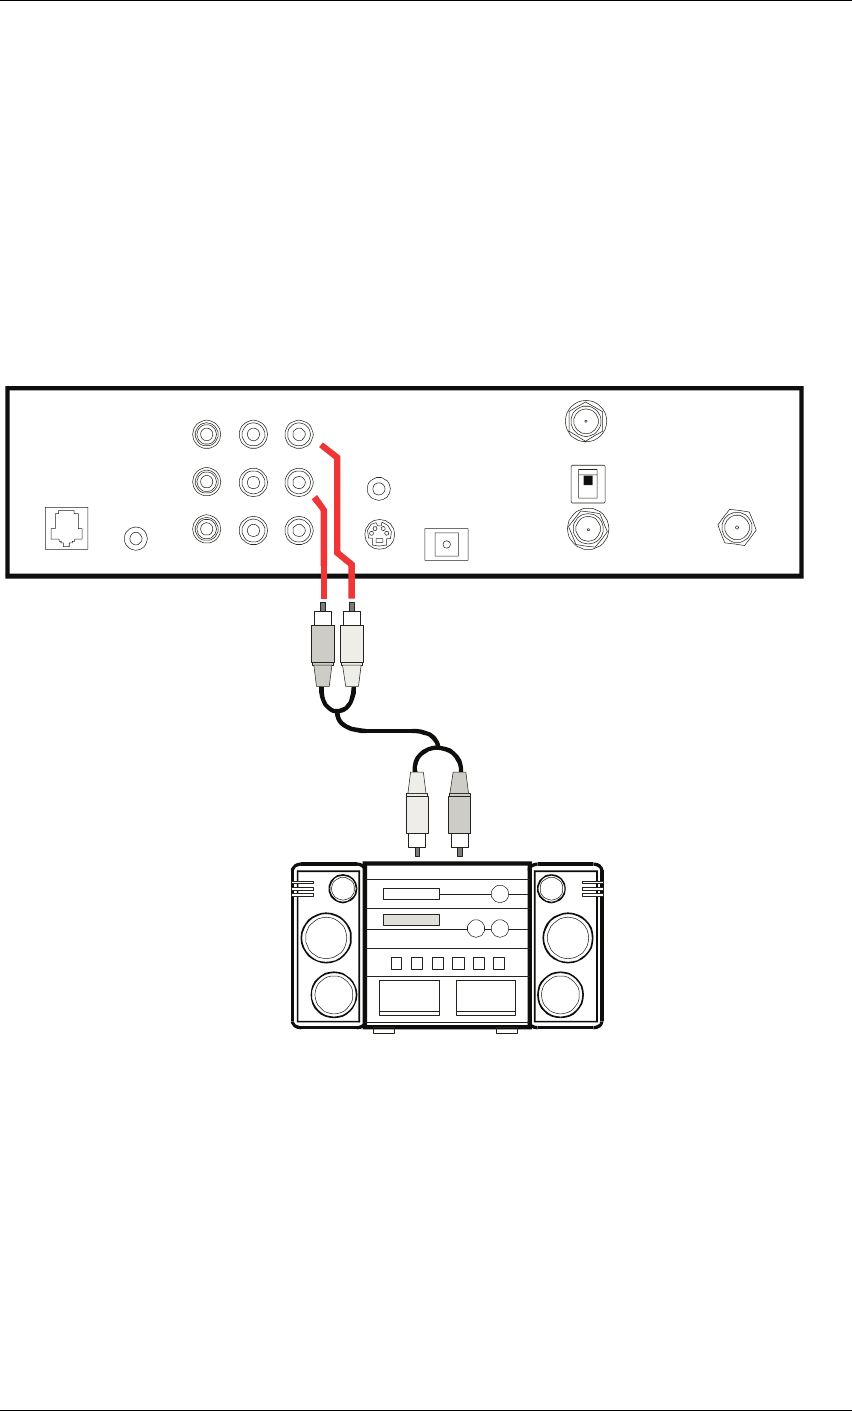
HD Receiver and Standard Stereo System
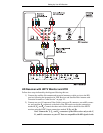
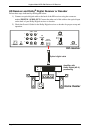
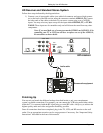
Follow these steps indicated by the diagram below:
1) Connect a set of stereo audio cables (one white left connector and one red right connec-
tor) to the back of the HD receiver using the connectors marked AUDIO L, R. Connect
the other ends of the cables to the back of your stereo system using a set of AUDIO
inputs. You may select any input except for the input marked PHONO, TT, or TURN-
TABLE. Those inputs are for turntables only and will distort the sound from any other
components.
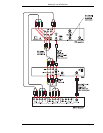
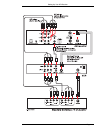
Note: If you used both sets of connectors marked VIDEO and AUDIO L, R in
connecting your TV or VCR you will have to replace one set of the AUDIO L,
R connections as shown below.
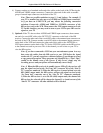
Finishing Up
You can mix and match the different hookups described herein to suit your entertainment
system’s available connections. For example, you can connect the VCR using audio/video cables,
while the TV is connected with the RF signal using a coaxial RF cable. Always try to achieve the
highest quality audio and video and greatest flexibility possible.
Once all connections have been completed, plug in the TV, VCR, and HD receiver to the wall
outlet. Use an appropriate extension cord or surge protector if necessary. See “Important Safety
Instructions” described in the front of this manual.
AUDIO
IN FROMANT
CH3
CH4
OUT TO TV
VIDEO VIDEO
VCR
CONTROL
REMOTEPHONE JACK SATELLITE IN
RF
DIGITAL
AUDIO OUT
S-VIDEO
LYL
RR
AUDIO
P
r
P
b
HD receiver
Audio cable
Stereo audio equipment
L R
LR


