Model MRC88 Page: 65
© 2003 Xantech Corporation
RS232 SETTINGS
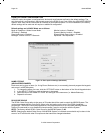
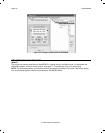
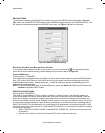
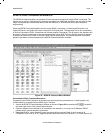
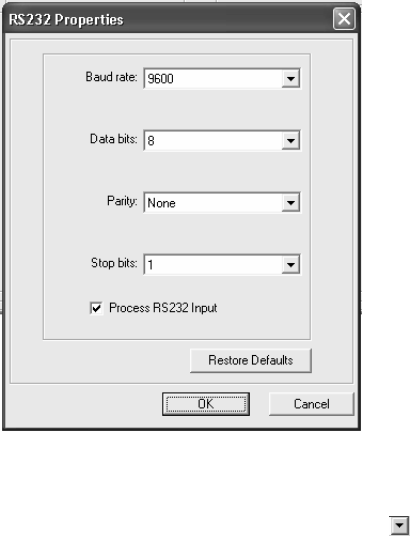
To configure the settings of the RS232 Port located in the rear of the MRC88 Controller/Amplifier –Figure 3-
(29), click on the CHANGE SETTINGS button under the RS232 Settings section of the CONTROLLER tab. This
will display all configurable settings for the RS232 control port. See Figure - 34 below for reference.
Figure 34 - RS232 Port Default Settings
BAUD RATE, DATA BITS, STOP BITS AMD PARITY SETTINGS
To change Baud Rate, Data Bits, Stop Bits or Parity settings, click on the corresponding to access the drop-down
menu and click on the desired setting. Default settings for all are shown above in Figure 34.
P
ROCESS RS232 INPUT
(Factory Default = “ENABLED”)
This setting should be enabled when the RS232 port will be used to receive data to control the MRC88 System
from a PC or other RS232 device. If the RS232 port will only be used to control an external device from the
Keypad (thermostat controller, lighting system etc..), disable this setting to prevent the MRC88 system from
misinterpreting erroneous data.
NOTE: To control the MRC88 System from the RS232 port, please see Section 5: RS232 Input Translator and
Section 9: Appendix-RS232 Control.
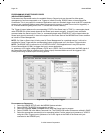
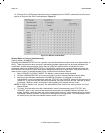
MONITOR LOCKOUT MODE
(Factory default: “DISABLED”)
This mode is only accessible if ‘Priority Lockout’ is enabled. If Priority Lockout is not selected (system is in
Whole House Mode), the Monitor Lockout Boxes are grayed out and therefore cannot be selected. Once the
boxes are accessible, checking the corresponding boxes prevents sources from being monitored (audio and
video) and controlled in specific zones. Example: If adult content is not to go to the children’s areas, this can be
set at the time of system installation. When a Source is selected in a zone that is checked, a message stating
MONITOR LOCKOUT will be displayed in the zones keypad LCD window and now video and/or audio for that
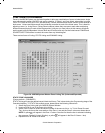
source will not be able to be monitored. To enable MONITOR LOCKOUT for a particular Zone/Source complete
the following instructions:
1. Select “PRIORITY LOCKOUT MODE” under MODE OF OPERATION. The Monitor Lockout boxes will
be activated.
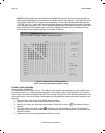
2. By Zone, click in the box of each Source that is NOT to be monitored in that zone.


