


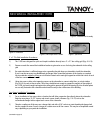
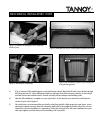
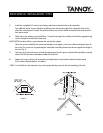

7) In this pho to (Fig. 15) we have removed the threaded rod, and installed eyebo lts with backing nuts into the couplers,
as described ea rlier. Det ail o f t he con ne ct ion w it h w ir e rope is shown in (Fig . 8), which is id e nt ical t op and
botto m. Take measurements to app roximate the lengths o f rope yo u will need. It m ight be convenient to make
some, or perhaps all of your wire ropes on the ground, and use a quick link (Fig. 7) on each end to connect
between both the suspension point and at the s ubwoofer. Again, it is important to follow local code and regulations
for use of w ir e rope in ov e rhea d suspension . C heck w it h y ou r su pplie r for addit iona l in st ruct ion s on it s u se.
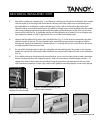
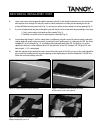
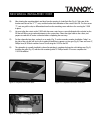
8) Once two installers have raised the subwoofer to the ropes and the sub is safely suspended, it can be leveled by
adjusting t he rope lengt hs. Ch e c k for even tension on all rope s, an d note t hat it is much e asie r to le t some w ir e
slip out of the tighter ropes, rather than trying to pull up and tighten the loose ropes. Once the subwoofer is level,
the installation is com plete.
15
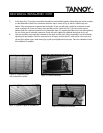
MECHANI CAL INS TALLATION 110TB
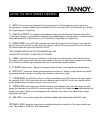
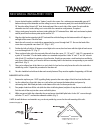
Figure 13: Sus pens ion points
with turnbuckles installed
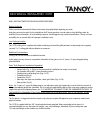
Figure 14: Leveled subwoofer
Figure 15: Eyebolts in place of threaded rod
Figu re 16: Leveling th e sub wo o fer