25
Use the fl and ‡ keys to move between letters either left or
right respectively.
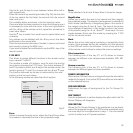
Press the numeric key matching the letter (Fig. 26), the first click
of the key selects the first letter, the second click the second
letter and so on.
The available letters are shown in the text insertion menu.
Once one letter has been inserted, to insert the following one it
is necessary to move with the cursor in the next right position
with the ‡ key of the remote control, repeat this procedure to
insert other letters.
Use the · key to switch from small case to capital letters and
viceversa.
Any mistake can be deleted with the
‚ key once it has been
positioned on the wrong letter.
Once the text insertion process is finished, it can be confirmed
and saved by clicking the
MENU+
key.
If you want to delete the modifications use the
MENU-
key of the
remote control.
F1/F2 KEYS
This allows to assign different functions to the remote control
keys, named F1 and F2.
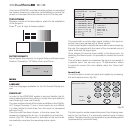
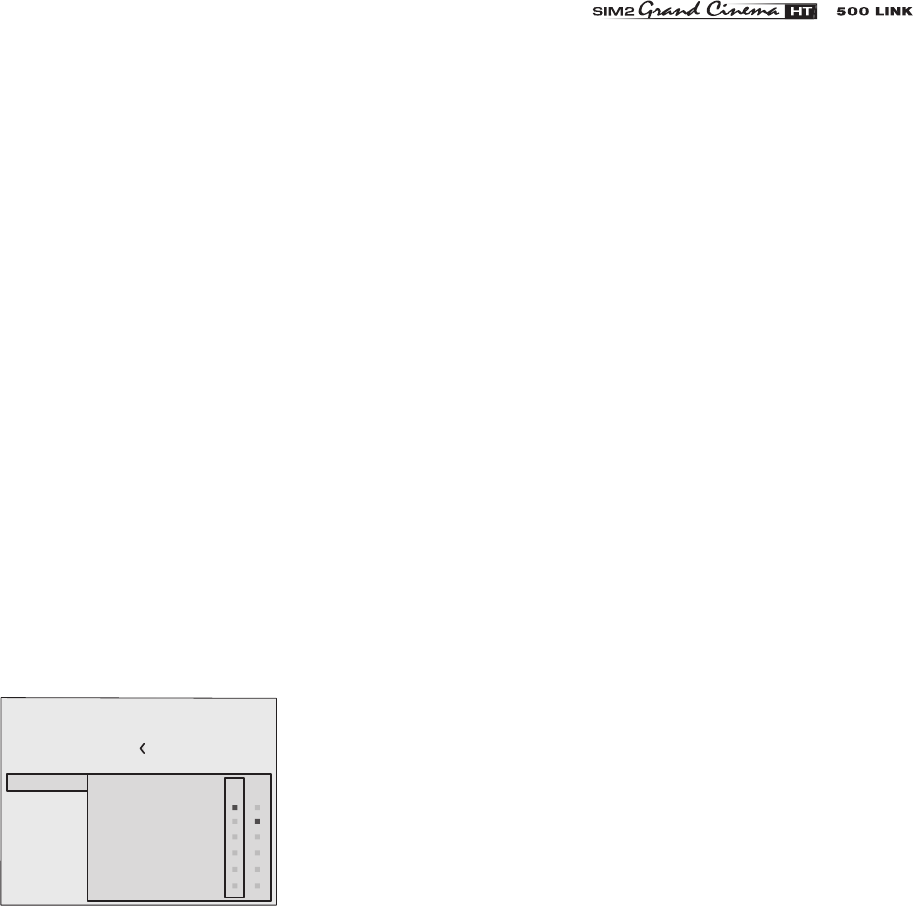
The window is made of 6 options, once for each line and by
two columns showing the F1-F2 keys. The choice between F1
and F2 is made by the fl and ‡ keys of the remote control; the
function given to F1 and F2 is chosen with the ‚ and · keys.
The function delivered by the key is memorized by the inter-
section on the line and column.
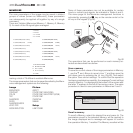
In the following window are described the 6 options
Source list
F1/F2 keys
Source i nfo
OS D
Ba ckgroung
OS D P
osition
OS D Ti
meout
Language
Menu
E nglish
Zoom
Focus
Magnification
Blan
k
Colour temperature
Ga
mma correctio n
F1 F2
Fig.27
Zoom
Allows to access the optic zoom, where the � and � keys allow
to increase or decrease the size of the projected image.
Focus
Once selected, the fl and ‡ keys allow to focus the image.
Magnification
Allows you to select the area to be viewed and then magnify
the projected image. The degree of enlargement is selected in
Zoom mode (identified by a magnifying glass in the centre of
the image) using the
fl and ‡ keys. The area of the picture
to be enlarged is selected in Pan mode (symbol in the centre
of the picture) using the fl,‡, ‚ and · arrow keys. You can
toggle between Zoom and Pan mode by pressing the F1/F2
key on the remote control.
Blank
Blanks the active video signal producing a completely black
screen. Once pressed the key an indication of a few seconds
on the OSD will confirm its activation. A click of any other key
of the remote control allows to restore the previous settings.
Color temperature
The following click of the key (F1 or F2) allows to choose
between the different color temperatures available.
HIGH, MID,
LOW, USER.
Gamma correction
The following click of the key (F1 or F2) allows to choose
between the different gamma curves available.
SOURCE INFORMATION
When active
(YES)
each source change will show the information
related to the signal. If not active
(NO)
there will be no information
on the selected source.
OSD BACKGROUND
Determines the type of background for the On Screen Di-
splay.
OSD TIMEOUT
Use this adjustment to set the display time after which the On
Screen Display will disappear.
OSD POSITION
Allows the On Screen Display to be positioned in a particular
area of the projected image. The OSD can be positioned using
the arrow keys for fine adjustments or keys 1...9 on the remote
control to select one of 9 preset positions.


