


ENGLISH
41
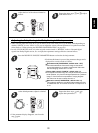
ROOM 2 SOURCE PLAYBACK
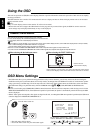
When using the ROOM 2 remote control unit
• You can use the ROOM 2 function with the ROOM 2
remote control unit more conveniently.
• This function allows enjoying one source in the main room and playing another in a different room at the same time.
• The analog signals from the 8 CH DIRECT inputs and TAPE MONITOR INs cannot be output from the VIDEO 2 / ROOM 2(audio) OUTs and
the digital signals from the USB terminal cannot be output from the COAXIAL DIGITAL OUT, meaning no playback in a different room.
• When you connect the multi-room system kit to the IR IN jack of this unit, you can control this unit with not only the universal remote control unit
but also the ROOM 2 remote control unit in a different room, too.
(For details, refer to “CONNECTING MULTI-ROOM SYSTEM KIT” on page 12 and “ROOM 2 Remote Controls” on page 22.)
CAUTION : Even when the ROOM 2 function is deactivated, if the VIDEO 2 OUT is set to On, the signals of the selected source as a
main room source will be output from the VIDEO 2/ROOM 2 OUTs.(For details, refer to “When selecting the VIDEO 2 OUT”
on page 55.)
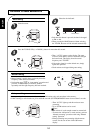
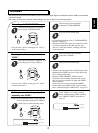
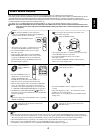
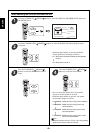
Press the ROOM 2 button.
1
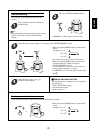
When using the universal remote control unit or the
buttons on the front panel.
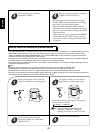
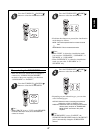
Press the ROOM 2 button.
1
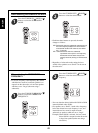
Select the desired
input as a ROOM 2
source.
2
• “R2” lights up and “(R2)~” is displayed for several
seconds and the ROOM 2 function is activated.
• To cancel the ROOM 2 function, press it again.
Then “R2” goes off.
• In the operating mode, when one of the ROOM 2
INPUT SELECTOR buttons on this remote control
is pressed, the ROOM 2 function is automatically
activated without pressing the ROOM 2 button and
the desired input is selected.
• The selected ROOM 2 source is
displayed for several seconds as
follows: (R2) PHONO, (R2)
TUNER, (R2) CD, (R2) AUX, (R2) VIDEO 1~6.
• Only these sources can be played in another room.
• When an audio program source is selected, as a ROOM 2
source, the image of the video program source selected
previously can be played separately, too. (For details, refer
to “ SETTING THE ROOM2 FEED SETUP” on page 64.)
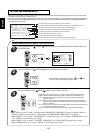
• The MUTE and VOLUME UP/DOWN( / ) buttons on
this remote control can be available only when the ROOM 2
function is operating.
Note:
• When the muting effect for the ROOM 2 source is operating,
“MUTE” is flickering.
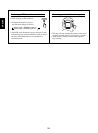
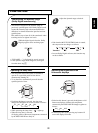
Start play on the component related to the
ROOM 2 source.
3
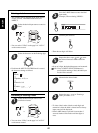
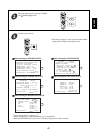
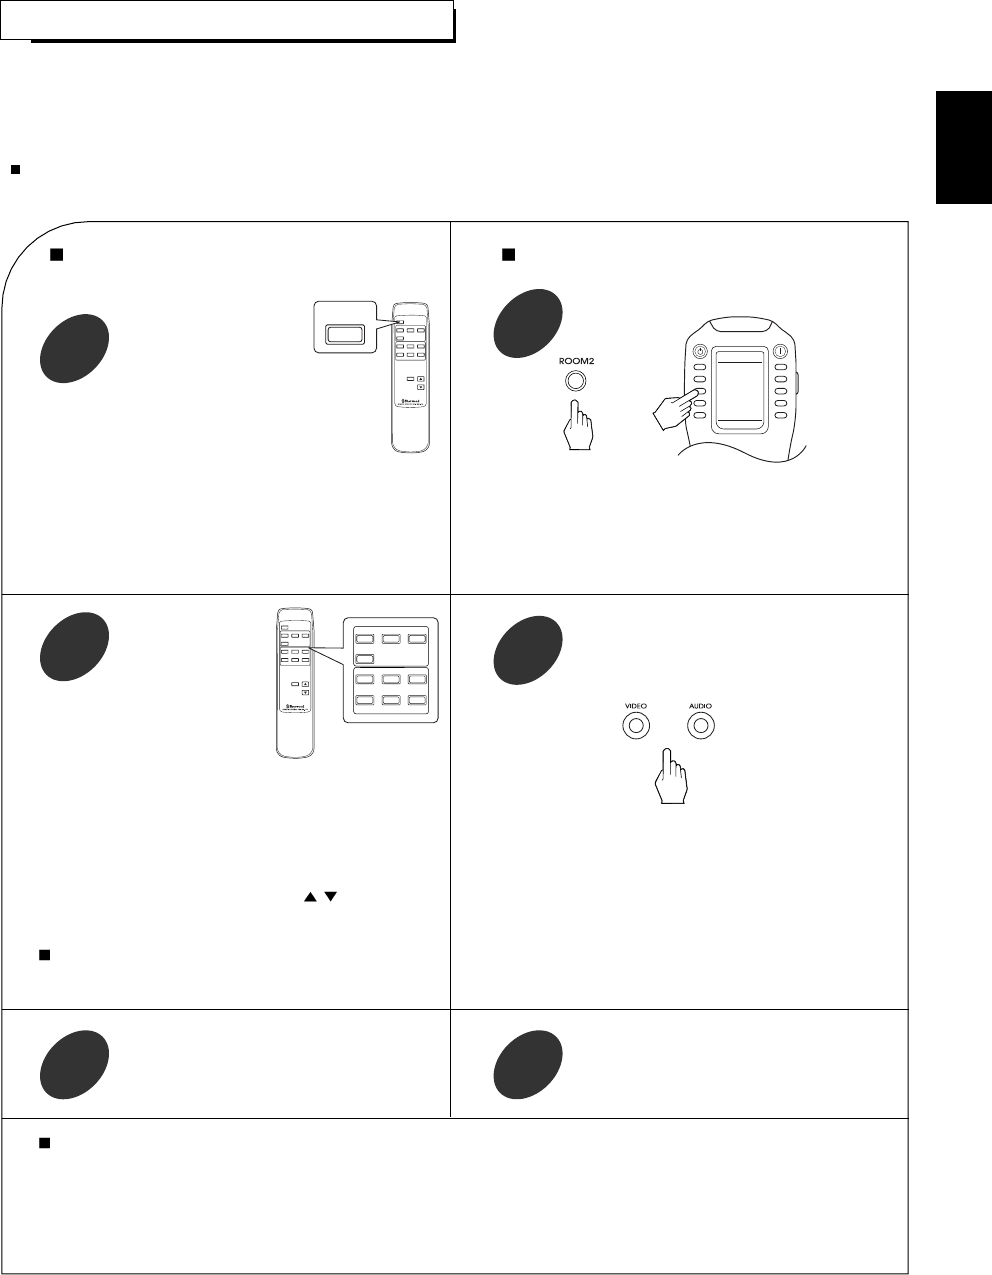
Select the desired input as a ROOM 2 source
while displaying “(R2)~”.
2
• “R2” lights up and “(R2)~” is displayed for several seconds
and the ROOM 2 function is activated.
• To cancel the ROOM 2 function, press it again.
Then “R2” goes off.
• You can cancel the ROOM 2 function with using these
buttons even in the standby mode.
• The selected ROOM 2 source is displayed for several
seconds.
• Only while displaying “(R2)~”, the volume level for the
ROOM 2 source can be adjusted.
• When “(R2)~” is not displayed, press the ROOM 2 button
briefly twice.
Start play on the component related to the
ROOM 2 source.
3
Notes:
• When the pure audio function is activated for the main room source, the video signals of the ROOM 2 source cannot be output, too.
• Even when this unit enters the standby mode, in such a case that “R2” lights up still and the STANDBY button lights up in blue as it
does in the operating mode, meaning only the ROOM 2 circuitry operates, the ROOM 2 source can be played independently.
• When the ROOM 2 function is operating in the standby mode, only the ROOM 2 remote control unit is available.
• When you do not use the ROOM 2 function, cancel the ROOM 2 function to save electricity.
• For ROOM 2 volume adjustment, refer to “SETTING THE ROOM 2 FEED SETUP” on page 64.
VIDEO 6
ROOM2
PHONO TUNERCD
AUX
VIDEO 1 VIDEO 3VIDEO 2
VOLUME
MUTE
VIDEO 4 VIDEO 5
VIDEO
AUDIO
ROOM2
VIDEO 6
ROOM2
PHONO TUNERCD
AUX
VIDEO 1 VIDEO 3VIDEO 2
VOLUME
MUTE
VIDEO 4 VIDEO 5
VIDEO
AUDIO
VIDEO 6
PHONO TUNERCD
AUX
VIDEO 1 VIDEO 3VIDEO 2
VIDEO 4 VIDEO 5
VIDEO
AUDIO
or
STANDBY
POWER ON
AUD2
SLEEP D/A
DIMM S.A/B
ROOM2 SUR.B
T.TON PURE
OSD PARA.
PAGE1