63
Installing & Setting Up the Driver (Macintosh)
■ FreeMIDI settings
1.
Connect the GI-20 to your computer.
1) With the power switch turned OFF, connect the AC adaptor to the GI-20.
2) Connect the AC adaptor to an electrical outlet.
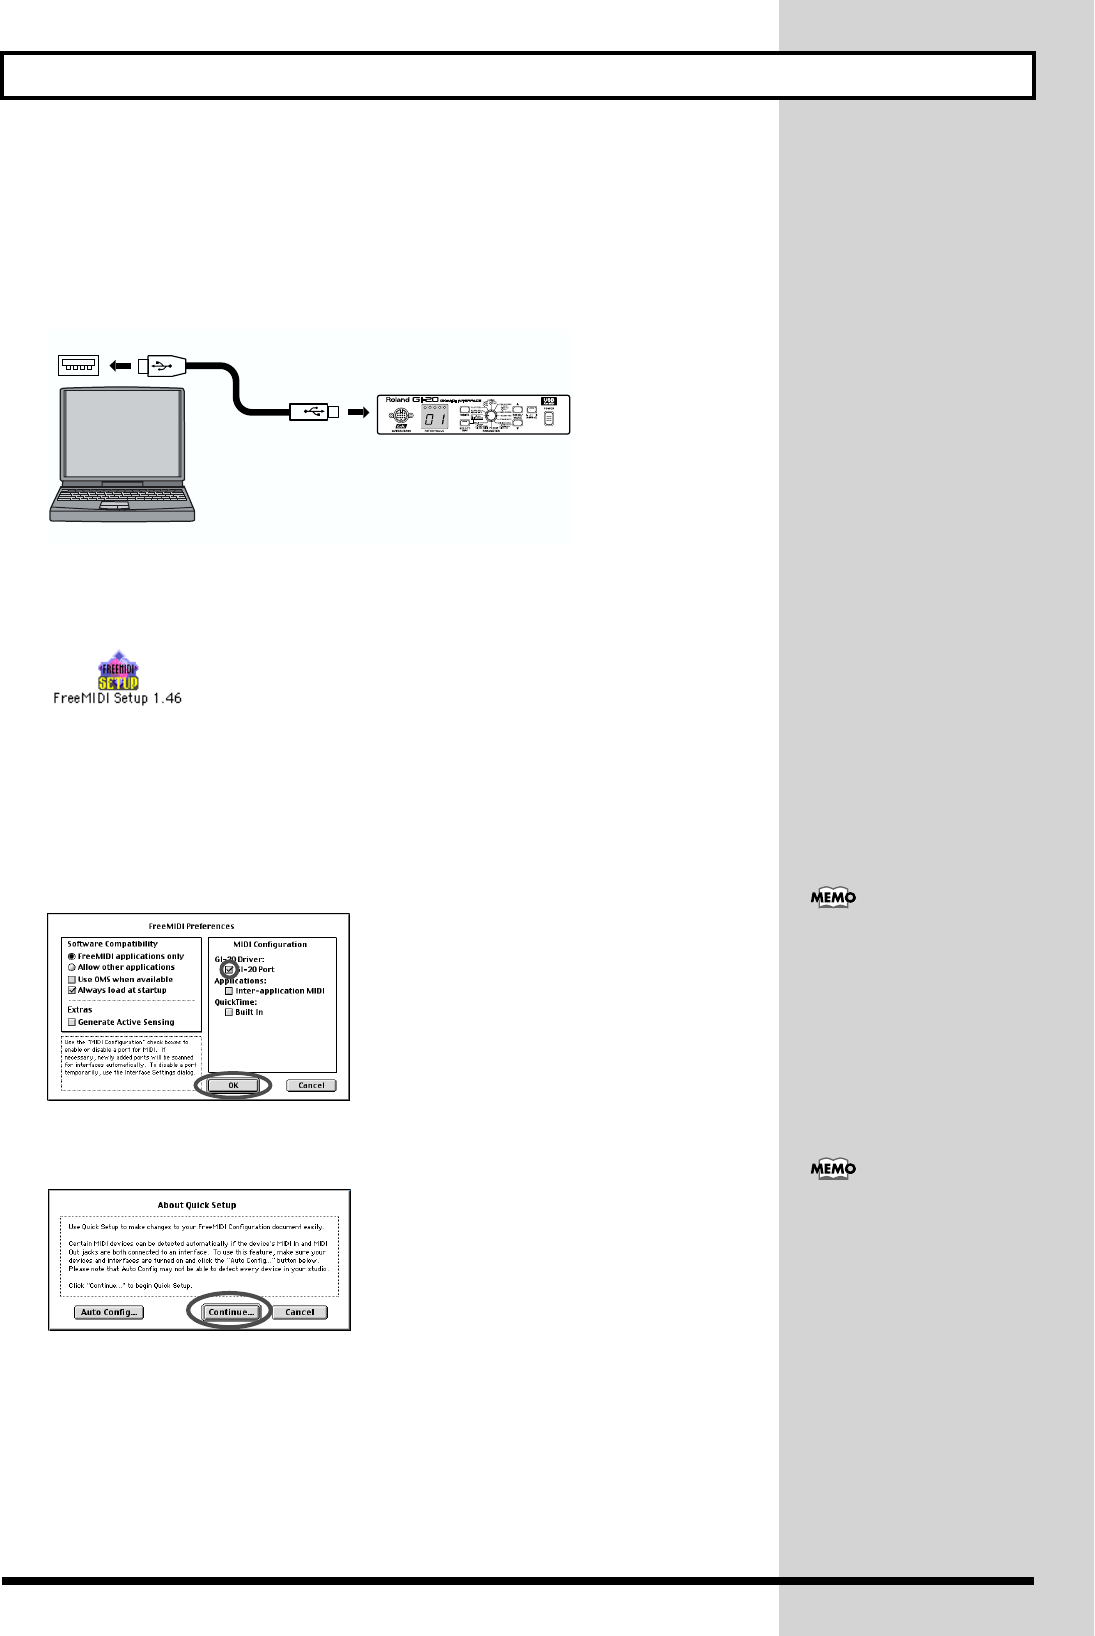
3) Use the USB cable to connect the GI-20 to your computer.
fig.d99
2.
Open the “FreeMIDI Applications” folder, and double-click the “FreeMIDI
Setup” icon.
fig.d43
3.
The first time FreeMIDI is started up, a “Welcome to FreeMIDI!” dialog box will
appear. Click [Continue].
If this is the second or later time, select “FreeMIDI Preferences” from the File menu.
4.
In the “FreeMIDI Preferences” dialog box, check “GI-20 Port” which is located
below GI-20 Driver in MIDI Configuration, and click [OK].
fig.d44
5.
The “About Quick Setup” dialog box will appear. Click [Continue].
fig.d45
USB cable
USB connector of your Computer
Computer
GI-20
If the dialog box does not show
“GI-20 Driver,” check whether
the GI-20 is connected
correctly, and start up
FreeMIDI Setup once again.
If the “About Quick Setup”
dialog box is not displayed,
select Quick Setup... from the
Configuration menu.
