- 11 -
# Control Page
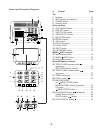
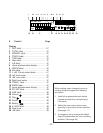
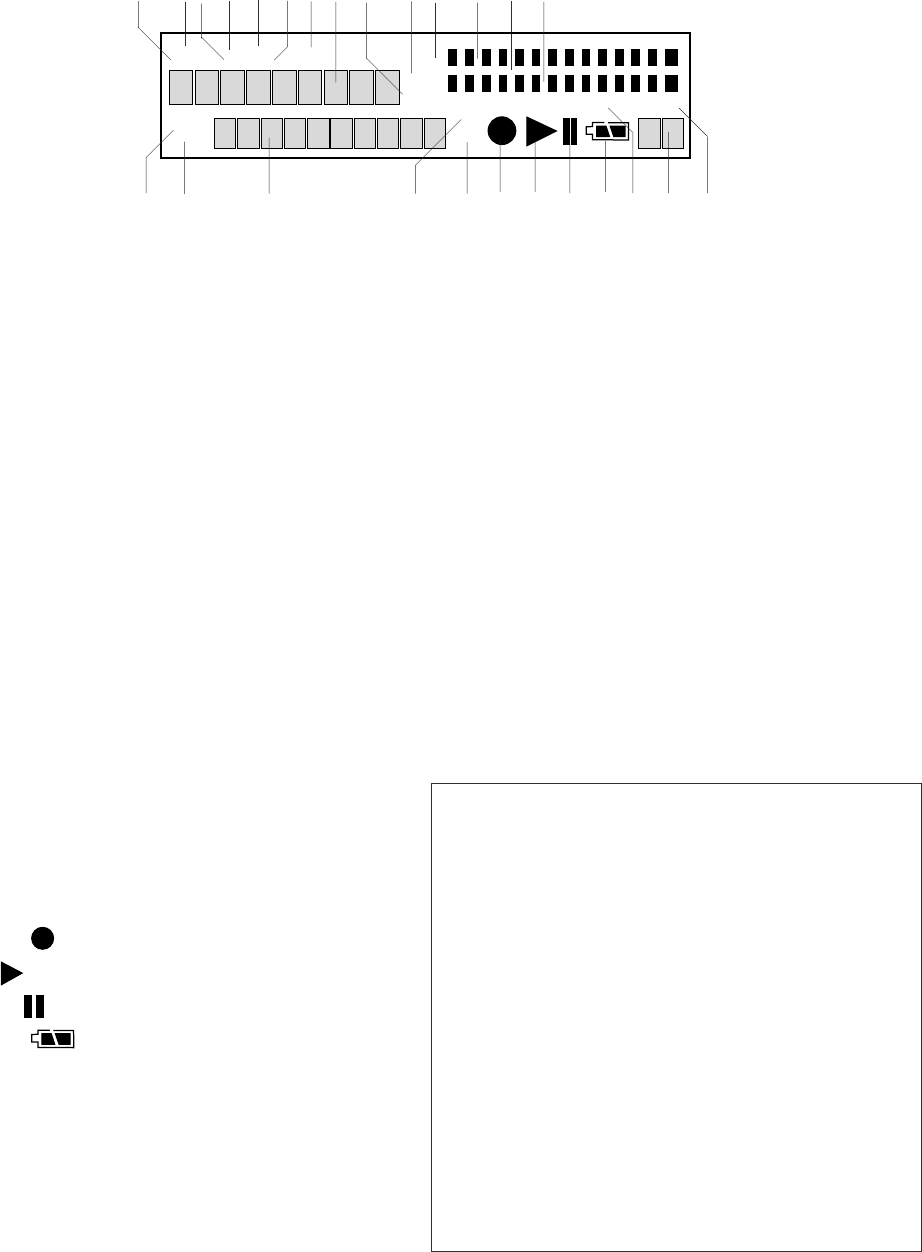
Display
1 REC label.......................................... 47
2 TOTAL label ...................................... 47
3 REMAIN label .................................. 47
4 TRACK label ..................................... 47
5 TIME label......................................... 47
6 kbps label .......................................... 47
7 A-B label ........................................... 47
8 Upper alphanumeric display ............. 47
9 AM/PM label...................................... 47
10 kHz label ........................................... 47
11 L -dB R level meter labels ................ 47
12 Left level meter ................................. 47
13 -dB over scale .................................. 47
14 Right level meter ............................... 47
15 TRACK label .................................... 47
16 MARK label ....................................... 47
17 Lower alphanumeric display ............. 47
18 INT MIC label .................................... 48
19 LINE label ......................................... 48
20 Record
......................................... 48
21 Play .............................................. 48
22 Pause .......................................... 48
23 Battery ...................................... 48
24 S. SKIP label ..................................... 48
25 Peak level ......................................... 48
26 -dB label ............................................ 48
1 2 3 4 5 6 7 8 9 10 11 12 13 14
MARK
TRACK
TOTALTRACKTIME
REC REMAIN kbps
A-B
L
R
-dB
PM
kHz
AM
INT
MIC
LINE
S.SKIP
-dB
over
0
26
12
20
40
00
15 16 17 18 19 20 21 22 23 24 25 26
Hint:
When making major changes to your re-
cording setup we suggest the following
procedure:
1. Identify the appropriate input device
(internal microphone, microphone(s),
Line input).
2. Select the input menu choice corre-
sponding to your input device selection.
(See page 17.)
3. If necessary, set or change the default
Algor/File parameters for your recording
situation. (See page 28.)


