- 37 -
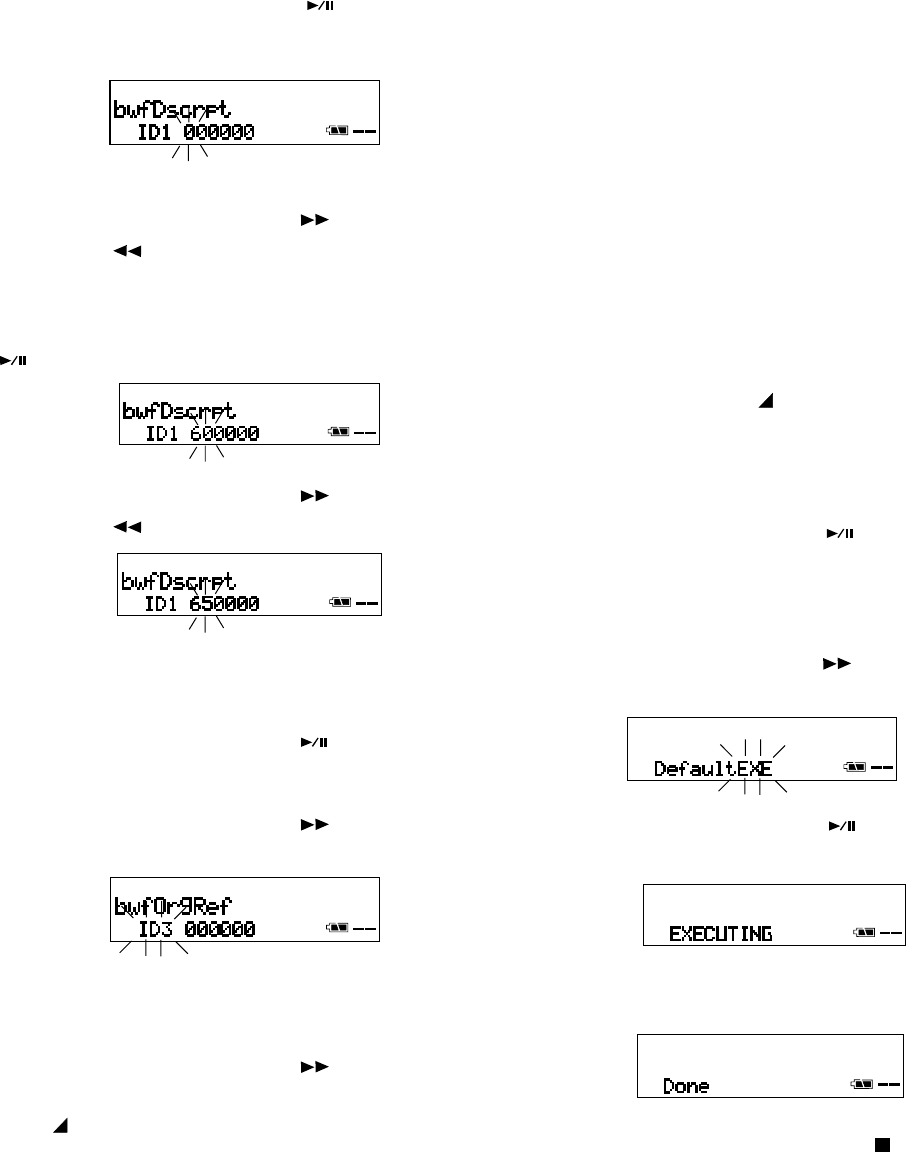
3. Press and release the ENTER button to
accept the ID# choice and switch to the
highest number position.
4. Press and release the FWD/+ button
or
the -/REW button
to tab through the digits
0 through 9.
5. When correct Press and release the ENTER
button
to switch to the next digit.
6. Press and release the FWD/+ button
or
the -/REW button
to tab through the digits
0 through 9.
Repeat steps 5 and 6 until all six digits are
set.
7. Press and release the ENTER button
to
switch to ID# flashing.
8. Press and release the FWD/+ button
to
switch to the next ID#.
9. Repeat 5 - 8 for all three ID numbers. When
ID3 is flashing,
10. Press and release the FWD/+ button
to
switch to another menu choice, or press and
release the
MENU/STORE button to write
the menu change(s) and return to stop mode.
Menu Default
The Default menu choice resets all menu items to
their defaults. This is handy if you are setting up a
new setting configuration because you don't have
to check all the settings, you know they are at the
default.
Defaults are listed for each menu item.
Note:
US defaults are used for illustration. See page 51
for a table of menu defaults.
1. Select the Default menu choice:
a. From stop, press and hold the
MENU
button for about 2 seconds. MENU will appear
(flashing) in the display.
b. While MENU is flashing (for about 3 seconds)
press and release the ENTER button
.
The last Menu choice selected will appear.
(If the flashing MENU times out start over at
a.)
2. Press and release the FWD/+ button
repeatedly until Default is displayed and
flashing.
3a Press and release the ENTER button
to
write the defaults. EXECUTING will be
displayed,
then Done will be displayed briefly.
3b. Or, press and release the CANCEL button
to exit menu mode without changing menu
settings.
