


SUBSIDIARY SETTINGS
Page 84Friday, 8 April 2005 16:00
Filename [TH-R1R3EK_10Subsidiary.fm]
Masterpage:Left+
84
There is a time limit when performing the following setting. If the
time is up before completing the setting, re-perform from the
beginning.
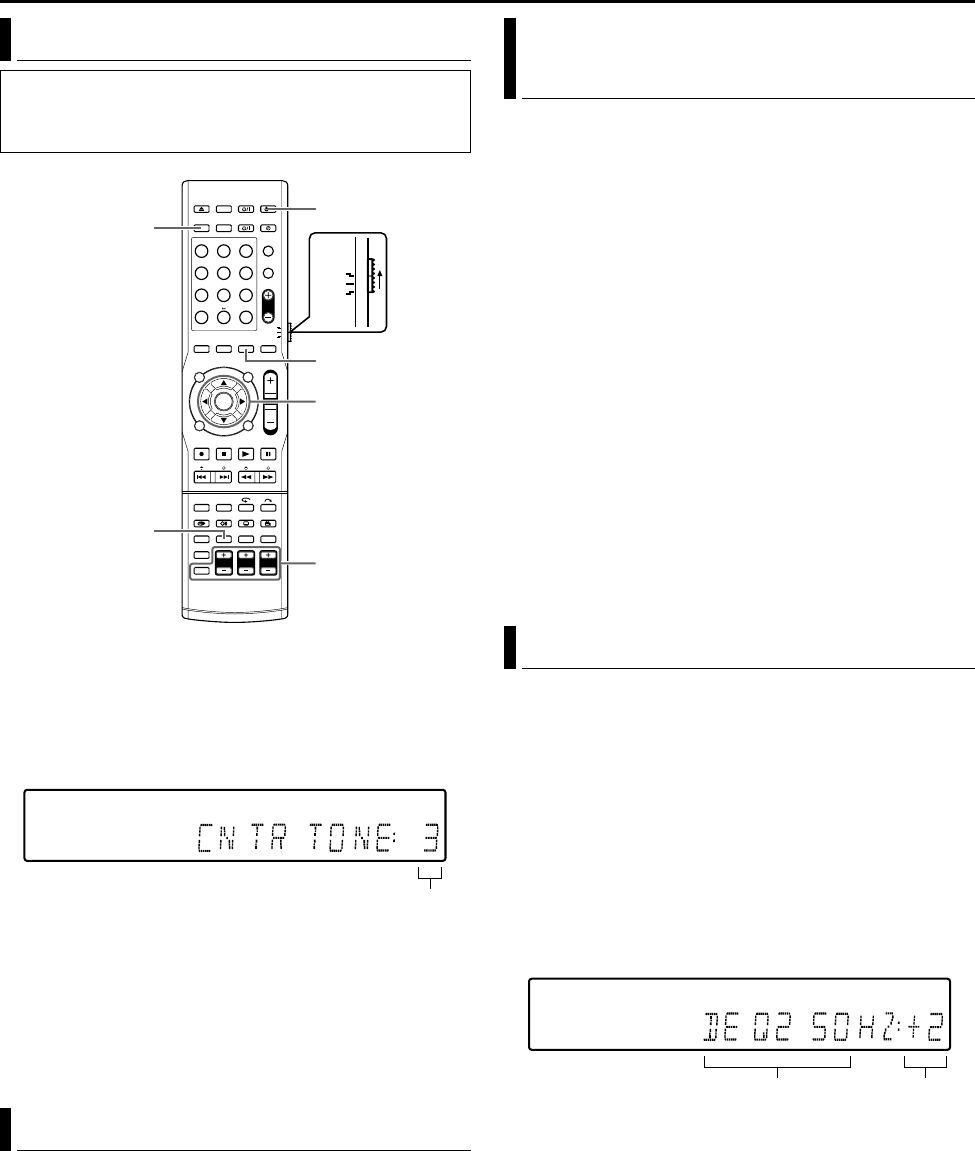
1 Press SETTING.
2 Press F or G to display ACNTR TONE :B on the front display
panel.
3 Press D or E to select from the numeric value 1 - 5.
By adjusting the center tone, when a larger value is set, for
instance, sounds such as dialogue can be heard more sharply
and clearly.
Normally select 3.
● It is not possible to set the center tone if there is no sound
output from the center speaker during SURR OFF or when
there is a 2-channel signal input under AUTO SURR mode etc.
● The center tone setting is memorised with respect to each
Surround mode.
After connecting the unit to the subwoofer, the subwoofer turns on/
off in conjunction with the power of the unit by pressing AUDIO A
on the remote control. In addition, the system automatically turns
off the subwoofer when a headphone is inserted to the headphone
jack on the front panel and when TV DIRECT mode is being set.
You can manually adjust the output level of each speaker with the
test tone generated in a fixed order from each speaker.
The test tone is generated in the following order from each
speaker.
Left front speakerNCenter speakerN
Right front speakerNRight surround speakerN
Left surround speakerNSubwooferN
Back to left front speaker.
1 Press TEST TONE.
2 Test tone is generated in the above stated order.
3 Adjust the output level with the speaker output adjustment
buttons on the remote control representing the speakers
generating the test tone.
For operating details, refer to page 25.
NOTES:
● Each time you press the speaker output adjustment buttons +/–,
the current output level of the speaker under adjustment is
displayed on the front display panel, and a test tone with the
same output level is generated.
● If no adjustment is made within approximately 4 seconds, the
subsequent test tone will be generated.
● Pressing TEST TONE again stops the test tone.
● You can made the same adjustment by pressing SETTING, then
set TEST to ON in the menu.
As the test tone is generated in the same order, adjust in the
same way as described above.
You can adjust the equaliser pattern according to your preference.
● The setting is stored once the adjustment has been made, and is
applicable to any source.
1 Press SETTING.
The item and its value of the setting performed most recently is
displayed on the front display panel.
2 Press selection keys to display the DEQ frequency to be
adjusted on the front display panel.
Each time you press F or G, the DEQ frequency changes.
DEQ250NDEQ1KNDEQ4KNDEQ16KN(back to the
beginning)
3 Press selection keys to select the value for setting the DEQ
frequency.
Each time you press D or E, the value changes from -8 dB to +8
dB in 2 dB interval.
4 Repeat steps 2 - 3 as necessary.
NOTE:
Equaliser pattern adjustment is only valid for the front speakers.
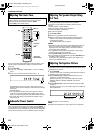
Adjusting The Center Tone
● Turn on the unit.
● Turn on the TV and select an input mode such as EXT1.
● Set the remote control selector switch to AUDIO.
● Press DVD on the remote control.
Subwoofer Power Control
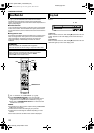
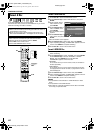
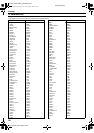
1 2 3
4 5 6
7 8 9
0
VOL
SAT
TV
AUDIO
(FGDE)
ENTER
DVD
TEST TONE
SETTING
AUDIO A
Selection Keys
Speaker output
adjustment buttons
1 to 5
Adjusting The Speaker Output Using
Test Tone
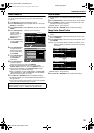
Adjusting The Equaliser Pattern
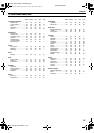
Set valueDEQ frequency
TH-R1R3EK_00.book Page 84 Friday, April 8, 2005 4:00 PM