42
DriveRack
®
DriveRack® User Manual
Section 5
• If any ZCs are currently connected and their dip switches properly set, the display will
read ‘Panel Detected’ for any such corresponding Panel (ID) numbers. Rotate the DATA
wheel to select the desired Panel (ID) number (options are 1-6). Once the panel to edit
has been selected, press the STORE button. The display will now give you the option of
selecting one of the following by rotating the DATA wheel:
• ZC-1 (volume boost and cut)
• ZC-2 (volume boost and cut with mute)
• ZC-3 (program change)
• ZC-4 (program change via contact closure)
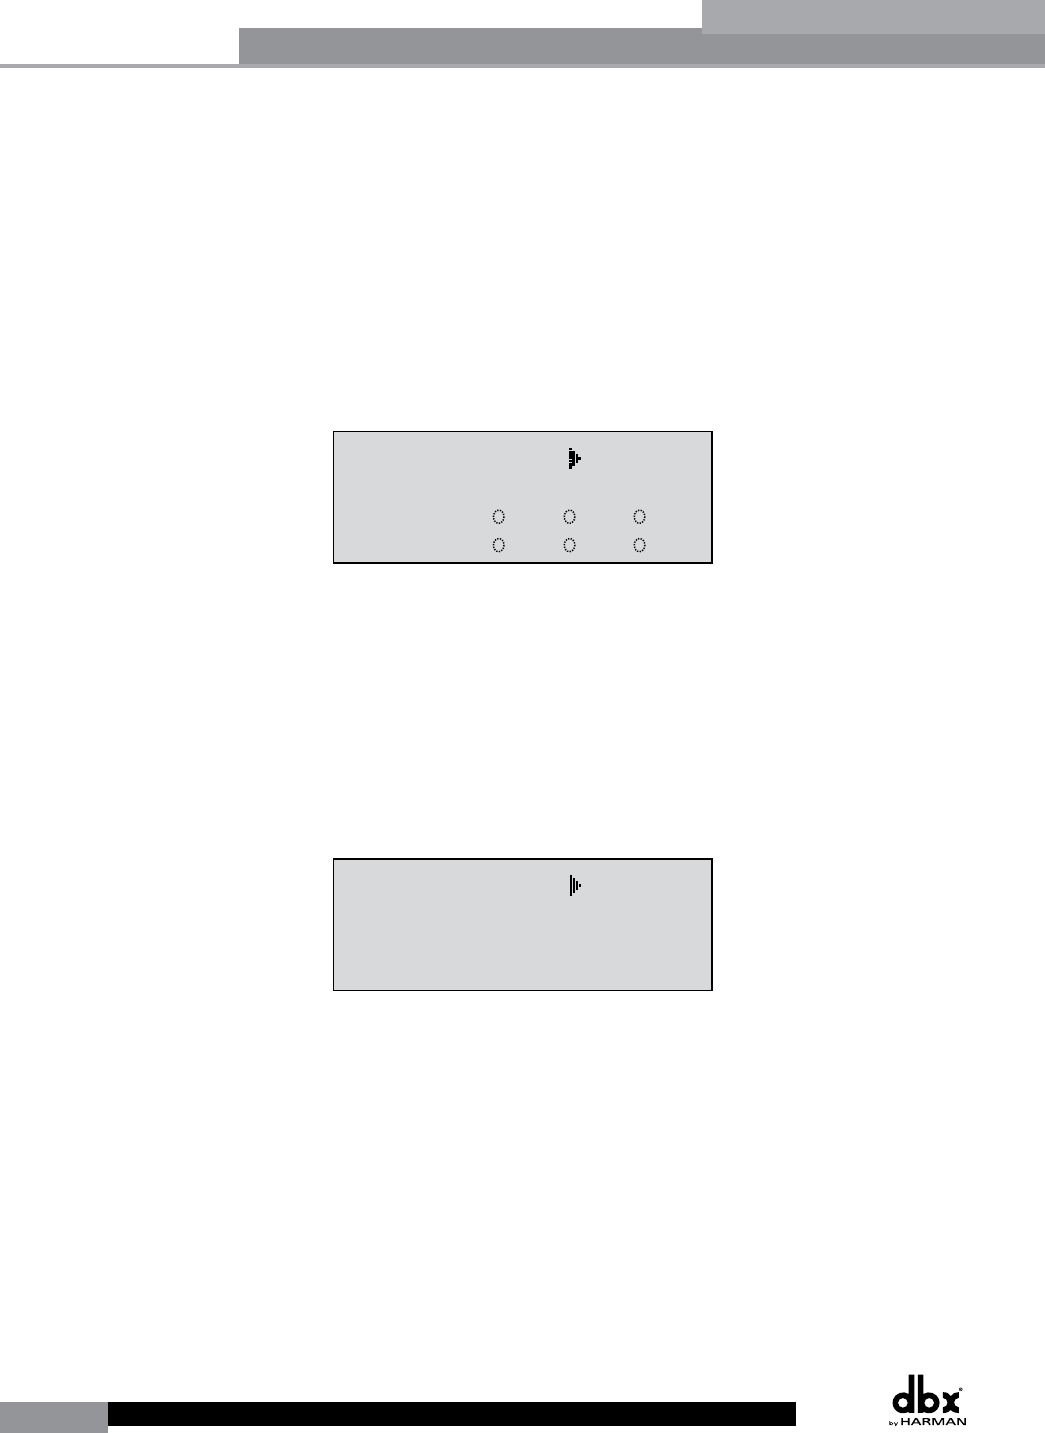
• If a ZC-1 or ZC-2 is selected, the display will appear something like this:
Utility
LCD Contrast 10
Auto EQ Plot RTA
Power Up Modes
PUP Program Stored
PUP Mute Current
ZC Setup
Panel 1 None
(STORE) - EDIT PANEL
Panel 1 ZC-2
Boost 0dB Cut 0dB
Output
1 3 5
2 4 6
Set Security Level
Pre EQ
Low
Set 260 Device Level
High
Password
Enter Password
Password
Edit High Password
Edit Med Password
Press Store to Change
Press Store
Program List
List Size 10
List Index 1
Program 1
Prog Change Mode
Program List
Prog Lock 24
Output Jumpers
Output 1
Setting 30
Panel 1 ZC-3
Select A
No Change
Panel 1 ZC-4
Switch
No Change
123 4
<DATA> - SELECT CHARACTER
<PREV/NEXTPG> - LEFT/RIGHT:
<STORE>-SAVE/<UTIL>-EXIT
NAME: ROCK VENUE
<DATA> - SELECT CHARACTER
<PREV/NEXTPG> - LEFT/RIGHT:
<STORE>-SAVE/<UTIL>-EXIT
NAME:
• Pressing the DATA wheel will give you the option of setting the range of boost. Pressing
the DATA wheel again will now allow you to set the desired cut range (for full boost/
cut range, set boost to 10 and cut to 40; it is a good idea to then bring down your
crossover gains 10dB in order to make up for this 10dB boost). Once the boost and cut
range has been set, pressing and rotating the DATA wheel will let you select any of the
six outputs to be affected by the programmed level controller. Press the STORE button
to get back to ZC Setup.
• Selecting a ZC-3 gives the ability to assign switches A-D to call up any preset in the 260.
Once a ZC-3 has been selected, the display will appear something like this:
Utility
LCD Contrast 10
Auto EQ Plot RTA
Power Up Modes
PUP Program Stored
PUP Mute Current
ZC Setup
Panel 1 None
(STORE) - EDIT PANEL
Panel 1 ZC-2
Boost 0dB Cut 0dB
Output
1 3 5
2 4 6
Set Security Level
Pre EQ
Low
Set 260 Device Level
High
Password
Enter Password
Password
Edit High Password
Edit Med Password
Press Store to Change
Press Store
Program List
List Size 10
List Index 1
Program 1
Prog Change Mode
Program List
Prog Lock 24
Output Jumpers
Output 1
Setting 30
Panel 1 ZC-3
Select A
No Change
Panel 1 ZC-4
Switch
No Change
123 4
<DATA> - SELECT CHARACTER
<PREV/NEXTPG> - LEFT/RIGHT:
<STORE>-SAVE/<UTIL>-EXIT
NAME: ROCK VENUE
<DATA> - SELECT CHARACTER
<PREV/NEXTPG> - LEFT/RIGHT:
<STORE>-SAVE/<UTIL>-EXIT
NAME:
• Pressing and then rotating the DATA wheel will allow you to first select the desired
position (A-D). These positions correspond to the rotary position labels on the ZC-3.
Once the desired position has been selected, press the DATA wheel again and rotate it
to select which program will be loaded when this selection (A-D) is made on the ZC-3.
Repeat this process for all other switch position/program assignments. Press the STORE
button to get back to ZC Setup
No change means that no program will be loaded for that selection.
• Selecting a ZC-4 gives the ability to load programs using SPDT type switches. Once a
ZC-4 has been selected, the display will appear something like this:
Utilities/Meters


