14
DriveRack
®
DriveRack® User Manual
2.1 Basic Navigation Modes
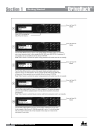
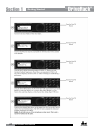
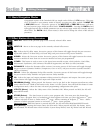
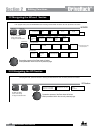
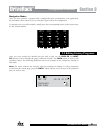
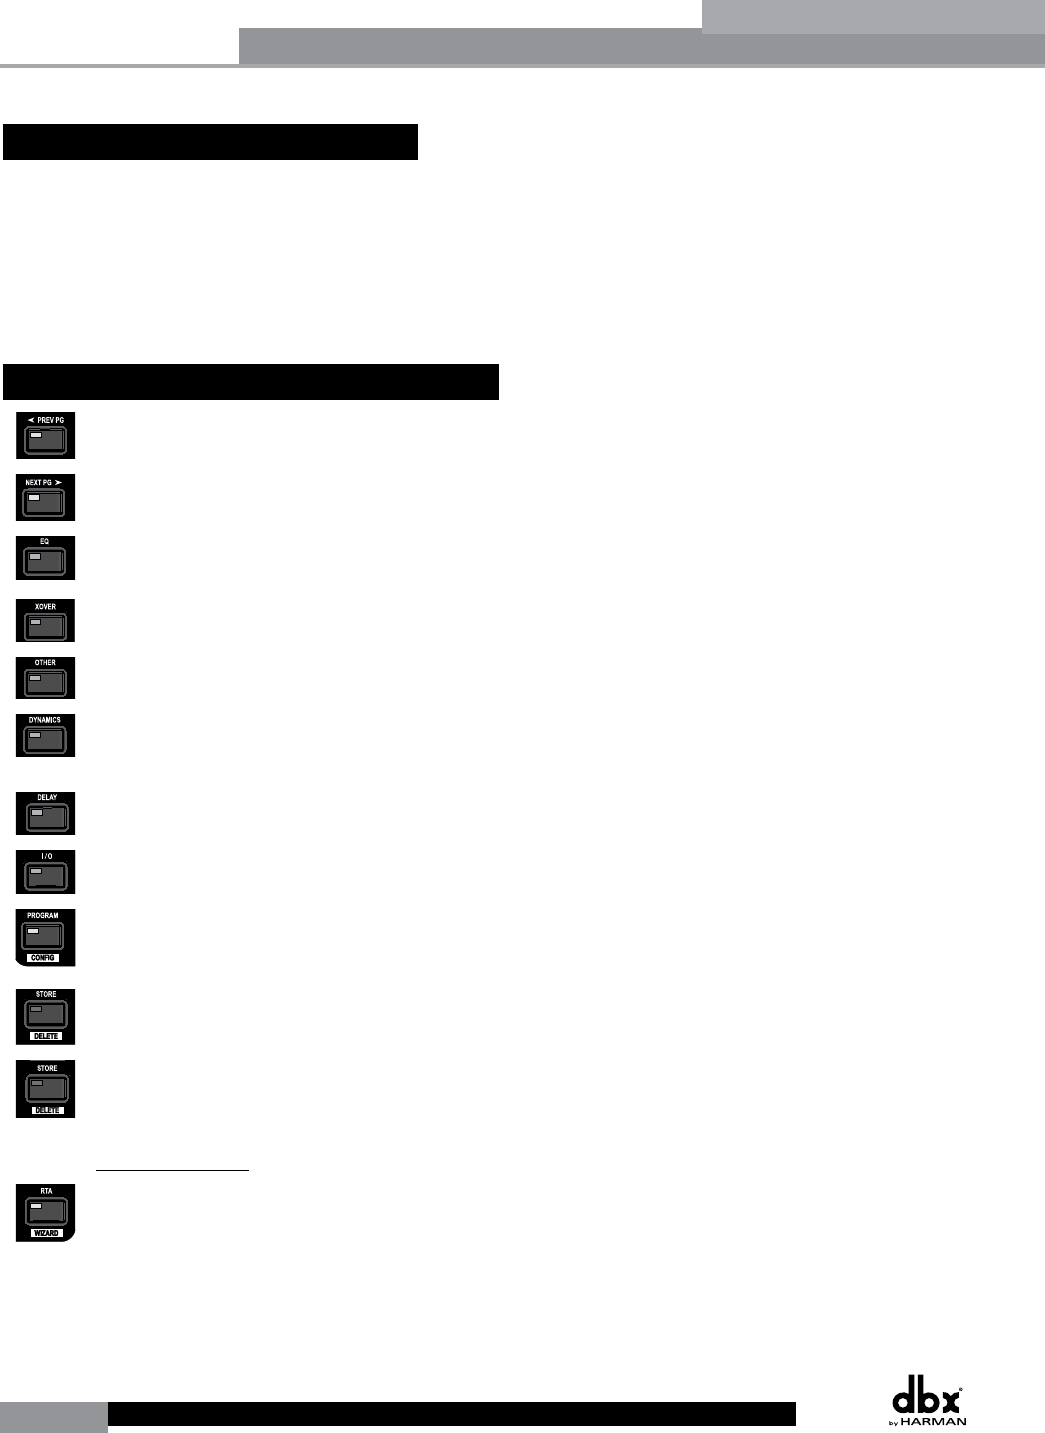
Navigational aspects of the DriveRack 260 are simple and as follows. 1. FX buttons - This array
of 12 FX buttons is your primary mode of directly accessing any effect module. 2. NEXT PG
& PREV PG buttons - Successive presses of the NEXT PG or PREV PG buttons will move
the user between pages within an effect block. 3. DATA WHEEL - Pressing the DATA wheel
will toggle between the available parameters on any selected page within the currently selected
effect block. The DATA wheel, when rotated, is then used to change the values of the selected
parameter.
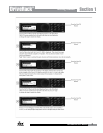
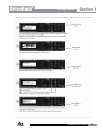
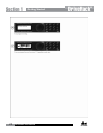
2.2 Effect Button Array Overview
PREV PG - Moves to the previous page in the currently selected effect menu.
NEXT PG - Moves to the next page in the currently selected effect menu.
EQ - Selects the EQ effect menu. Successive presses of this button will toggle through the pre-crossover
EQ module (either a 28 band GEQ or 9-band PEQ) and post-crossover PEQ section modules.
XOVER - Selects the Crossover section. Successive presses of this button will toggle between the various
crossover modules if more than one crossover module has been pre-programmed.
OTHER - This button is used to move to the Input Insert module section, which includes: Notch filter,
Subharmonic Synthesizer, AFS (Advanced Feedback Suppression) and Wire (no effect) modules.
DYNAMICS - Selects the Dynamics effect sections. Successive presses of this button will toggle through
the pre-crossover dynamics modules (Compressor, Gate or AGC), and post-crossover dynamics modules
(AGCs or Limiters).
DELAY - Selects the Alignment Delay effect module. Successive presses of this button will toggle through
the pre-crossover Delay modules and post-crossover Delay modules.
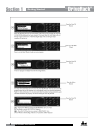
I/O - Selects the input and output parameter editing section for all inputs and outputs. Successive presses
of this button will toggle through each input and output module.
PROGRAM (Config) - When pressed, this button is used to get back to the Program screen from any other
menu within the unit. Think of this button as the ‘Home’ or ‘Panic’ button. Press and hold this button to enter
Configuration mode, where the more advanced programming configuration takes place.
UTILITY (Meter) - Selects the Utility menu of the DriveRack 260. When pressed and held, the 260 will
enter METER mode.
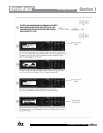
STORE (Delete) - The Store button is used to store program edits. You must press this button four
times to store a program. Here’s a breakdown of what happens each time you press this button: 1
st
press
- Allows selection of Store or Delete mode, 2
nd
press - Allows renaming of Program, 3
rd
Press - Allows
selection of which program location to overwrite, 4
th
press - Stores program.
Important Note: When this button is pressed and held, the 260 will enter PROGRAM DELETE mode.
RTA (Wizard) - Pressing this button enters the RTA mode. When pressed and held, this button enters
the DriveRack 260 Wizard menu which includes: System Setup Wizard, Auto EQ Wizard and AFS Wizard.
Section 2
Editing Functions


