61
Advanced Setup
—Continued
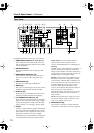
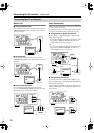
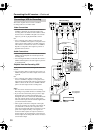
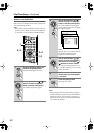
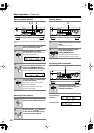
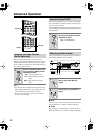
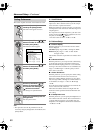
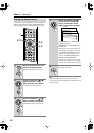
6-3. OSD Setup
■
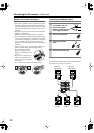
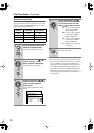
a. Immediate Display
This preference determines whether or not actions, such
as selecting an input source, are displayed onscreen.
Normal:
Actions displayed. Select this if you have a
standard 4:3 TV.
Wide:
Actions displayed. Select this if you have a
widescreen 16:9 TV.
Off:
Actions not displayed.
Even if this preference is set to Normal or Wide, actions
are not displayed on the TV or projector that’s connected
to the COMPONENT VIDEO OUT.
■
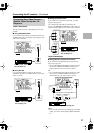
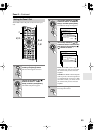
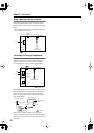
b. Scan Mode
If the text in onscreen setup menus flickers due to com-
patibility with the connected display device (TV, projec-
tor, etc), set the Scan Mode to Non-Interlaced.
Interlaced:
Default.
Non-Interlaced:
Select if the text flickers.
• Depending on the display device, when Non-Inter-
laced is selected, the onscreen setup menus may not
appear. If this happens, use the AV receiver’s display
and repeat the procedure to revert to Interlaced.
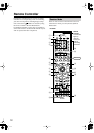
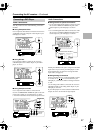
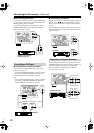
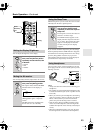
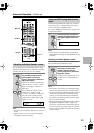
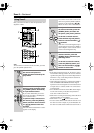
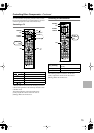
6-4. Remote Setup
■
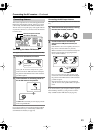
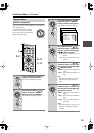
a. Remote ID
With this setting, you can change the AV Receiver’s
remote control ID. You may need to change this if the
remote controller’s control codes overlap with those of
another Integra component located in the same room.
• If you change the AV receiver’s remote control ID, be
sure to set the same ID on both the AV receiver and
remote controller (see right column). The default ID
for both is 1.
■
b. IR IN Position
When using a commercially available IR receiver, use
this setting to specify its location.
Main:
Select if the IR receiver is located in the main
room.
Zone 2:
Select if the IR receiver is located in, and will
be used to control Zone 2.
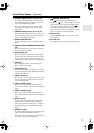
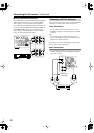
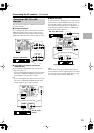
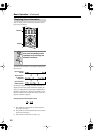
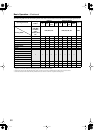
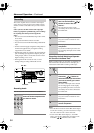
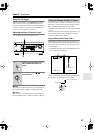
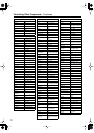
6-5. Digital Format
■
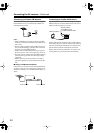
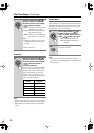
b. Digital Format
This setting does not apply to input selectors not
assigned to a digital input jack.
With this setting, you can set a digital input to DTS,
PCM, or Auto. This can be set for each input selector
individually.
Use the Up and Down [ ]/[ ] buttons to select the
input selector that you want to set, and then use the Left
and Right [ ]/[ ] buttons to select:
Auto:
PCM, Dolby Digital, and DTS formats are
accepted. If no digital signal is present, the ana-
log input is used.
DTS:
Select this option if playing a DTS CD with the
Auto option produces noise while the AV
receiver is identifying the DTS signal, or when
using fast forward or fast reverse. Nothing is
output if the input signal is not DTS.
PCM:
Select this option if playing a CD or other PCM
source with the Auto option causes the tops of
tracks to be clipped. Nothing is output if the
input signal is not PCM.
• If there is no digital connection, only Auto appears.
• Select Auto or DTS when playing a DTS CD or LD. If
you select PCM, only noise will be heard.
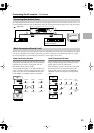
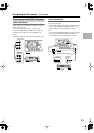
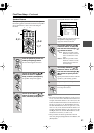
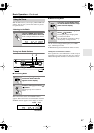
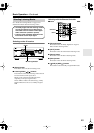
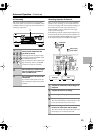
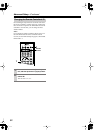
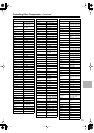
6-6., 6-7., 6-8. 12V Trigger Setup
When the AV receiver’s 12 V TRIGGER OUT A/B/C
jack is connected to the 12 V TRIGGER IN jack on a
connected component, you can specify whether or not a
12-volt trigger signal is output when that component is
selected as the source for the main room, Zone 2, or
both.
By default, on the Trigger A Setup menu, all input
sources are set to Main. On the Trigger B and C Setup
menus, all input sources are set to Off.
Off:
No trigger signal is output.
Main:
Select this if you want to output a 12-volt trig-
ger signal when a connected component is
selected as the source for the main room.
Zone2:
Select this if you want to output a 12-volt trig-
ger signal when a connected component is
selected as the source for Zone 2.
Main/Zone2:
Select this if you want to output a 12-volt
trigger signal when a connected component is
selected as the source for either the main room
or Zone 2.
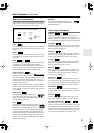
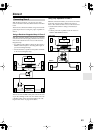
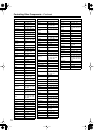
■
Delay
When several components are turned on simultaneously
via the 12-volt triggers, depending on the type of compo-
nents, a large amount of current may be drawn momen-
tarily. To prevent this, you can delay the trigger signals
output by the AV receiver. In addition, by delaying the
trigger signal for your power amplifier so that it’s the last
component to be turned on, you can avoid the “thump”
noise that’s sometimes heard when a source component
is turned on.
The delay determines how long after the input source is
changed on the AV receiver the trigger signal is output,
and can be set to 0 sec, 1 sec, 2 sec, or 3 sec. When set to
0 sec, the trigger signal is output as soon as the input
source is changed.