


verify the installation
hp learning products
http://www.hp.com/support/tape may have a later version
data protection
contact hp
home page
before you start
operation
cartridge care
cleaning
specifications
media compatibility
diagnostics
troubleshooting
FAQs
SCSI configuration
UNIX configuration
hp systems
dec systems
ibm RS/6000
systems
pc based UNIX
systems
silicon graphics
sun systems
verify installation
UNIX glossary
ordering supplies
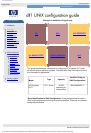
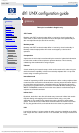
verify the installation
This topic is available in English only.
contents of this section
overview
verifying the installation
example
system-specific arguments
glossary
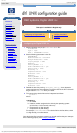
overview
As part of the installation process, you will have installed the appropriate device
driver for your UNIX system and created device files to communicate with the tape
drive. This section describes how you can verify that the installation has been
performed correctly.
In outline, the procedure is as follows:
1
Write test data to a tape.
2
Read the test data from the tape.
3
Compare the data read from the tape with the original data on disk.
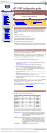
verifying the installation
1
Test the SCSI connection to the tape drive by doing a rewind operation:
a
If there is a tape cartridge already in the drive, remove it.
b
Insert a tape cartridge.
c
Rewind the tape using the command line:
% mt -t <archive name> rewind
or for SCO UNIX:
% tape -a /dev/rStpX rewind
If you do not see the Ready light flash as the tape rewinds, the
hardware installation may be faulty. Check the troubleshooting
section of the User’s Guide for help in identifying the problem.
2
Write a sample file to tape, using ‘tar’:
% cd /
% tar cvf <archive name> <file>
The options to tar have the following meanings:
c Create a new archive (backup file) on the device.
v Operate in verbose mode.
f Specify the archive name explicitly.
The arguments follow the cvf options in the command line. Their values
depend on the operating system; suggested values are given in "System-
Specific Arguments". The arguments are as follows:
<archive name> The name of the archive name to be created.
Example: /dev/rmt/0m
<file>
The name of the file to archive, prefixed with ‘./’.
Example: ./stand/vmunix
NOTE
Make sure you prefix the file name with ‘.’ when you back it up to tape. If
you do not, the restore operation in step 3 will overwrite the original copy
on disk.
3
Read the file back from tape:
% cd /tmp
% tar xvf <archive name>
The ‘x’ option to tar here means "extract from the archive".
Use the same value for the <archive name> argument as in step 2.
4
Compare the original with this retrieved file:
% cmp <original file> /tmp/<retrieved file>
This step compares the retrieved file and the original file byte by byte. If
they are the same, there should be no output, and this verifies that the
installation is correct. The arguments are as follows:
<original file>
The name of the original file, prefixed with ‘/’.
Example: /stand/vmunix
<retrieved file> The name of the file retrieved from the archive.
Example: stand/vmunix
example
Suppose you are verifying the installation of an HP DLT1 tape drive on an HP-UX
10.X system. The procedure would be as follows. See "System-Specific
Arguments" below for the choice of <archive name> and <file> arguments:
1
Change directory to root:
% cd /
2
Back up /stand/vmunix to tape:
% tar cvf /dev/rmt/0m ./stand/vmunix
Note the prefix of ‘.’ to the filename.
3
Change to the temporary directory:
% cd /tmp
4
Extract the file from the tape:
% tar xvf /dev/rmt/0m
5
Compare the original with the restored version:
% cmp /stand/vmunix /tmp/stand/vmunix
Note that the original filename is not prefixed with ‘.’.
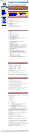
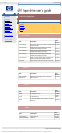
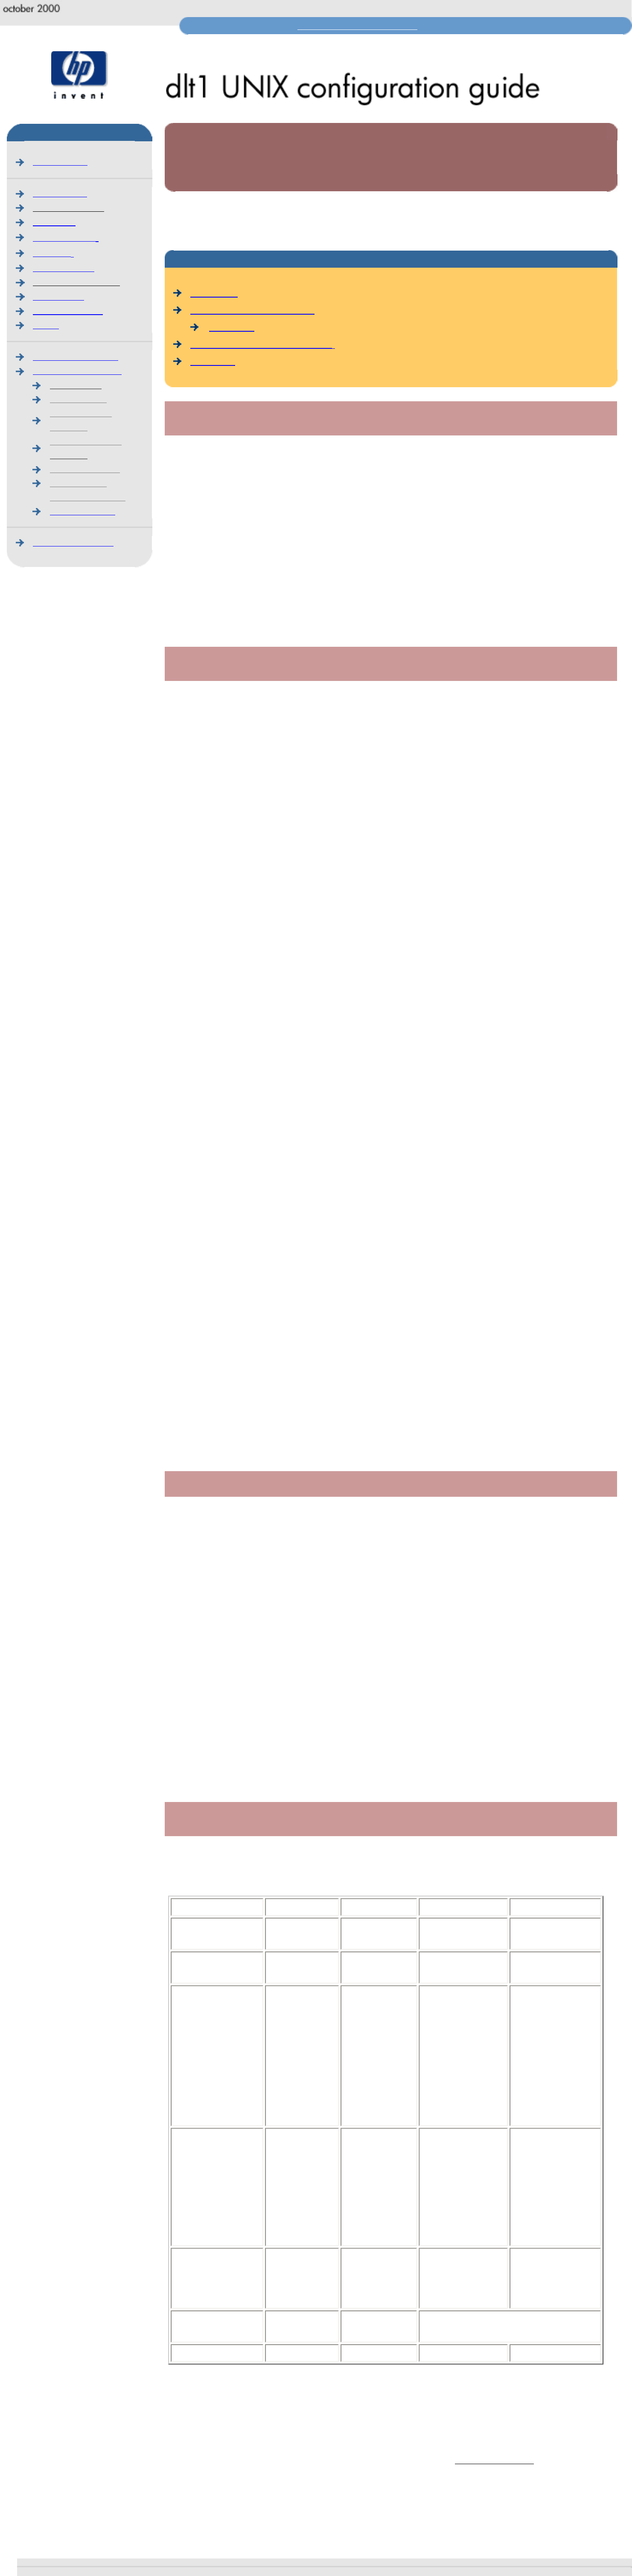
system-specific arguments
The following table lists suggested values for the arguments <archive name> and
<file> in the verification procedure described above. If any of the suggested files are
symbolic links on your system, choose another file appropriate for your system.
System File Name Description Archive Name Notes
DEC OSF vmunix OSF kernel /dev/rmt/Ym
Y is the instance
of the drive
HP-UX 10.x stand/vmunix HP-UX kernel /dev/rmt/Ym
Y is the instance
of the drive
IBM AIX unix AIX kernel /dev/rmtY.1
/dev/rmtY.1
Y is the device
ID reported
back as
available when
you ran ‘smit -
C tape’ to
create the
device files.
SCO unix SCO kernel /dev/rmtY.1 Use the device
file created
during the
running of
‘mkdev tape’,
where Y is the
instance of the
tape drive.
Silicon Graphics
IRIX
unix IRIX kernel /dev/rmt/tpsCdX
C is the SCSI
card
X is the SCSI ID
of the drive
SUN Solaris 2
(SunOS 5.x)
bin/csh C shell Determine the archive name as
described below*.
Linux bin/sh Bourne shell /dev/stp
*For SUN Solaris 2, determine the archive name by typing:
% ls -l /dev/rmt/*m | grep "st@X"
where X is the SCSI ID. Identify the line for the tape drive. For example, if the drive was
at SCSI ID 2, look for the line containing "st@2,0". This might be as follows (but on a
single line):
lrwxrwxrwx 1 root root 63 Mar 1 00:00 /dev/rmt/0m
../../devices/sbus@1f,0/espdma@e,8400000/esp@e,8800000/st@2,0:m
Here you could use /dev/rmt/0m (shown underlined above) as the archive name.
© 2000, Hewlett-Packard Company
file:///C|/Documents%20and%20Settings/topher.COL-SPRINGS/Desktop/manual/document/dlt1/user/reseller/eng/c_verify.htm [12/3/2001 7:50:57 AM]