


35
OPERATION
The AVR 146 is designed to reproduce audio with a minimum amount
of distortion, which may lead you to think that your hearing and the
equipment can handle higher volumes. We urge caution with regard
to volume levels.
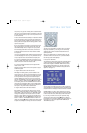
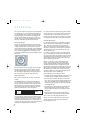
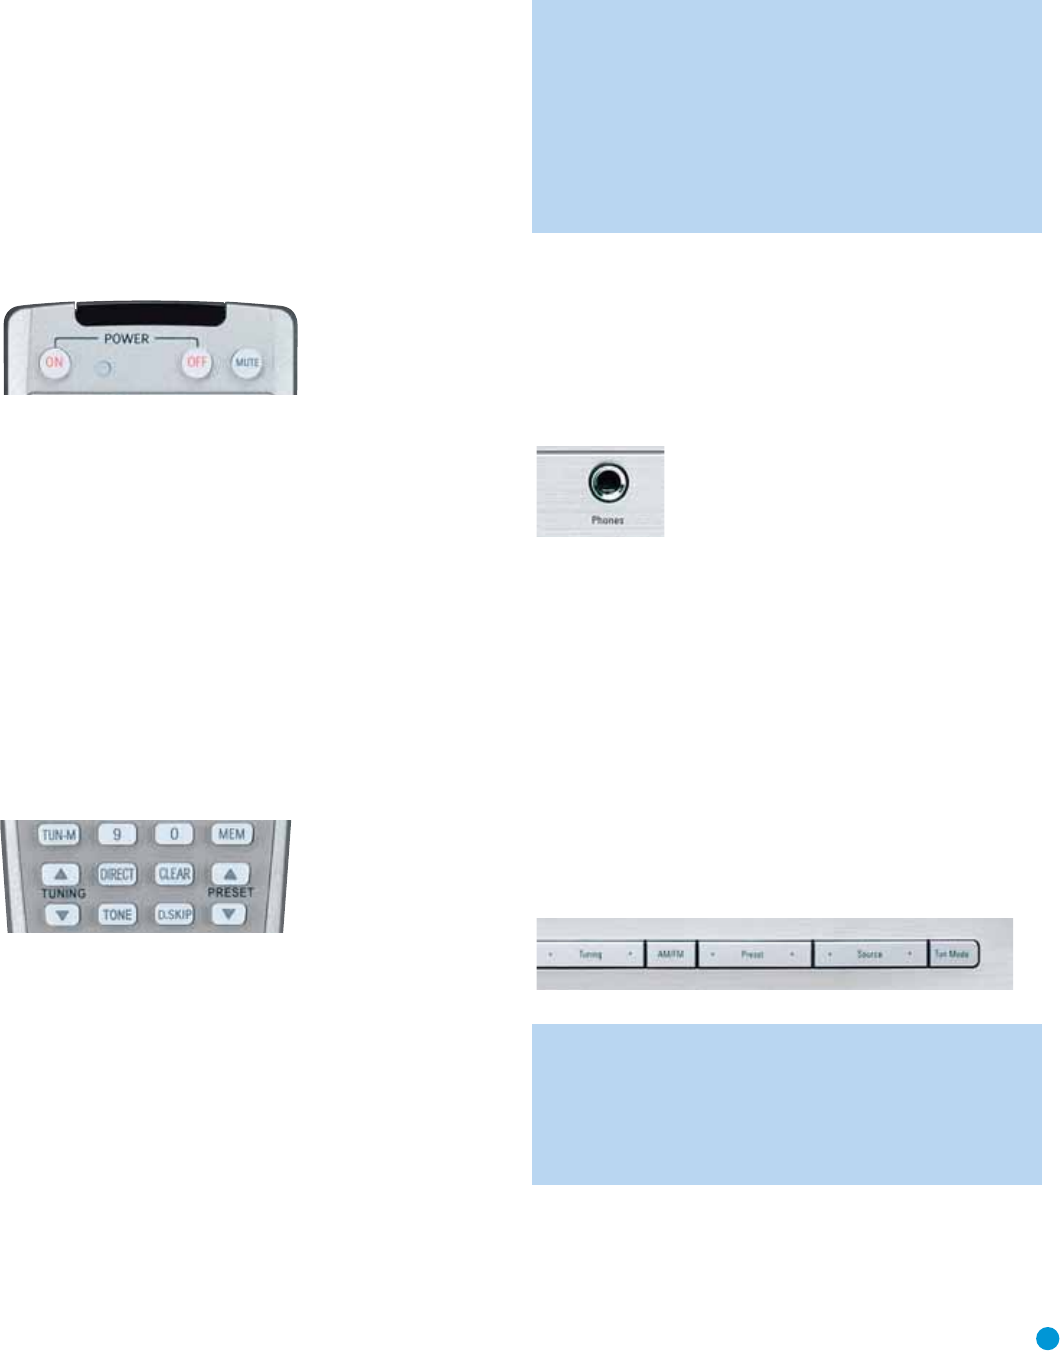
Mute Function
To temporarily mute all speakers and the headphones, press the Mute
Button on the remote. See Figure 55. Any recording in progress will not
be affected. The MUTE message will flash in the display as a reminder.
To restore normal audio, either press the Mute Button again, or adjust
the volume. Turning off the AVR will also end muting.
Figure 55 – Mute Button
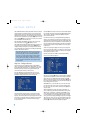
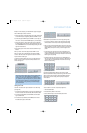
Tone Controls
You may boost or cut either the treble or the bass frequencies by
up to 10dB.
Press the Tone Mode Button once. See Figure 56. This will indicate
whether the tone controls are in or out of the circuitry. If you wish to
return the tone controls to 0, or “flat” response, press the
⁄/¤
Buttons, until the TONE OUT message appears, which preserves any
changes you have made to the bass or treble settings for later use. To
reactivate your changes, the tone control must again be set to TONE IN.
With the TONE IN message displayed, press the Tone Mode Button
repeatedly to access TREBLE MODE and BASS MODE. Use the
⁄/¤ Buttons to change the treble or bass settings, as desired. The
display will return to normal a few seconds after your last command.
Figure 56 – Tone Button
You may alternatively adjust the tone controls using the full-OSD menu
system. Press the OSD Button on the remote to view the Master Menu.
The cursor will be pointing to the INPUT SETUP line; press the Set Button
to display that menu and view the current tone settings. If you wish to
make any changes to the TONE, BASS or TREBLE settings, use the
arrow keys on the remote to move the cursor to the line you wish to
change. Once you have changed the setting using the ‹/› Buttons,
simply move the cursor up or down to a different line; it isn’t necessary
to press the Set Button to enter the new setting. When you have finished,
either wait until the display times out and disappears, press the OSD
Button to clear the display, or move the cursor to the BACK TO MASTER
MENU line if you wish to make other changes using the menu system.
NOTE: The AVR 146 does not have a conventional balance
control. The speaker output level calibration process compen-
sates for any characteristics of your room or speakers, and we
recommend that you leave the settings as they are after you
have completed Initial Setup. However, you may manually adjust
the levels of the left and right channels – decreasing one and
increasing the other by the same amount – using the Channel
Adjust submenu, as described on page 31. This achieves the
same effect as a balance control.
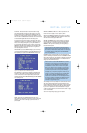
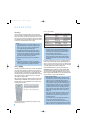
Headphones
Plug the 1/4" plug on a pair of headphones into the headphone jack
on the front of the receiver for private listening. See Figure 57. The
first time you use the headphones, the DOLBY H:BP message will be
displayed, indicating that Dolby Headphone surround processing is in
the bypass mode, which delivers a conventional 2-channel signal to
the headphones.
Figure 57 – Headphone Jack
Press the Surround Select Button on the front panel, or the Dolby
Button on the remote, to switch to Dolby Headphone virtual surround
processing, indicated by the DOLBY H:DH message. Dolby Headphone
delivers an enhanced sound field that emulates a 5.1-channel speaker
system. No other surround modes are available for the headphones.
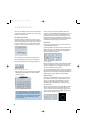
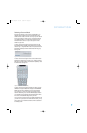
Source Selection
Press the front-panel Source Select Button to scroll through the
sources. The left side of the button scrolls down the list that appears in
the display; the right side scrolls upward. For direct access to the tuner,
press the Tuner Band Button, which switches to the last-used band and
frequency. See Figure 58. For direct access to any source, press its
Input Selector on the remote (see Figure 52).
Figure 58 – Source Select and Tuner Band Buttons
NOTE: The Bridge/DMP source has no icon in the Source
Indicators display.When selected, the DMP indication will
appear in the message display’s upper line, and one of two
messages will scroll on the right side to indicate whether
The Bridge is unplugged or connected. If you have retitled this
source, then only the new name will appear in the upper line.
The AVR 146 will switch to the audio and video inputs assigned to the
source. If you set the BASS MGR setting in the Speaker X-over menu to
INDEPENDENT, the AVR 146 will change the speaker size configuration
to the one you programmed for the source. If you selected a surround
mode for the source, the AVR 146 will switch to that mode.
AVR146-OM.qxd 2/5/07 3:59 PM Page 35