


24
INSTALLATION
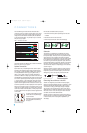
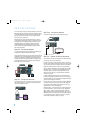
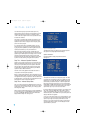
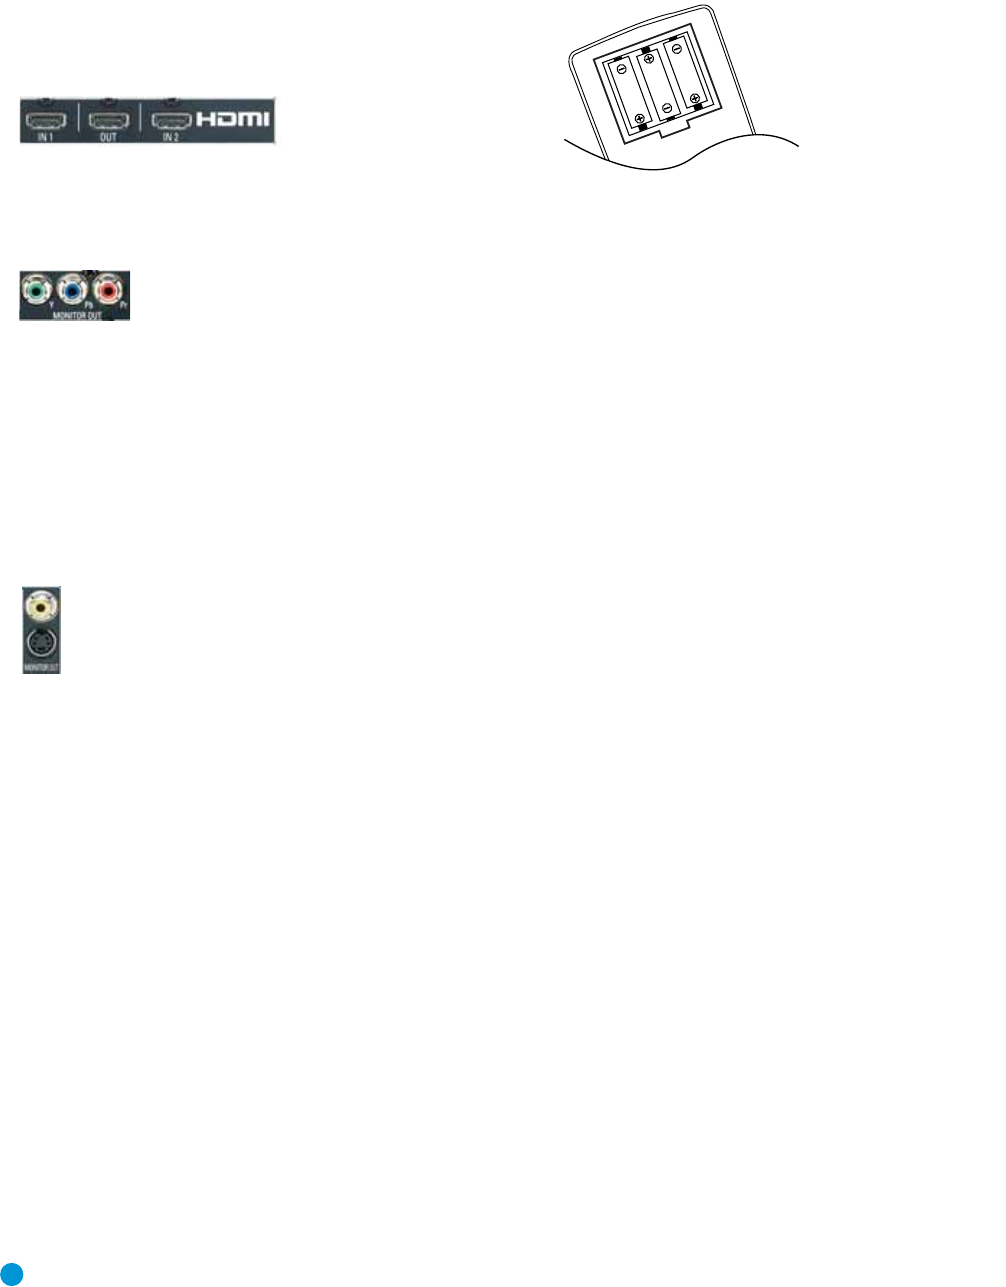
If you used an HDMI video connection for any of your sources, then
connect the HDMI Output on the AVR to an HDMI input on your video
display. See Figure 29. As mentioned previously, you will need to make
a separate digital audio connection from each source device to the
AVR 146, and you will also need to consult the owner’s guide for your
television to learn the proper procedure for disabling or muting the audio.
Figure 29 – HDMI Output
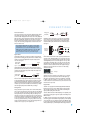
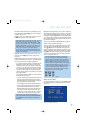
If you used component video for any sources, connect the Component
Video Monitor outputs on the receiver to one set of component video
inputs on your display. See Figure 30. Make a note of how these inputs
are labeled on the display.
Figure 30 – Component Video Monitor Outputs
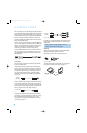
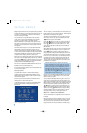
If you used S-video for any sources, or if all of your sources used HDMI
or component video, connect the S-video Monitor output on the receiver
to an S-video input on your display. See Figure 31. Make a note of how
the input is labeled.
If you used composite video for any sources, connect the composite
video Monitor output on the receiver to a composite video input on the
display. See Figure 31. Again, make a note of how this input is labeled
on the display.
Figure 31 – S-Video and Composite Video Monitor Outputs
Consult the manual for your TV to make sure you understand how
to select each video input. As you play different source devices that
use different types of video connections, select the correct video input
on your video display.
Step Six – Plug in AC Power
Having made all of your wiring connections, it is now time to plug
each component’s AC power cord into a working outlet.
Before plugging the AVR 146’s AC Power Cord into an electrical
outlet, make sure that the Master Power Switch on the front panel
is popped out so that the word OFF appears on its top. Gently press
the button to turn the switch off. This will prevent the possibility of
damaging the AVR in case of a transient power surge.
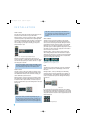
Step Seven – Insert Batteries in Remote
The AVR 146 remote control uses three AAA batteries, which
are included.
To remove the battery cover located on the back of the remote, firmly
press the ridged depression and slide the cover towards the top of
the remote.
Insert the batteries as shown in Figure 32, making sure to observe
the correct polarity.
Figure 32 – Remote Battery Compartment
When using the remote, remember to point the lens toward the front
panel of the AVR 146. Make sure no objects, such as furniture, are
blocking the remote’s path to the receiver. Bright lights, fluorescent lights
and plasma video displays may interfere with the remote’s functioning.
The remote has a range of about 20 feet, depending on the lighting
conditions. It may be used at an angle of up to 30 degrees to either
side of the AVR.
If the remote seems to operate intermittently, or if pressing a button
on the remote does not cause the AVR Selector or one of the Input
Selectors to light up, then make sure the batteries have been inserted
correctly, or replace all three batteries with fresh ones.
Step Eight – Program Sources Into the Remote
The AVR 146 remote not only is capable of controlling the receiver,
but it may also be programmed to control many brands and models of
VCRs, DVD players, CD players, cable boxes, satellite receivers, cassette
decks and TVs, as well as an iPod docked in The Bridge.
It may help to think of the remote as a book with pages. Each page
represents the button functions for a different device. In order to access
the functions for a particular device, you first need to turn to that page,
that is, switch the remote to that device mode. This is done by pressing
the AVR Button to access the codes that control the receiver, or the
Input Selector buttons to access the codes for the devices programmed
into the remote.
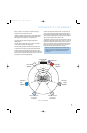
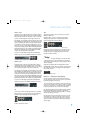
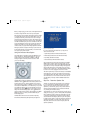
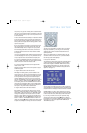
You may have noticed that three of the Input Selectors look different
from the others (see Figure 33). For the DVD/CD, TAPE/The Bridge and
HDMI 1/HDMI 2 Selectors, there is a primary source, whose name is
printed on the button, and a secondary source, whose name is printed
in green above the button. To access the code set for the primary source
(which also selects that source input on the AVR and turns on the AVR),
press the Input Selector once. The Input Selector will light in red to
indicate that the primary source is active.
To access the code set for the secondary source (which also selects that
source input on the AVR and turns on the AVR), press the Input Selector
a second time. The Input Selector will light in green to indicate that the
secondary source is active.
The AVR 146’s remote is factory-programmed to control an iPod
docked in The Bridge and many Harman Kardon DVD and CD players.
If you have other source devices in your system, follow these steps to
program the correct codes into the remote.
AVR146-OM.qxd 2/5/07 3:59 PM Page 24