©American Audio® - www.americanaudio.us - DCD-PRO1000™ Instruction Manual Page 26
BASIC OPERATIONS (CONT.)
17. RECALL FLASH MEMORY:
The DCD-PRO1000 can store all your user programmed cue
points and effect parameters in to memory. These setting may
be recalled at any time, even when a disc has been removed
and reloaded at a later time. To recall the memory on a specific
disk; 1) Be sure a CD is not loaded in to the drive. 2) Press the
MEMORY BUTTON (31) so the blue memory L.E.D. turns on. 3)
Insert the CD. "RECALL" will appear in the LCD (34) while the
memory is being installed and the blue MEMORY BUTTON (31)
L.E.D. will flash then turn off, when the memory is loaded.
18. CLEAR ALL MEMORY:
You may clear the system memory at any time. This will erase all
your programmed memory and restore the unit to it's default set
-
tings. To clear the memory; While main power is turned off, turn
the SEARCH WHEEL (11) in a counter-clockwise direction. While
the search wheel is turned in a counter-clockwise direction turn
main power on. The LCD (34) will flash three times and default
memory will be restored.
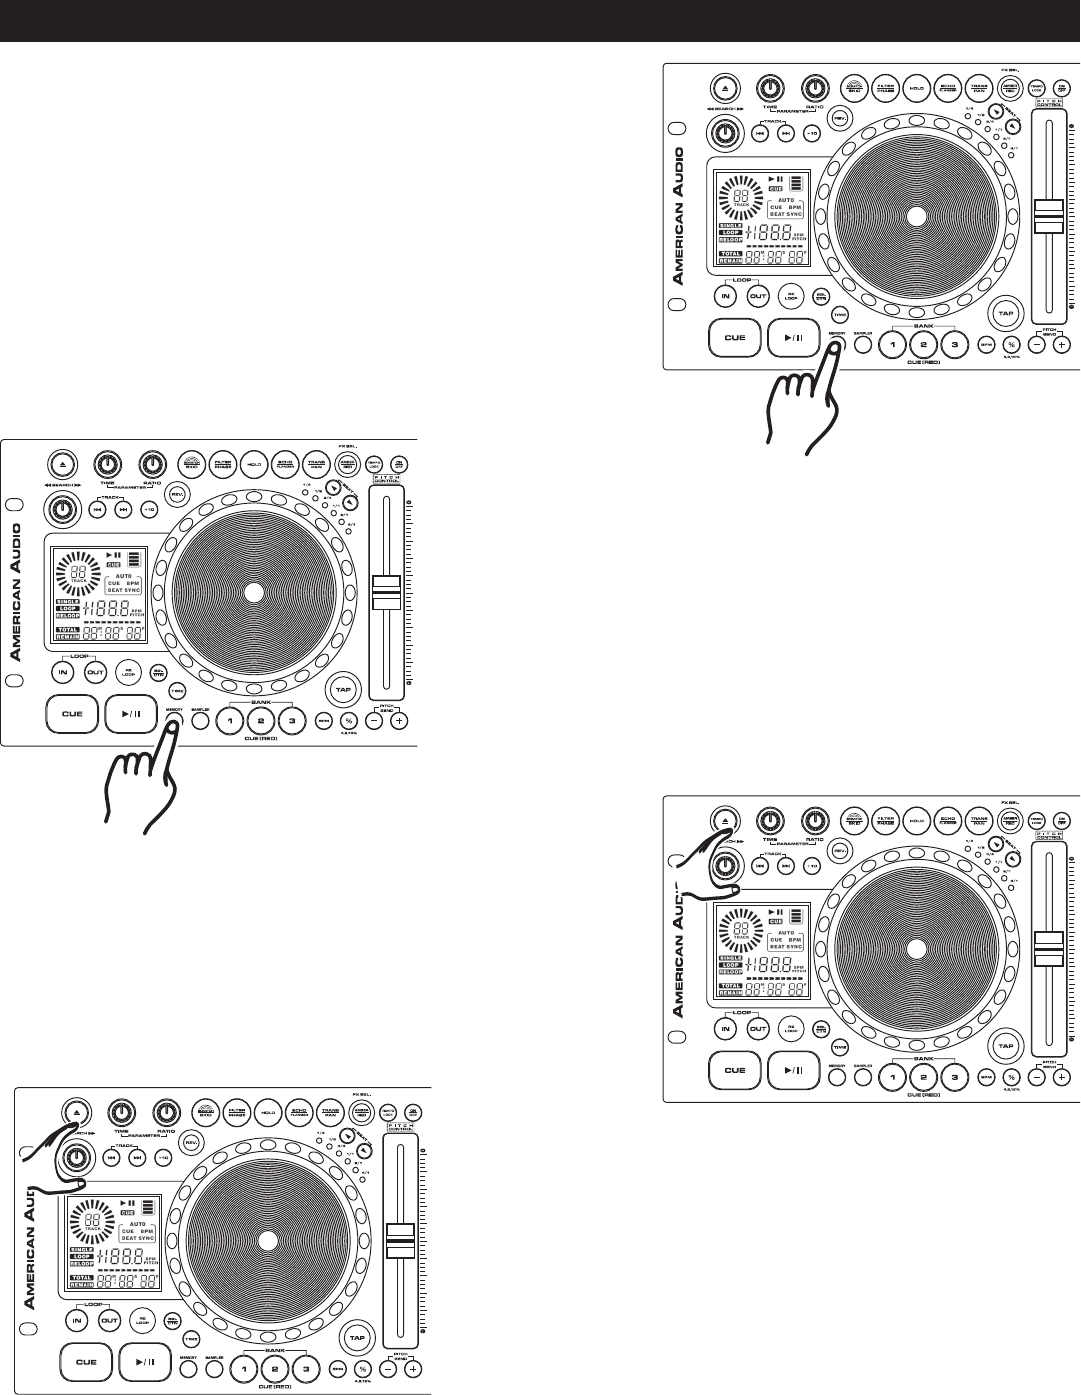
16. SYSTEM MEMORY:
The DCD-PRO1000 comes with an incredible memory system.
The DCD-PRO1000™ can memorize virtually every customized
setting for a particular CD. The unit can memorize all customized
effect parameters, cue points, and samples used on a particular
disk. To store all your setting for a CD, press and hold down the
MEMORY BUTTON (31) for at least one second. When the memo
-
ry has been stored properly the MEMORY BUTTON L.E.D. (31)
will
turn off. The memory is full the outline of the MEMORY BUCKET
(57) in the LCD (34) will disappear.
Figure 36
Figure 37
Figure 35
19. FIRMWARE VERSION DISPLAY:
You may display the units firmware version. Firmware is the units
internal programming code. To view the firmware version; While
main power is turned off, turn the SEARCH WHEEL (15) in a
clockwise direction. While the search wheel is turned in a clock
-
wise direction turn main power on. "10 00 00" will briefly appear
in the LCD (16), then 10 06 27 will be the firmware version.
Figure 38


