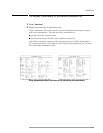
To connect the sections
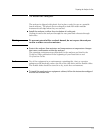
Do NOT use the IF section’s EXT REF OUT connector or optional OVEN REF
OUT connector as an external reference output.
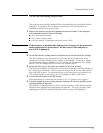
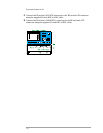
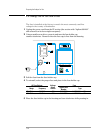
1 Attach the IF section to the RF section.
If the hardware is not installed, follow the instructions supplied with the Rear
Panel Lock Foot Kit. If the hardware is already installed, slide the IF section on
top of the RF section making sure the front lock-links engage the IF section’s
frame. Screw the rear lock feet together.
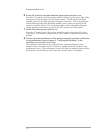
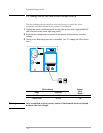
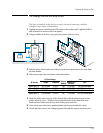
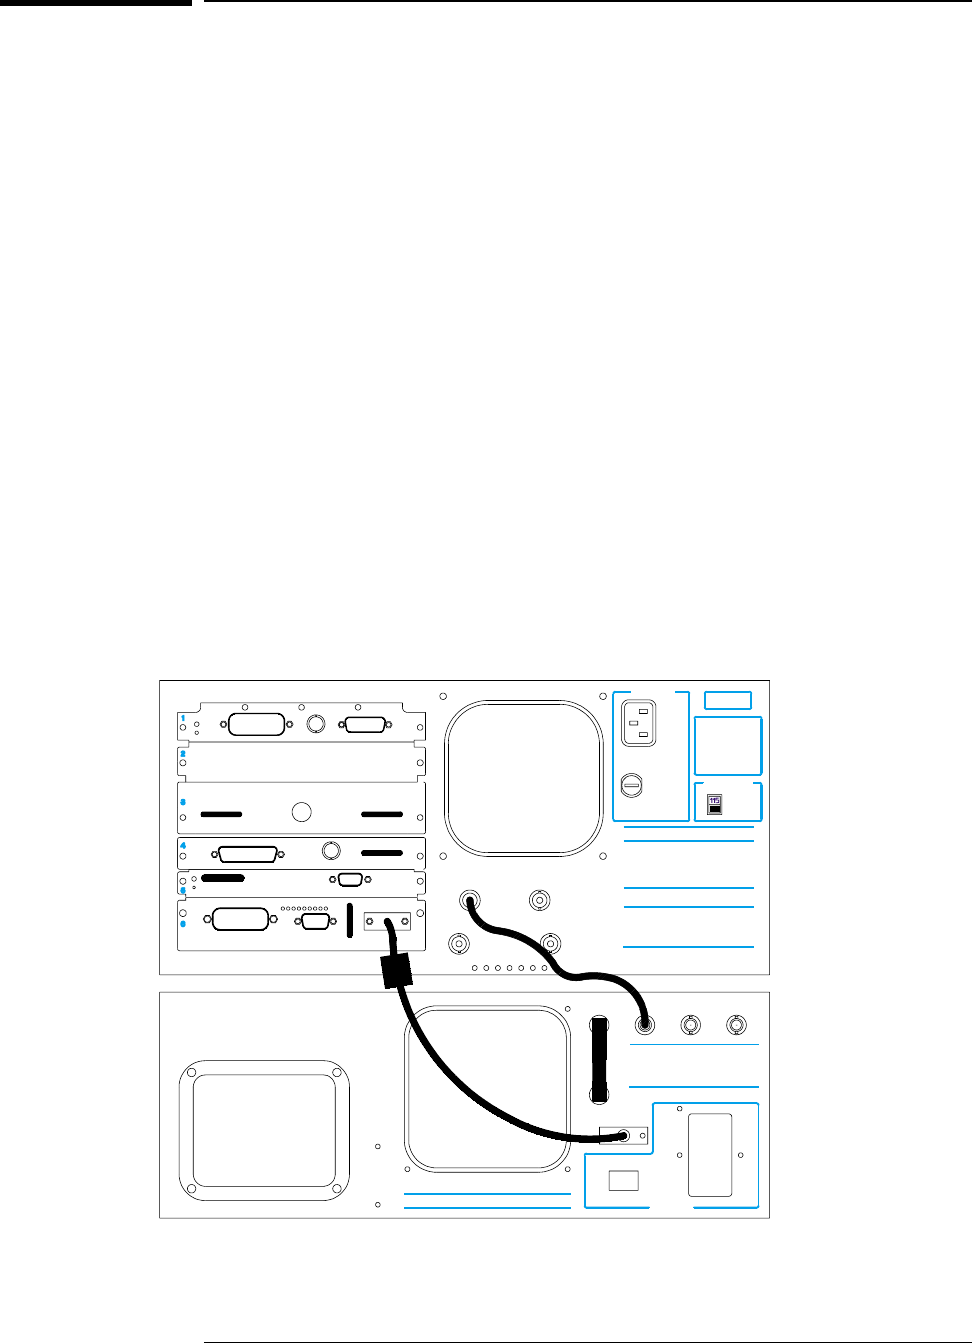
2 Connect the RF section’s SERIAL 2 port to the IF section’s SERIAL 2 port using
the supplied serial interface interconnect cable. Make sure the end of the cable
with the EMI suppressor is conected to the IF section.
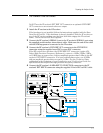
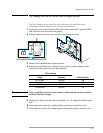
3 Connect the RF section’s OVEN REF OUT connector to the EXT REF IN
connector using the supplied coax BNC-to-coax BNC connector.
If the RF section does not have the OVEN REF OUT connector (option AY4,
Delete High Precision Frequency Reference), connect a 1 MHz, 2 MHz, 5 MHz,
or 10 MHz sine or square wave, with an amplitude greater than 0 dBm to the RF
section’s EXT REF IN connector. For best residual phase-noise, use 10 MHz
with an amplitude greater than or equal to 5 dBm. See the Technical Data
publication in the beginning of your Installation and Verification Guide for
specifications that require the high precision frequency reference.
4 Connect the RF section’s 10 MHz REF TO IF SECTION connector to the IF
section’s EXT REF IN connector using the supplied 12-inch BNC-to-BNC cable.
Preparing the Analyzer for Use
7-7


