


En 102
❑ Detail
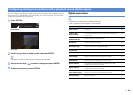
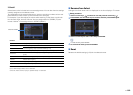
Selects items to be included as the scene assignments. You can also view the settings
currently assigned to the selected scene.
To include items as the scene assignments, use the cursor keys to select an item and
press ENTER to check the box (or uncheck the box to exclude).
For example, if you often adjust the volume while watching TV but listen to radio with
low volume at night, exclude “Volume” from the assignments for SCENE2 (TV) and
include “Volume” in the assignments for SCENE4 (RADIO).
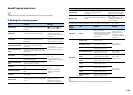
Choices
Default
Input, HDMI Output, Mode, Sound: selected
Surround, Video, Volume, Lipsync, Speaker Setup: not selected
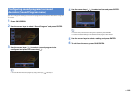
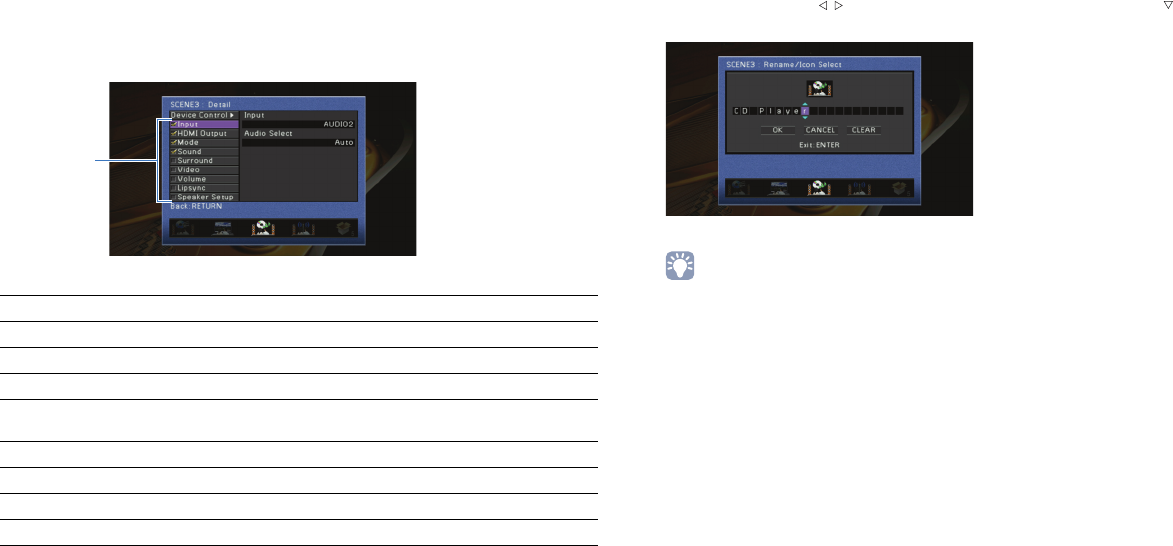
■ Rename/Icon Select
Changes the scene name and icon displayed on the front display or TV screen.
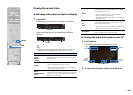
■ Setup procedure
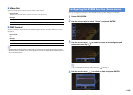
1
Use the cursor keys ( / ) to select an icon and press the cursor key ( ).
2
Press ENTER, use the cursor keys to rename, and then press ENTER again.
3
Use the cursor keys to select “OK” and press ENTER.
• To clear the entry, select “CLEAR”.
4
To exit from the menu, press ON SCREEN.
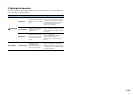
■ Reset
Restores the default settings (p.52) for the selected scene.
Input Input (p.51), Audio Select (p.97)
HDMI Output HDMI Output (p.51)
Mode Sound Program (p.54), Pure Direct Mode (p.113)
Sound Tone Control (p.96), Adaptive DRC (p.96), Enhancer (p.58)
Surround
CINEMA DSP 3D Mode (p.96), Dialogue Lift (p.96), Extended Surround
(p.97)
Video Video Processing (p.114), Video Adjustment (p.115)
Volume Master Volume (p.51)
Lipsync Lipsync (p.113), Delay (p.113)
Speaker Setup Setting Pattern (p.109), PEQ Select (p.112)
Check or uncheck