Wolf Cinema Owner's Manual
3-2
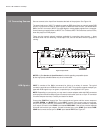
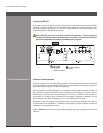
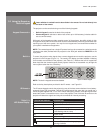
All source connections are made to the input panel located at the back of the projector. Connect
RGB or YPbPr sources to INPUT 1, analog or digital display signals to INPUT 2, composite video
to INPUT 3, and S-Video to INPUT 4. Any of the available optional modules can be installed in
INPUT 5 and/or INPUT 6.
There is no status display on the input panel. The only status display is part of the built-in keypad
located at the rear of the projector.
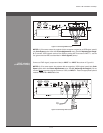
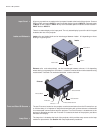
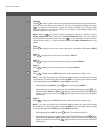
Intake collar and intake blank can be interchanged between intake 1 & 2 depending on where
ducting is originating from.
Exhaust collar and exhaust blank can be interchanged between exhaust 1 & 2 depending
where ducting is originating from. If Exhaust 1 is used the exhaust divider must be attached using
noted screws. If exhaust 2 is used exhaust divider must be removed.
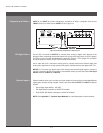
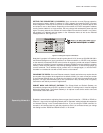
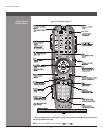
The two IR sensors located on the projector receive transmissions from the IR remote from up
to 100 feet away. It is important to keep the transmission path to these sensors unobstructed
for uninterrupted communications with the projector. The front IR sensor is located next to the
projector’s nameplate and the rear IR sensor is located at the back of the projector just above
the status LED display.
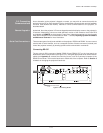
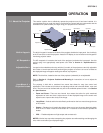
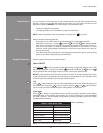
The lamp door is located at the back of the projector, which provides easy access to the lamp
module for replacement. See Section 4 for lamp replacement procedures.
Input Panel >
Intake and Exhaust >
Lamp Door >
Section3►Operation
Intake
Intake Blank
Intake 2
Intake 1
Intake Collar
Exhaust
Exhaust 2
Exhaust Divider
Exhaust Collar
Exhaust Divider Screws
Exhaust 1
Exhaust Blank
Front and Rear IR Sensors >


