


21
Recording on MDs
To turn on the Smart Space Function and Auto Cut
Function again
1 While the deck is stopped, press MENU/NO twice
to display “Setup Menu.”
2 Turn AMS to select “S.Space Off,” then press AMS.
3 Turn AMS to select “S.Space On,” then press AMS.
4 Press MENU/NO.
Notes
• When you turn off the Smart Space Function, the Auto Cut
Function is also turned off automatically.
• The Smart Space Function and Auto Cut Function are
factory set to on.
• If you turn off the deck or disconnect the AC power cord,
the deck will recall the last setting (On or Off) of the Smart
Space and Auto Cut Functions the next time you turn on
the deck.
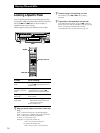
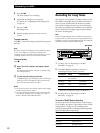
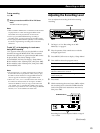
Recording on an MD Manually
You can start recording from the end of the existing
material or record over the existing tracks just as you
would on an analog cassette tape.
When using the remote, set SELECT to CD or MD.
To perform CD-MD Synchro-Recording, see
“Recording a CD to an MD” on page 8 or “Recording a
CD to an MD at High Speed” on page 10.
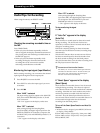
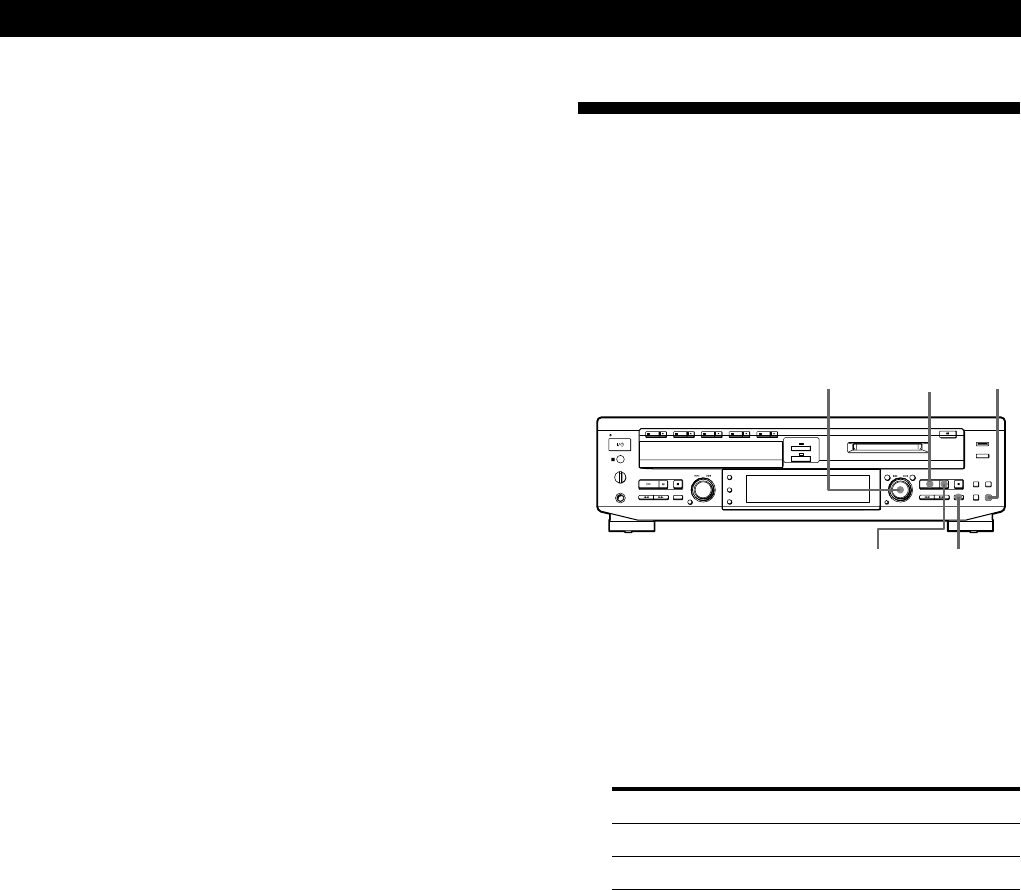
REC r
INPUT
AMS ·
P
1 Turn on the amplifier and set the source selector
to the position for the sound source you want to
record.
2 Insert a recordable MD.
3 Press INPUT repeatedly to select the input
connector.
To record through Select
DIGITAL OPTICAL IN OPT
ANALOG IN ANLG
To record from the CD player section manually
Press INPUT repeatedly to select CD.
4 Decide a point on the MD where you want to start
recording.
To record on a brand new MD or start recording
from the end of the existing material
Skip this step.
To record from a specific point of a recorded
track
Press · to start playback, and press P at the
point where you want to start recording.
To record erasing the previously recorded tracks
Turn AMS (or press = or + repeatedly) until
the number of the track to be recorded over
appears in the display.
(Continued)