26
10 Press CURSOR n.
The character you selected in step 9 stops
flashing and the cursor shifts to the right.
11 Repeat steps 8 through 10 to
complete the entire title.
If you make a mistake, press CURSOR
N or n until the character you want to
change flashes, then repeat steps 8
through 10.
To erase a character, press EDIT/NO.
Each time you press the button, the
flashing character is erased. You cannot
insert a character between previously
input characters.
12 Press ENTER/YES to complete the
labeling procedure.
The disc title is stored in the system‘s
memory.
To cancel labeling
Press p at any point from step 6 to 11.
Checking the disc titles
stored in memory
1 In step 6 of “Labeling a CD,” turn MULTI
JOG until “CD Name Check?” appears,
then press ENTER/YES.
2 Turn MULTI JOG to select CD 1 – 3 or the
stored disc titles (001 – 100) you want to
check.
The disc title scrolls in the display.
4 Press DISC SKIP repeatedly until
the disc tray number of the desired
CD appears.
Make sure the total number of tracks and
the playing time appear in the display,
then go to the next step.
5 Press EDIT/NO.
6 Turn MULTI JOG until “CD Name
in?” appears.
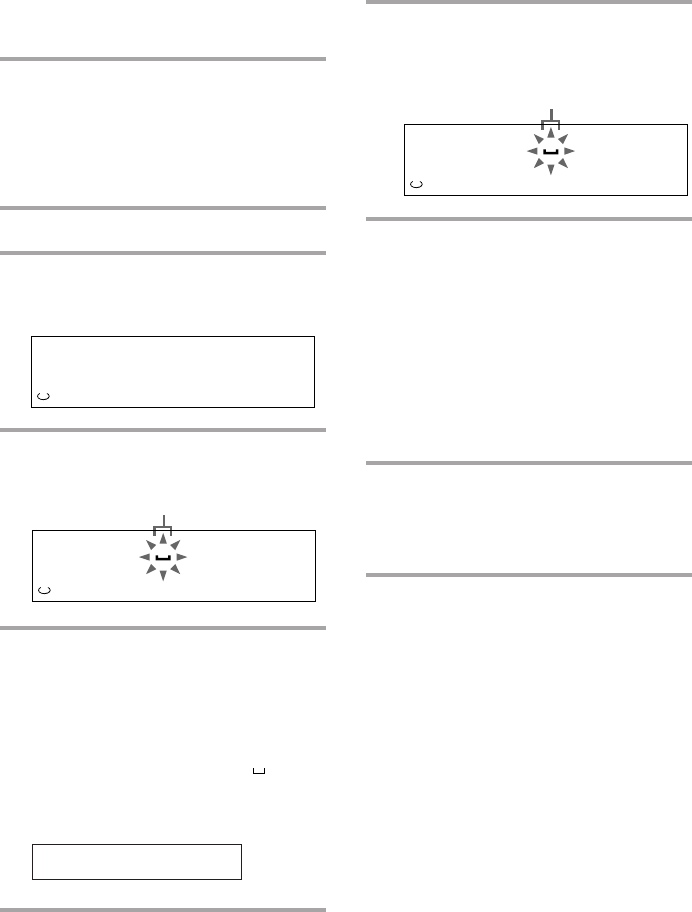
7 Press ENTER/YES.
The cursor starts flashing.
8 Press DISPLAY repeatedly until the
type of character you want appears.
Each time you press the button, the
display changes as follows:
A (Upper case) n a (Lower case) n 0
(Numbers) n ! (Symbols)* n (Space)
n A…
*You can use the following symbols.
9 Turn MULTI JOG until the desired
character appears.
To enter a blank space, go to the next
step without turning MULTI JOG. A
blank space cannot be entered in the first
position.
!"#$%&'()∗+,–./:;<=>?@_`
Cursor
123
DISC
ALL DISCS
CD
1
Cursor
123
DISC
ALL DISCS
CD
1 A
Labeling a CD (continued)
123
ALL DISCS
CD ? name
iN


