


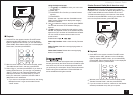


DLNA Music Streaming
11
DLNA Playback
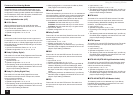
Operation: You can set up by viewing the guidance
displayed on the TV screen. To display the guidance, you
need to make HDMI connection between the unit and
TV. Select the item with the cursor buttons of the remote
controller and press ENTER to confirm your selection. To
return to the previous screen, press RETURN.
■
Playback
1.
Start the server (Windows Media Player 11, Windows
Media Player 12, or NAS device) storing the music files
to play.
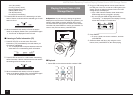
2.
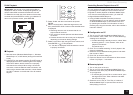
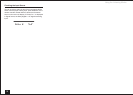
Press NET on the remote controller. The NET screen is
displayed and the "NET" indicator lights on the display.
If the "NET" flashes, the AV receiver is not properly
connected to the network. When using a wired LAN
connection, check the Ethernet cable connection, and
when using a wireless LAN connection, check whether
the "Wi-Fi" indicator on the left side of the AV receiver
stays lit.
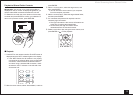
3.
Select "DLNA" with the cursor buttons and press
ENTER.
4.
With the cursor buttons, select the target server, and
then press ENTER. A list of items on the selected server
is displayed.
Searching does not work in servers that do not
support search functions.
The unit cannot access pictures and videos stored
on servers.
Contents stored on the server may not be displayed
depending on the server sharing settings.
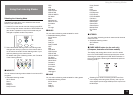
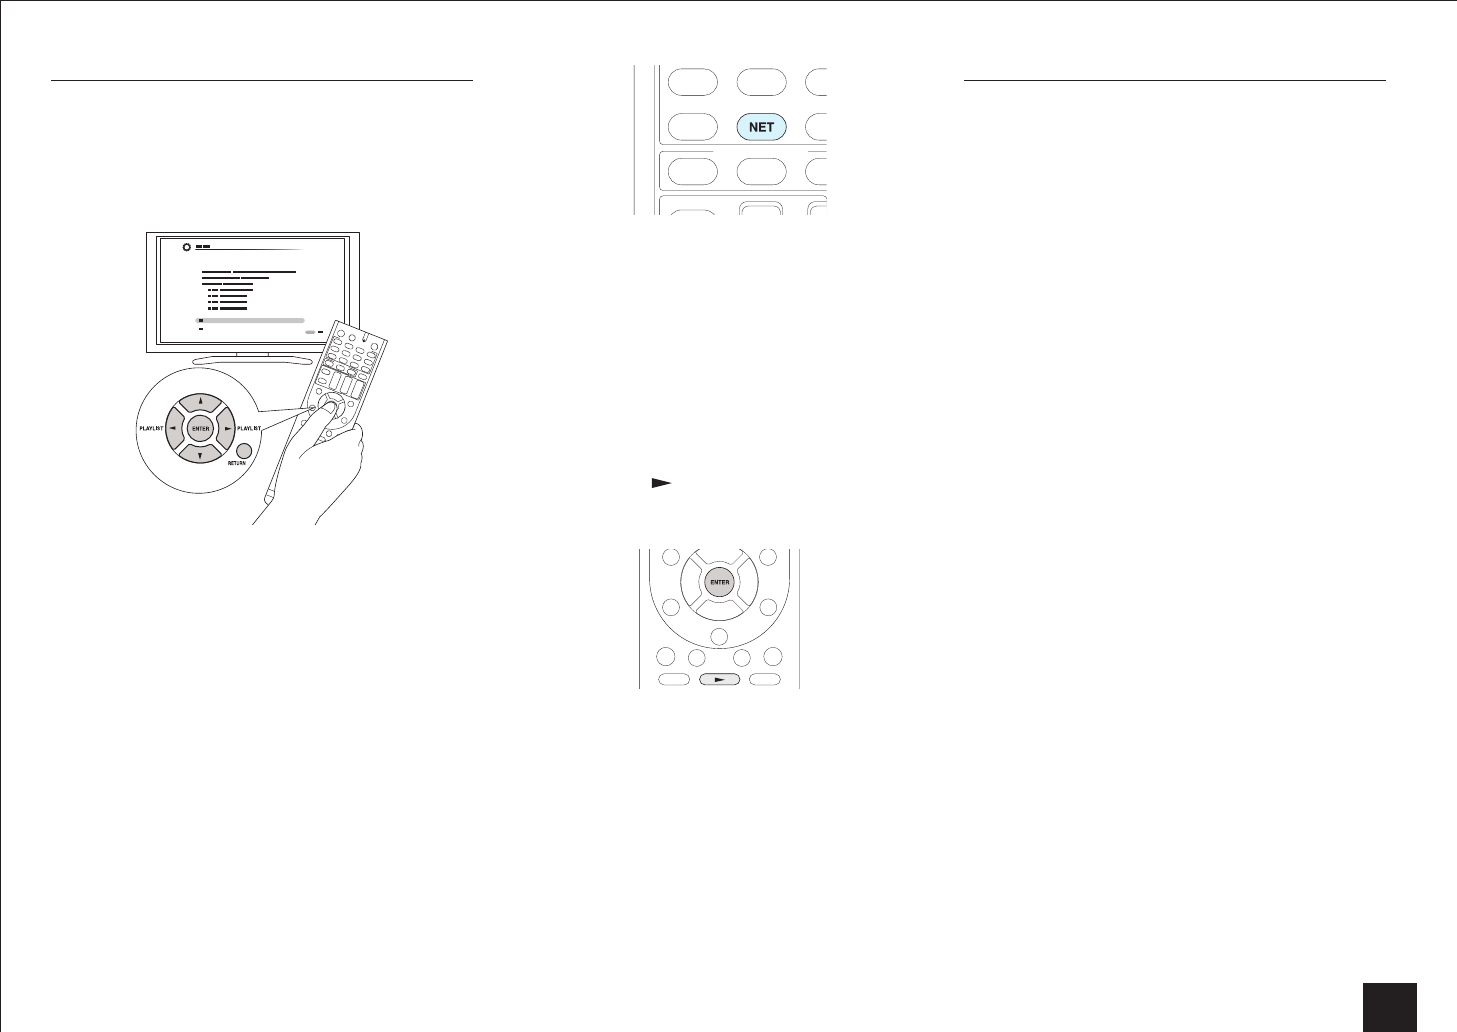
5.
Select a music file to play using the cursor buttons, and
press ENTER or to start playback.
If "No Item" is displayed, check whether the network
is properly connected.
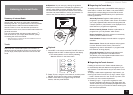
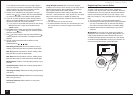
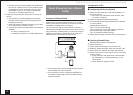
Controlling Remote Playback from a PC
You can use this unit to play music files stored on your PC
by operating the PC inside your home network. This unit
is capable of remote playback via Windows Media Player
12. To use the remote playback function, you must first
configure Windows Media Player 12.
Using a DLNA-compatible controller (such as an
Android application), you can select a music file stored
on Windows Media Player 12 and stream to this unit
by operating the controller. For information on how to
remotely play using the controller, refer to the controller's
instruction manual.
■
Configuration on PC
1.
Turn on your PC and start Windows Media Player 12.
2.
In the "Stream" menu, select "Turn on media streaming".
A dialog box is displayed.
If media streaming is already turned on, select "More
streaming options..." in the "Stream" menu to list
players in the network.
Proceed to step 4.
3.
Click "Turn on media streaming". A list of players in the
network is displayed.
4.
Select this unit in "Media streaming options" and check
that it is set to "Allow".
5.
Click "OK" to close the dialog box.
6.
Open the "Stream" menu and check that "Allow remote
control of my Player..." is checked.
■
Remote playback
1.
Turn on the power of the unit.
2.
Turn on your PC and start Windows Media Player 12.
3.
Select the music file to play with Windows Media Player
12 and right-click.
To remotely play a music file on another server, open
the target server from "Other Libraries" and select
the music file to play.
4.
Select this unit in "Play to". The "Play to" window of
Windows Media Player 12 opens and the music file
starts playing on the unit.