


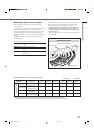

27
6
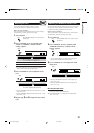
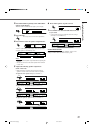
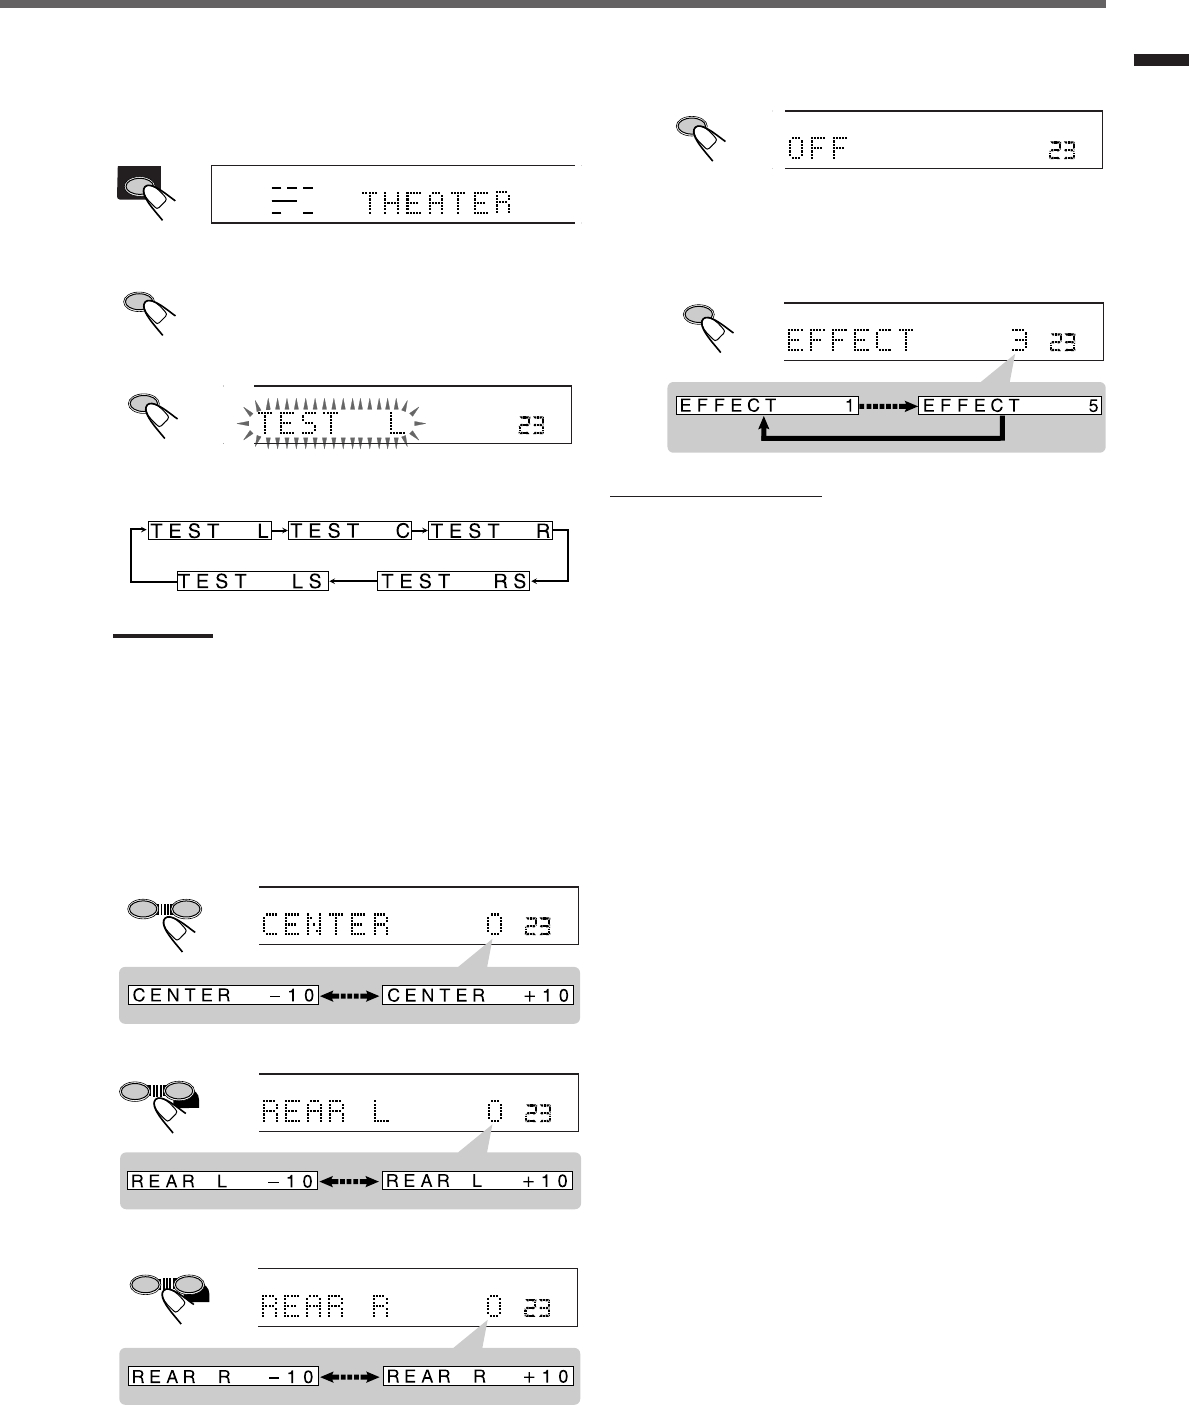
Press TEST again to stop the test tone.
7
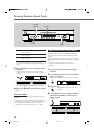
Press EFFECT to select the DSP effect level (1 to
5) you want.
• As the number increases, the DSP effect becomes stronger
(normally set it to “EFFECT 3”).
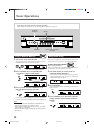
To cancel Theater Surround
Press DSP MODE repeatedly until “STEREO” appears on the
display. The PRO LOGIC and DSP indicators go off.
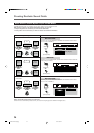
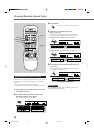
2
Press DSP MODE repeatedly until “THEATER”
appears on the display.
The PRO LOGIC and DSP indicator light up on the display.
3
Press SOUND.
The 10 keys now work for sound adjustments.
4
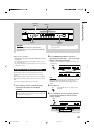
Press TEST to check the speaker output balance.
“TEST L” starts flashing on the display, and a test tone comes
out of the speakers in the following order:
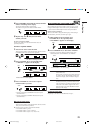
Notes:
• You can adjust the speaker output levels without outputting the
test tone.
• No test tone comes out of the center speaker when “CTR SP”
is set to “NO.”
5
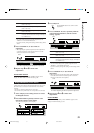
Adjust the following speaker output levels
(from –10 to +10).
• Make adjustments so that the sound level of the selected
speaker is set at the same level as that of the front speakers.
To adjust the center speaker level, press CENTER +/–.
To adjust the left rear speaker level, press REAR•L +/–.
To adjust the right rear speaker level, press REAR•R +/–.
Creating Realistic Sound Fields
ANALOG
PRO LOGIC
SUBWFR
DSP
LR
DSP MODE
O
LOGIC
VOL
T
L AUTO
P
UT ATT
P
SOUND
1
TEST
(Left front speaker)
(Left rear speaker)
(Right rear speaker)
(Center speaker)
(Right front speaker)
1
TEST
GIC
VOL
UTO
TT
ANALOG
PRO LOGIC
SUBWFR
VOL
DSP
LR
LS S RS
4
EFFECT
5
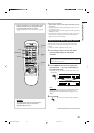
ANALOG
PRO LOGIC
SUBWFRLFE
VOL
DGTL AUTO
INPUT ATT
DSP
LCR
LS S RS
LPCM
DOLBY D
DTS
ANALOG
PRO LOGIC
SUBWFRLFE
VOL
DGTL AUTO
INPUT ATT
DSP
LCR
LS S RS
LPCM
DOLBY D
DTS
ANALOG
PRO LOGIC
SUBWFRLFE
VOL
DGTL AUTO
INPUT ATT
DSP
LCR
LS S RS
LPCM
DOLBY D
DTS
98
– REAR•L +
5
MENU
– REAR•R +
ENTER
+10
0
6
5
– CENTER +
5
EN22-31.RX-E100SL[J]_f 01.3.7, 2:53 PM27