


58
To change the transmittable signals for operating a
CATV converter or DBS tuner ——————————
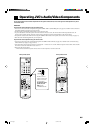
1. Set the remote control mode to “CATV/DBS.”
2. Press and hold TV/CATV/DBS POWER.
3. Press TV/DBS.
4. Enter manufacturer’s code (three digits) using
buttons 1–9, and 0.
See the list on page 60 to find the code.
Examples: For a JVC product, press 7, 7, then 5.
For a Pioneer product, press 1, 4, then 4.
5. Release TV/CATV/DBS POWER.
After setting the remote control mode selector to “CATV/
DBS,” you can perform the following operations on the CATV
convertor or on the DBS tuner:
TV/CATV/DBS POWER: Turns on and off the CATV converter
or DBS tuner.
CHANNEL +/– : Changes the channels.
1 – 10, 0, 100+ (+10) : Selects the channel.
100+ (+10) button will function as the
ENTER button if your equipment
requires pressing ENTER after selecting a
channel number.
Note:
• Refer to the manual supplied with your CATV converter or
DBS tuner.
6. Try to operate your CATV converter or DBS tuner by
pressing TV/CATV/DBS POWER.
When your CATV converter or DBS tuner turns on or off, you
have entered the correct code.
If there are more than one code listed for your brand of CATV
converter or DBS tuner, try each one until the correct one is
entered.
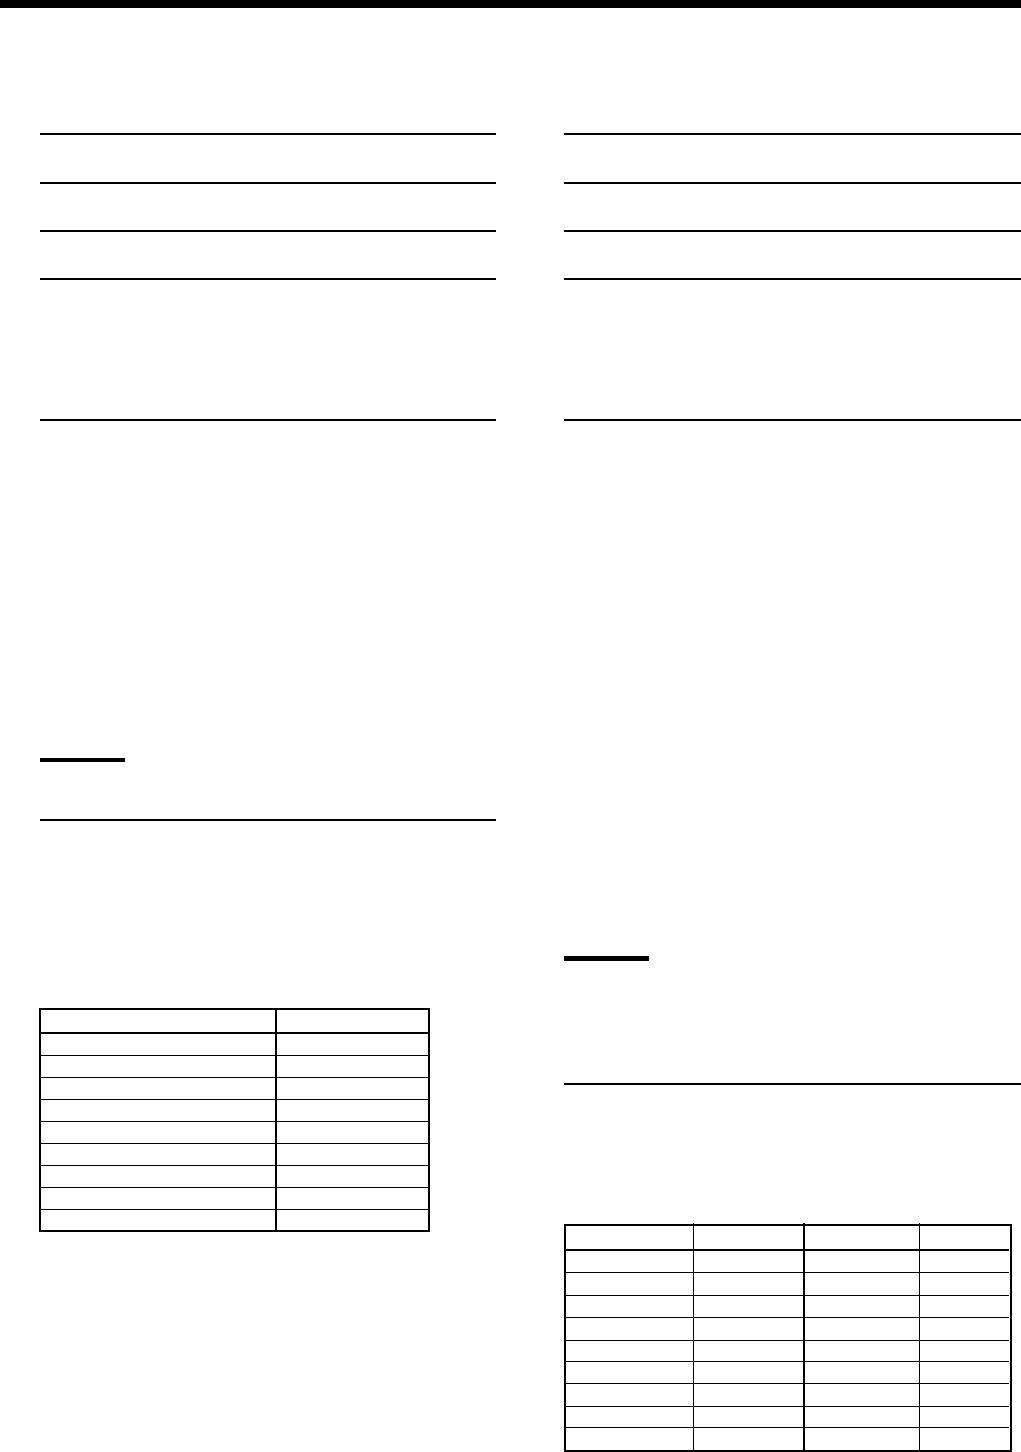
Manufacturer Code
ECHOSTAR 21
GI JERROLD 01, 02, 03, 04, 05,
06, 07, 08
HAMLIN/REGAL 15, 16, 17, 18
PIONEER 13, 14
RCA 19
SCIENTIFIC ATLANTA 09, 10
SONY 20
ZENITH 11, 12
Manufactures’ codes are subject to change without notice. If they
are changed, this remote control cannot operate the equipment.
To change the transmittable signals for operating
another manufacturer’s VCR ——————————
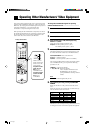
1. Set the remote control mode to “AUDIO/TV/VCR.”
2. Press and hold VCR POWER.
3. Press VCR.
4. Enter manufacturer’s code (three digits) using
buttons 1–9, and 0.
See the list on pages 61 and 62 to find the code.
Examples: For a JVC product, press 0, 0, then 8.
For a Funai product, press 0, 0, then 0.
5. Release VCR POWER.
Following button can be used for operating the VCR (with the
remote control mode selector set to “AUDIO/TV/VCR”):
VCR POWER : Turns on and off the VCR.
After pressing VCR or VCR CONTROL (with the remote
control mode selector set to “AUDIO/TV/VCR”), you can
perform the following operations on the VCR:
PLAY : Starts playback.
1 : Rewinds a video tape.
¡ : Fast winds a video tape.
STOP : Stops operation.
PAUSE : Pauses.
¶ REC : Starts recording or enters recording pause.
After pressing VCR:
CHANNEL +/– : Changes the TV channels on the VCR.
1 – 10, 0, 100+ (+10) : Selects the TV channels.
100+ (+10) button will function as the
ENTER button if your VCR requires
pressing ENTER after selecting a channel
number.
Notes:
• Refer to the manual supplied with your VCR.
• You can use either VCR button or the VCR CONTROL
button to activate the buttons listed above. If you press VCR,
the playing source also changes. On the other hand, if you
press VCR CONTROL, the playing source does not change.
6. Try to operate your VCR by pressing VCR POWER.
When your VCR turns on or off, you have entered the correct
code.
If there are more than one code listed for your brand of VCR,
try each one until the correct one is entered.
Manufacturer Code Manufacturer Code
JVC 01, 02, 03 PHILIPS 09
EMERSON 11, 26 RCA 05, 06
FISHER 29 SAMSUNG 24
FUNAI 10, 14, 15, 16 SANYO 21, 22, 23
GOLD STAR 12 SHARP 27, 28
HITACHI 04 SHINTOM 30
MITSUBISHI 13 SONY 18, 19, 20
NEC 25 ZENITH 08
PANASONIC 07, 17
Manufactures’ codes are subject to change without notice. If they
are changed, this remote control cannot operate the equipment.
Operating Other Manufacturers’ Video Equipment
TH-A10[J]7/1 00.2.24, 14:5958