


13
Insignia NS-H3005 Home Theater System
www.insignia-products.com
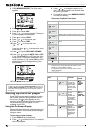
3 Press to choose SOURCE SELECT, then
use or to select TUNER. Press or
repeatedly to switch among TUNER, LINE1
or LINE2.
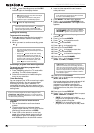
4 Press or to choose AUTO CHANNEL
SET, then use or to search for
channels. The tuner automatically cycles
through all available channels in the area and
stores them in the tuner’s memory.
5 After the Auto Channel Programming is
complete, make sure that the TUNING BAND
is set appropriately (TV or CATV). Select the
correct TUNING BAND (TV or CATV) with
or while in the Tuning menu.
Remember, TV is for the air antenna
reception, CATV is for cable or wireless cable
connection.
6 Press MENU to return to the television
screen.
7 Press CH/PRESET (-/+) on the front panel or
or on the remote control to change the
channel on the VCR.
Adding or erasing channels
This feature lets you add or erase channels from
memory manually.
To add or erase channels from memory:
1 Press MENU. The Main menu appears.
2 Press or to select TUNING, then press
MEMORY/ENTER. The Tuning menu
appears.
3 Press to choose CH. ADD/DEL on the
Tuning menu.
4 Press or to select a channel to add or
erase.
5 Press MEMORY/ENTER to add or erase the
channel.
6 Repeat steps 3 through 5 to add or erase
channels.
7 Press MENU to close the menu.
Setting the clock
The home theater system gives you two ways to
set the time and date: the Auto Clock Feature or
manually. The Auto Clock feature enables the
home theater system to set up the clock while
the home theater system is turned off.
Auto Clock Set
The Auto Clock Set feature is set to ON at the
factory. In the ON setting, the home theater
system looks for a channel carrying XDS
(Extended Data Services) information. XDS
updates the clock using the Coordinated
Universal Time.
To use Auto Clock Set:
1 Press MENU. The Main menu appears.
2 Press or to choose CLOCK, then press
MEMORY/ENTER. The Clock menu appears.
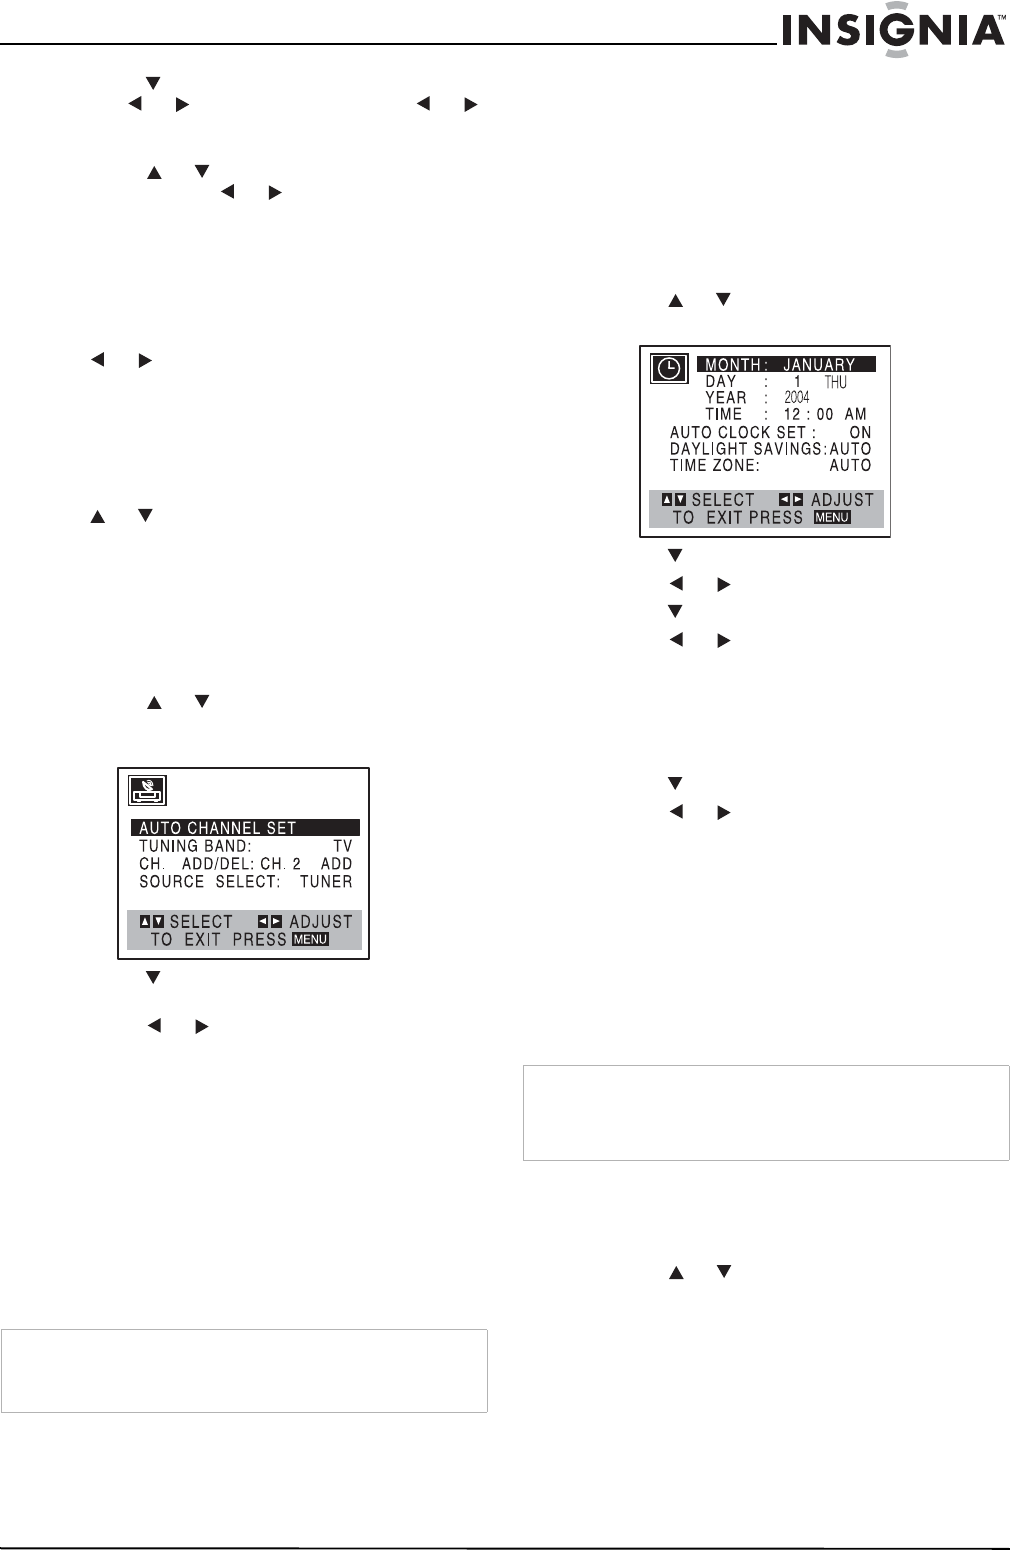
3 Press to choose AUTO CLOCK SET.
4 Press or to choose ON.
5 Press to choose DAYLIGHT SAVINGS.
6 Press or to choose AUTO, ON, or OFF.
If you choose AUTO, the VCR sets the clock
using the Daylight Saving Time information
broadcast in the signal (channel).
If you choose ON, the VCR adjusts the clock
for Daylight Saving Time automatically.
7 Press to choose TIME ZONE.
8 Press or to choose the correct time
zone (AUTO, EASTERN, CENTRAL,
MOUNTAIN, PACIFIC, ALASKA, or
HAWAII).
If you select AUTO as the time zone, the VCR
sets the clock using the first Coordinated
Universal Time information it finds in a
broadcast signal.
9 Press MENU when finished.
10 Turn off the home theater system and the
auto clock set feature sets the time.
Setting the clock manually
To manually set the clock:
1 Press MENU. The Main menu appears.
2 Press or to choose CLOCK.
Note
The clock uses the 12-hour system. Be sure to set AM and PM
correctly. AM does not appear on the display.
The initial clock setting is January 1, 2006, 12:00 AM.
Note
There are cases where the television station does not send or
sends wrong date and/or time information and the home
theater system sets the incorrect time. If this happens we
recommend that you set the clock manually.