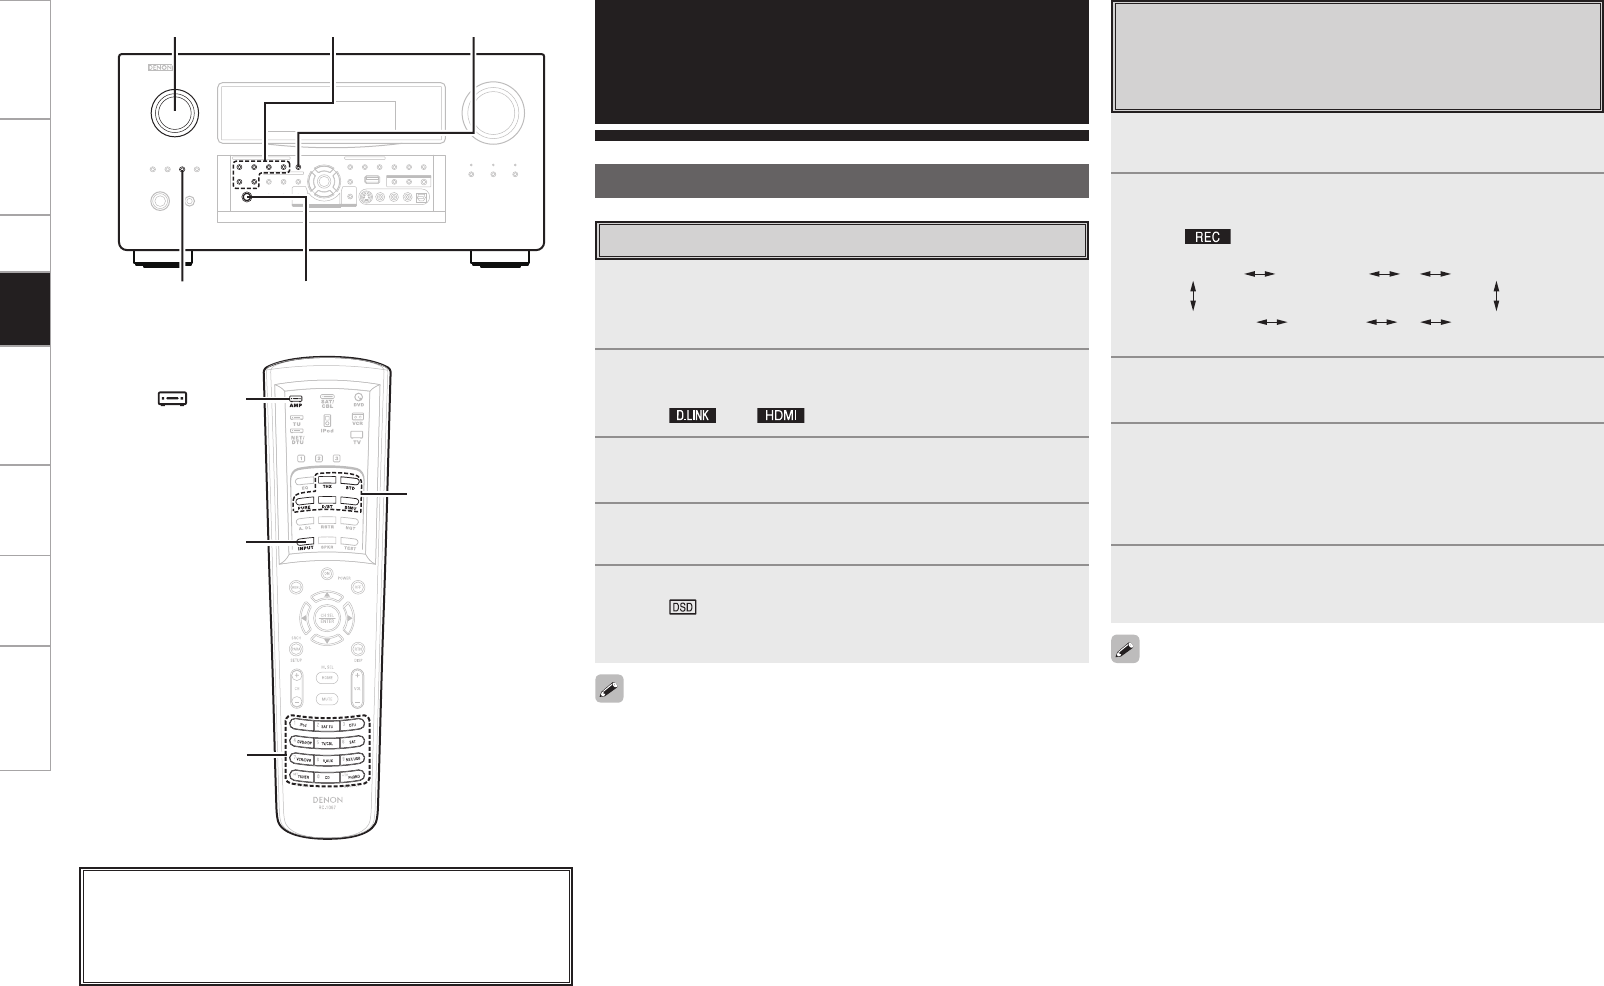
SOURCE SELECT INPUT MODE
<ZONE2/3/4 /
REC SELECT>
<PHONES>
INPUT MODE
[ AMP]
SOURCE
SELECT
About the button names in these explanations
< > : Buttons on the main unit
[ ] : Buttons on the remote control unit
Button name only:
Buttons on the main unit and remote control unit
Surround mode
Other Operations and
Functions
Other Operations
Playing Super Audio CD
1
Assign “DENON LINK” with the “Digital” setting or
assign “HDMI” with the “HDMI” setting (vpage
46).
2
Either turn <SOURCE SELECT> or press [SOURCE
SELECT] to select the input source assigned in step 1.
The “ ” or “ ” indicator lights on the display.
3
Select “AUTO” for the INPUT MODE (vpage 45).
4
Select the surround mode (vpage 48 ~ 50).
We recommend playing in the DIRECT mode.
5
Start playing the Super Audio CD.
The “ ” indicator lights on the display.
For operating instructions, refer to the respective equipment’s
operating instructions.
• When playing DSD signals in the DIRECT or PURE DIRECT mode,
the DSD signals are converted as such into analog signals. When
playing in other surround modes, the DSD signals are first converted
into PCM format, then into analog signals.
• “DSD DIRECT” is shown on the display when playing DSD 2-channel
signals in the DIRECT mode. “DSD MULTI DIRECT” is shown on
the display when playing DSD multi--channel signals in the DIRECT
mode.
• The DSD signal may not be output depending on the equipment
that is connected.For further details, refer to the user manual for the
equipment being used.
Recording on an External Device
(REC OUT mode)
You can listen to one program source while recording a different
program source.
1
Press <ZONE2/3/4 / REC SELECT>.
“ZONE3 SOURCE” is shown on the display.
2
Turn <SOURCE SELECT> until “RECOUT SOURCE”
is displayed.
The “ ” indicator lights.
ZONE3 SOURCE ZONE3 TUNER ZONE3 HD Radio····
RECOUT HD Radio RECOUT XM RECOUT SOURCE····
3
Turn <SOURCE SELECT> to choose the input source
to be recorded.
4
Play the program source.
For operating instructions, refer to the respective equipment’s
operating instructions.
To record FM or AM broadcasts, select the broadcast (vpage
57).
5
Start recording.
For operating instructions, refer to the respective equipment’s
operating instructions.
• To cancel, press <ZONE2/3/4 / REC SELECT>, then turn <SOURCE
SELECT> until “ZONE3 SOURCE” is displayed.
• Make a test recording before starting the actual recording.
• Signals are only output to the analog REC OUT connectors when
the digital signals input to the digital input connectors (OPTICAL/
COAXIAL) are PCM (2-channel) signals.
• Digital audio signals input to the DENON LINK or HDMI connectors
are not output to the REC OUT connectors, so connect using the
OPTICAL or COAXIAL connectors.
• Sources selected with the REC OUT mode are output from ZONE3
as well.
• In the REC OUT mode, the remote control unit’s ZONE3 mode
buttons cannot be operated.
• When the “Digital Out” setting is set to “ZONE4 Select”, the
OPTICAL4 output connector becomes the ZONE4 output. When
using for recording, set to “Rec Select”.
• Copyright protected network audio (Internet radio, media server,
USB and Rhapsody) signals cannot be output from the digital output
connectors (OPTICAL).
Surround mode
Getting Started Connections Setup Playback Remote Control Multi-Zone Information Troubleshooting
AVPA1HDCIEU_0121.indd 72 2008/01/21 12:49:59


