


MSWU-81E 29/09/2014
11
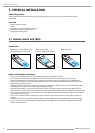
2.General
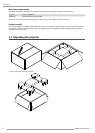
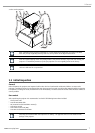
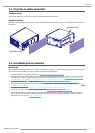
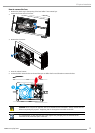
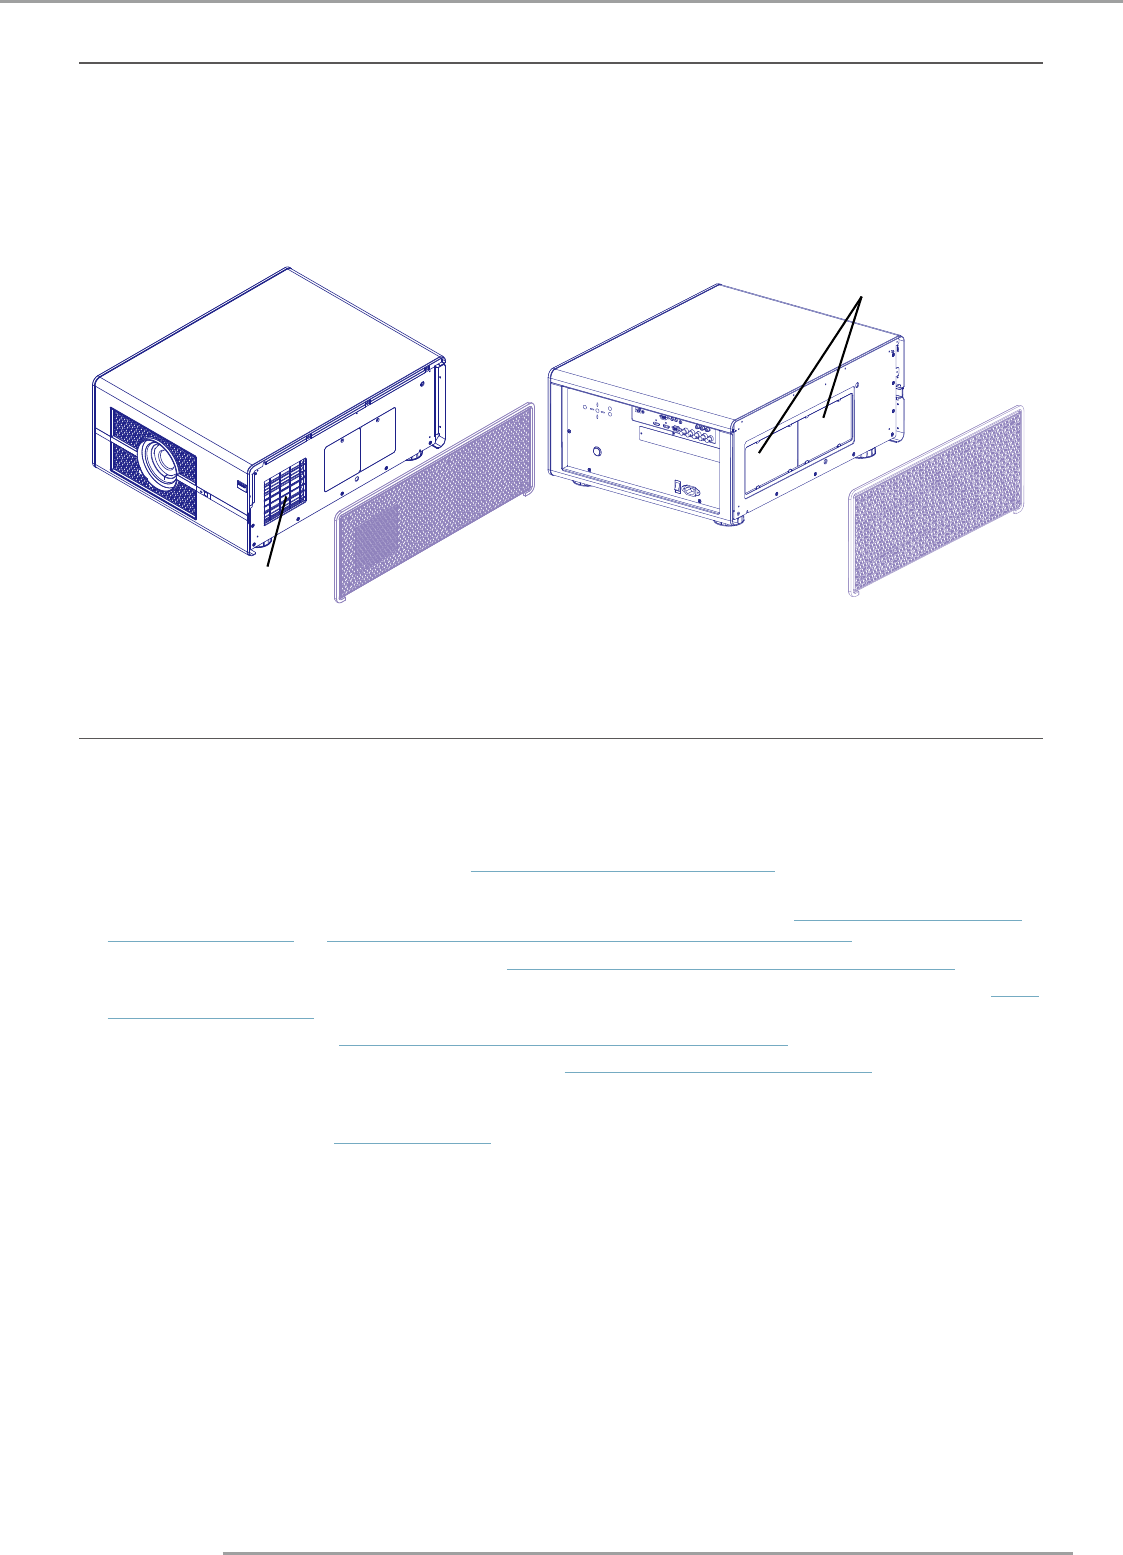
2.5 Projector air inlets and outlets
Ventilation inlet:
The internal cooling fan draws cool air from the ventilation inlet into the projector.
Ventilation outlet:
The hot air generated inside the projector is dispersed through the ventilation slot. Make sure the ventilation slot is free from
obstruction.
Ventilation inlet
Ventilation outlet
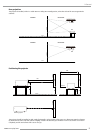
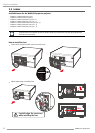
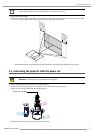
2.6 Installation process overview
Quick setup
The following steps describe briefly how to setup your MSWU-81E projector in a table mount front projection. Note that each
step refers to a corresponding procedure, which is more detailed and illustrated.
1.
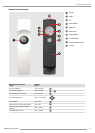
Install the batteries of the remote control. See page 12: 3.1 Remote control unit (RCU)
2.
Place the projector on a solid table in front of the screen at the expected throw distance. Adjust the feet to ensure that
the projector is installed at right angles (horizontally and vertically) with the screen. See page 19: 3.4 Alignment of a
table mounted projector and page 33: 5.9 Adjusting the lens by horizontal and vertical lens shift
3.
Connect the projector with the local power net. See page 17: 3.3 Connecting the projector with the power net
4.
Select and install an appropriate lens, which covers the throw ratio ( = screen size / projector screen distance). See page
9: Positioning the projector
5.
Switch ON the projector. See page 17: 3.3 Connecting the projector with the power net
6.
Connect your source to the appropriate input module. See page 22: 4.3 Input and Communication
7.
Zoom and shift the lens until the image is properly projected on the screen, Do this by using the “ZOOM” and “FOCUS”
key on the remote control unit or on the local keypad. If necessary, level the projector from side to side by turning the
adjustable feet in or out. See page 16: Lens zoom.