C2630M-B (4/08) 15
HARDWARE UPGRADES
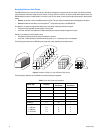
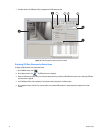
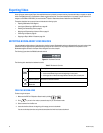
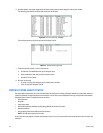
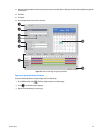
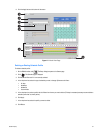
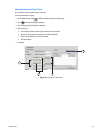
Pelco provides hardware options for upgrading the DX8100 memory, channel input, analog video output, audio input capacity, and hard disk
storage. For information about DX8100 upgrade options, refer to the DX8100 product specification sheet. Hard disk upgrades are available as
follows:
1. Not all products are capable of being upgraded for additional hard drive space. For information on whether a particular model can be
upgraded, consult the relevant installation/operation manual or technical support department at Pelco.
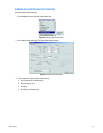
2. If a hard disk upgrade is possible, it is available through Pelco at established prices and is subject to the usual 24-hour turnaround for service.
When a larger hard drive is being substituted for a smaller one, the smaller drive will be returned to the customer along with the upgraded unit.
While Pelco will perform all upgrades with the utmost consideration and care, Pelco cannot guarantee that any of the data and/or video stored
on the existing hard drives will not be lost or damaged. Pelco is not responsible for damage or loss of data.
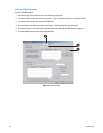
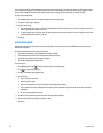
STARTING AND SHUTTING DOWN THE DX8100
This section describes how to start and shut down the DX8100 and includes the following topics:
• Starting the DX8100
• Shutting Down the DX8100
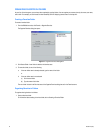
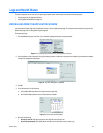
For information on logging in to the DX8100, refer to Logging In to the DX8100 Application on page 17.
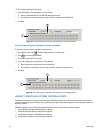
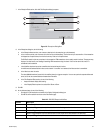
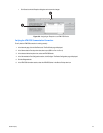
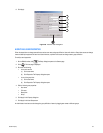
STARTING THE DX8100
To start the DX8100:
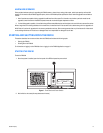
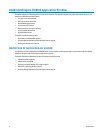
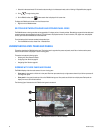
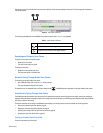
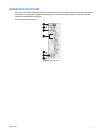
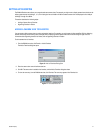
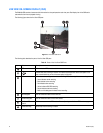
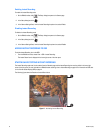
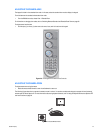
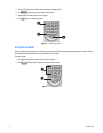
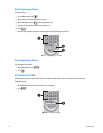
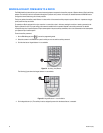
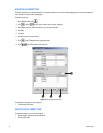
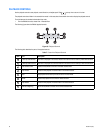
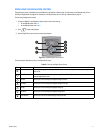
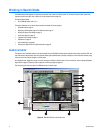
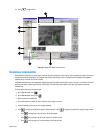
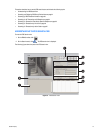
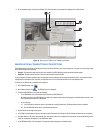
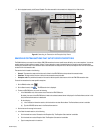
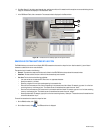
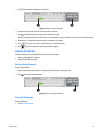
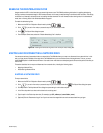
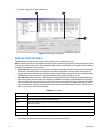
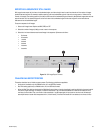
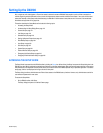
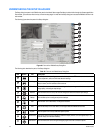
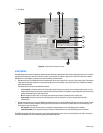
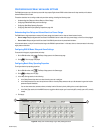
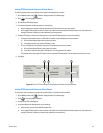
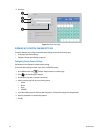
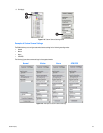
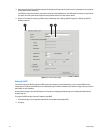
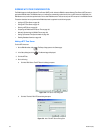
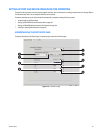
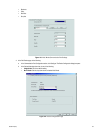
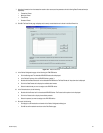
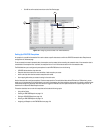
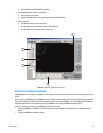
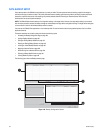
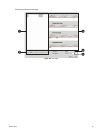
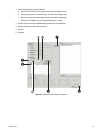
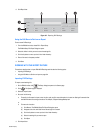
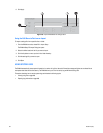
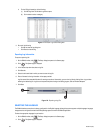
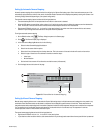
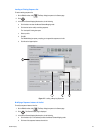
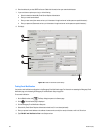
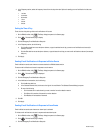
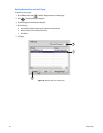
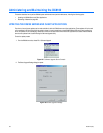
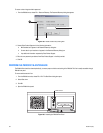
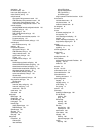
1. Once the system is installed, open the front panel of the DVR and press the power switch.
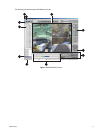
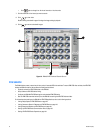
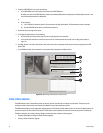
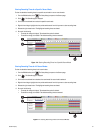
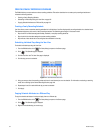
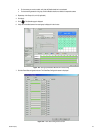
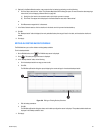
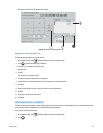
Figure 1. Front Panel and Power Switch
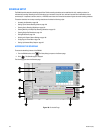
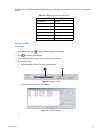
2. Wait while the unit starts (this may take several minutes).
POWER HDD
USB
ᕡ