


Preparing the CRW-F1 Drive
17
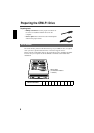
The following describes how to install the CRW-F1 drive as an additional drive for
example.
1
Prepare to install.
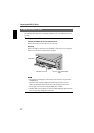
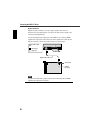
Installing the CRW-F1 drive as an additional drive
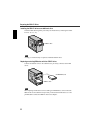
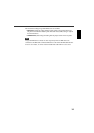
Remove the front cover from the 5 ¼-inch drive bay.
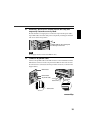
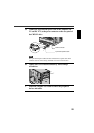
Replacing
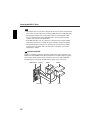
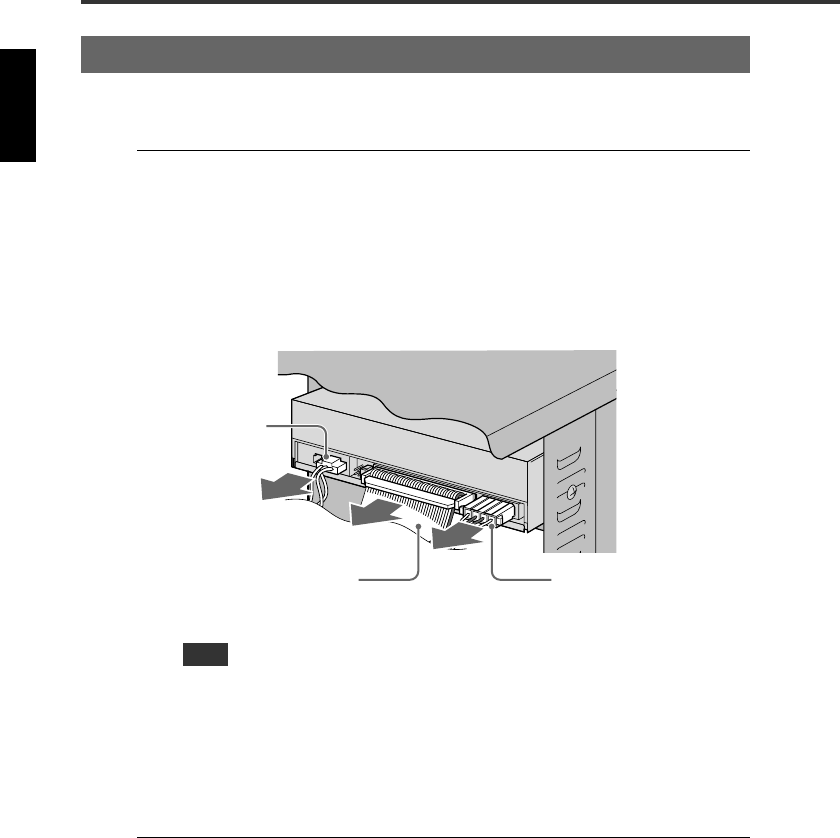
Remove all cables connected to the CD-ROM or other devices to be replaced.
Then remove the device itself from the computer.
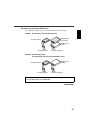
• Be careful not to damage the various cables connected to the rear panel of the
CD-ROM drive.
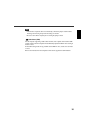
• The audio cable is usually caught by the hook at the top of the connector.
Release the hook and remove the connector without using excessive force.
• Do not apply excessive force to the CD-ROM drive or cables.
• Hold the cable by the connector to remove the cable. Pulling the cable itself with
excessive force may damage the wires inside.
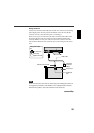
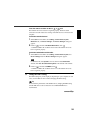
3 Install the CRW-F1 Drive
Note
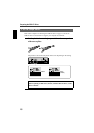
Audio cable
IDE cable 4-pin internal power
cable