


43
masterpage:Rightfilename[\\Win-35\logitecmo\422958711MDSJE640CED\01GB03OPE-CED.fm]
Using a timer
Other Functions
model name1[MDS-JE640] model name2[MDS-JE440]
[4-229-587-11(1)]
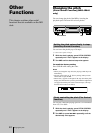
Using a timer
(MDS-JE640 only)
By connecting a timer (not supplied) to the deck, you can
start and stop playing/recording operations at specified
times. For further information on connecting the timer or
setting the starting and ending times, refer to the
instructions that came with the timer.
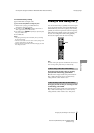
1
Do steps 1 to 3 of “Playing an MD” on page 23.
2
Press PLAY MODE repeatedly to select the play
mode you want.
To play only specific tracks, create a program (see
page 27).
To specify the time for the end of playing, press
H
to
start playing, then go to step 3.
3
Set TIMER on the deck to PLAY.
4
Set the timer as required.
•
When you have set the time for the start of playing,
the deck turns off. When the specified time arrives,
the deck turns on and starts playing.
•
When you have set the time for the end of playing,
play continues. When the specified time arrives, the
deck stops playing and turns off.
•
When you have set the time for both the start and
end of playing, the deck turns off. When the starting
time arrives, the deck turns on and starts playing.
When the ending time arrives, the deck stops
playing and turns off.
5
After you have finished using the timer, set TIMER
on the deck to OFF.
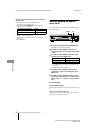
1
Do the following steps of “Recording to an MD” on
page 13 according to how you want to use the
timer.
2
Set TIMER on the deck to REC.
3
Set the timer as required.
•
When you have set the time for the start of
recording, the deck turns off. When the specified
time arrives, the deck turns on and starts recording.
•
When you have set the time for the end of recording,
recording continues. When the specified time
arrives, the deck stops recording and turns off.
•
When you have set the time for both the start and
end of recording, the deck turns off. When the
starting time arrives, the deck turns on and starts
recording. When the ending time arrives, the deck
stops recording and turns off.
4
After you have finished using the timer, set TIMER
on the deck to OFF. Then change the deck to
standby mode by plugging the AC power cord of
the deck into a wall outlet or set the timer to
continuous operation.
•
If TIMER is left at REC, the deck will automatically
start recording the next time you turn on the deck.
•
If you do not change the deck to standby mode for
more than a week after timer recording has finished,
the recorded contents may disappear.
Make sure to change the deck to standby mode
within a week after timer recording is
completed.
The TOC on the MD is updated and recorded contents are
written to the MD when you turn on the deck. If the
recorded contents have disappeared, “Initialize” flashes
when you turn on the deck.
Notes
•
It may take about 30 seconds after the deck is turned on until
recording starts. When recording at a specified time using the
timer, be sure to take this time into account when setting the
recording start time.
•
During timer recording, new material is recorded from the end
of the recorded portion on the MD.
•
Material recorded during timer recording will be saved to the
disc the next time you turn on the deck. “TOC Writing” will
flash in the display at that time. Do not disconnect the AC
power cord or move the deck while the indication flashes.
•
Timer recording will stop if the disc becomes full.
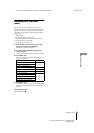
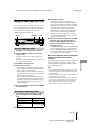
Playing an MD using a timer
Recording to an MD using a timer
To specify the time for Do
The start of recording Steps 1 to 6, then press
x
The end of recording Steps 1 to 9
Both start and end of
recording
Steps 1 to 6, then press
x
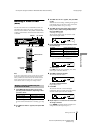
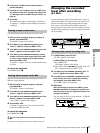
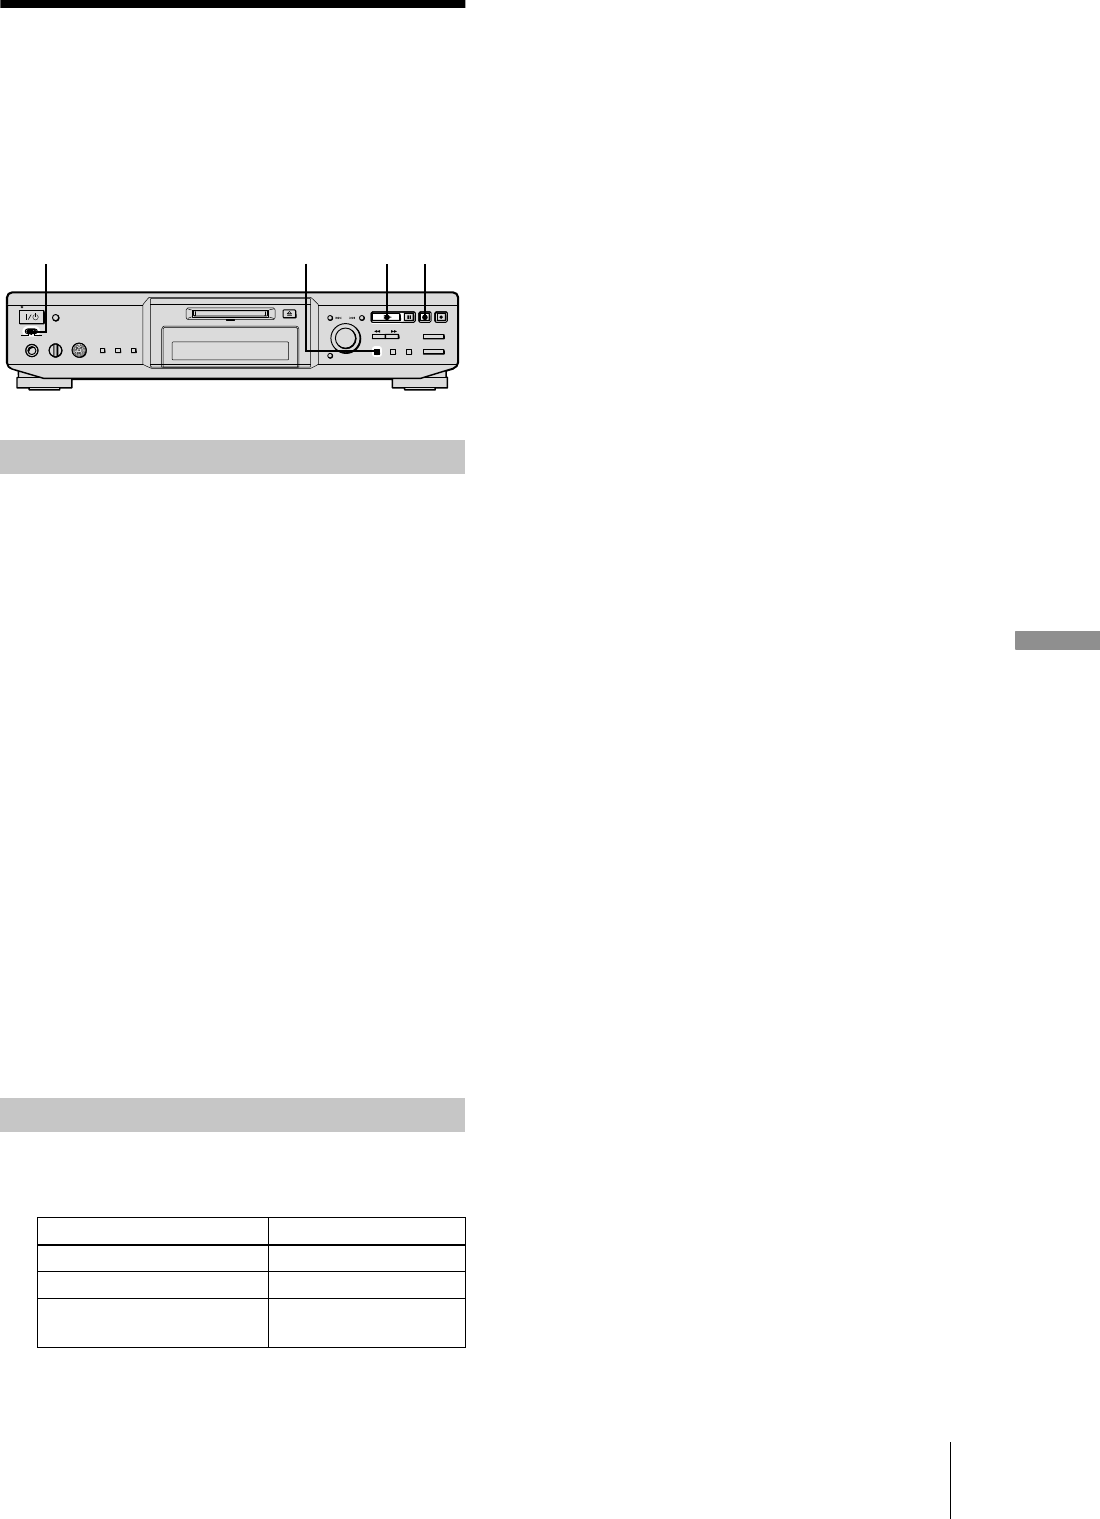
AMS
H x
PLAY MODE
TIMER