


Chapter 3 Preparations
47
3-5 Handling Discs
3-5-5 Formatting a Disc
An unused disc requires no formatting operation. The disc
is automatically formatted when loaded into this unit.
To format a recorded disc, load the disc into the unit, then
proceed as follows.
Note
When a recorded disc is formatted, all the data on the disc
is erased. (Locked clips (see page 62) are also erased.)
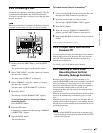
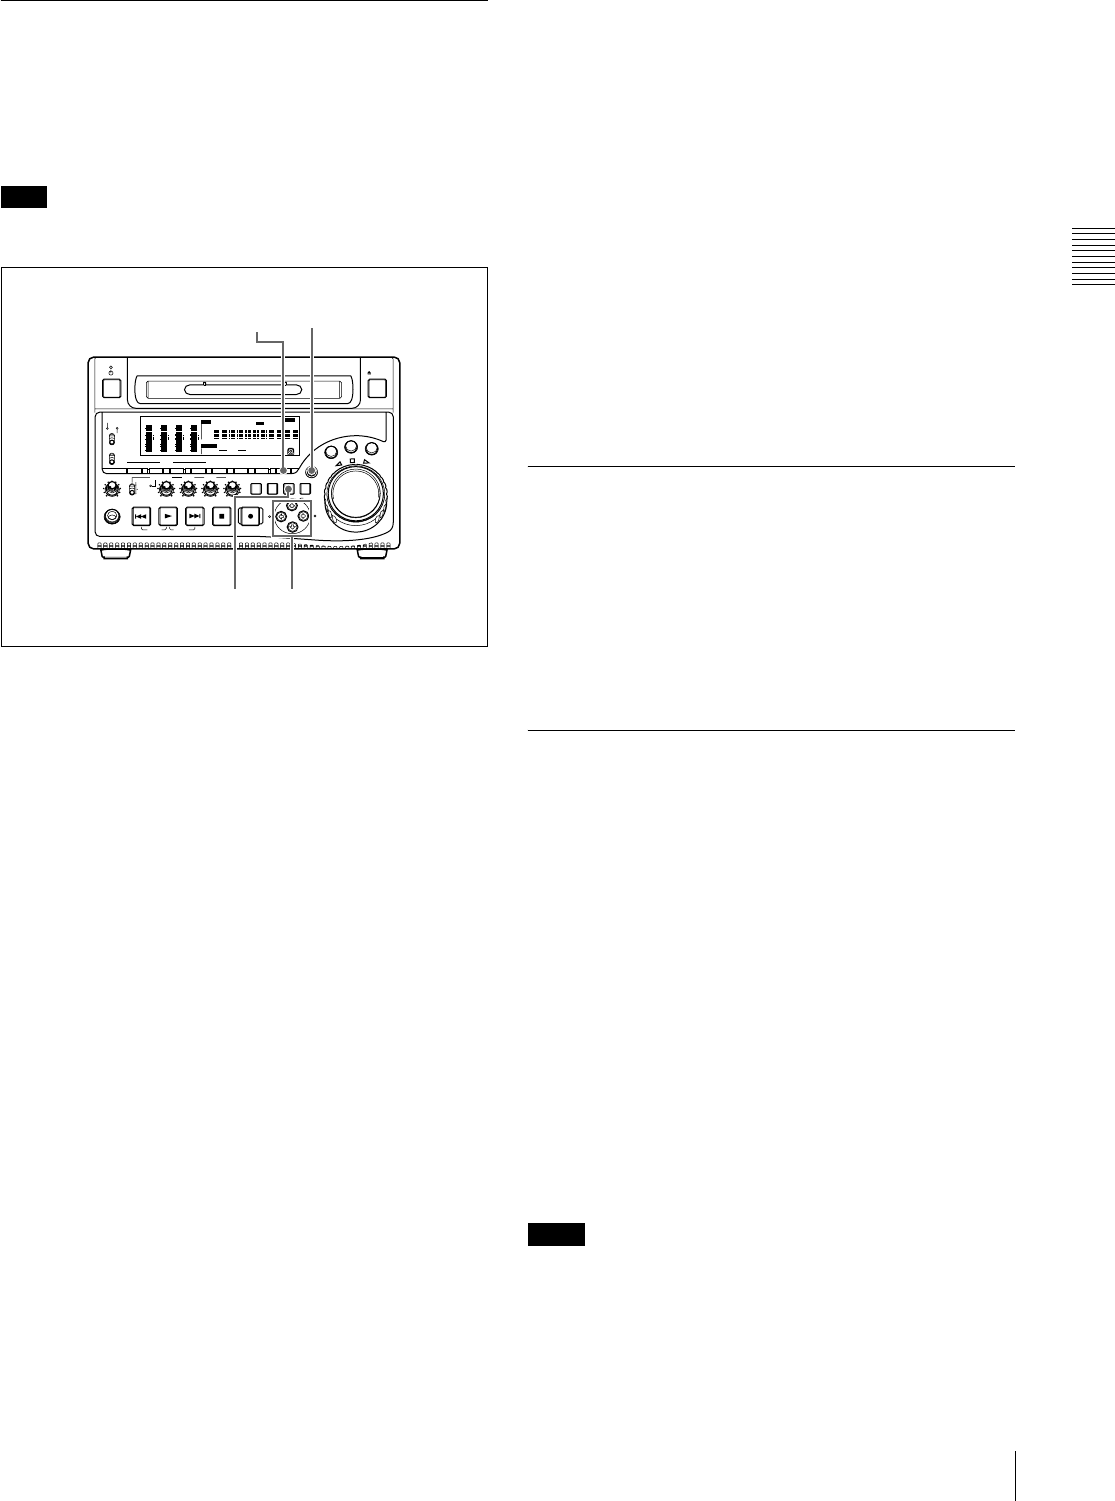
1
Holding down the SHIFT button, press the MENU
button.
The system menu appears on the monitor screen.
2
Select “DISC MENU” using the F button or f button,
then press the g button.
The menu item “FORMAT” is displayed.
3
Select “FORMAT” using the F button or f button,
then press the g button.
The menu item “QUICK FORMAT” is selected.
4
Press the g button.
The message “QUICK FORMAT OK?” appears.
To return to the previous menu page without
formatting the disc
Press the RESET button.
5
Press the SET button.
Formatting is completed and the message “FORMAT
COMPLETED.” appears.
6
Press the MENU button.
This exits the menu.
To format several discs in succession
1)
1
Carry out steps 1 to 5 in the previous procedure, and
then press the EJECT button to eject the disc.
2
Insert the next disc that you want to format.
The message “QUICK FORMAT OK?” appears.
3
Press the SET button.
4
When the message “FORMAT COMPLETED.”
appears, press the EJECT button to eject the disc.
5
Repeat steps 2 to 4 for all of the discs that you want to
format.
1) This is supported from firmware version 1.4.
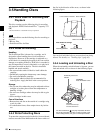
3-5-6 To Eject Discs With the Unit
Powered Off
As an emergency measure, disc cartridges can be removed
with the unit powered off. However, the cover must be
removed. This operation should always be done by a
trained service technician.
For details, refer to the Maintenance Manual.
3-5-7 Handling of Discs When
Recording Does Not End
Normally (Salvage Function)
Recording processing does not end normally if, for
example, the POWER switch on the rear panel is turned off
during recording, or if the power cord is disconnected
during recording. Because the file system is not updated,
video and audio data recorded in real time is not
recognized as files and clip contents recorded up to that
point are lost.
However, this unit has a salvage function which can hold
losses to the minimum by reconstructing clips on such
discs.
Note that no recorded clip contents are lost when the on/
standby switch on the front panel is set to standby, because
the unit does not enter standby mode until after the end of
recording processing.
Notes
• Do not set the POWER switch on the rear panel to off
until recording processing has finished and the ACCESS
indicator has gone out.
REC
VARIABLE
PRESET
PB
L
MIX
R
MONITOR
NETWORK
LOCAL
REMOTE
ACCESS
PHONES
TOP
F REV F FWD
END
PREV
NEXT
PLAY
AUDI O
MONITOR SEL
METER SEL INPUT CH INPUT SEL
VIDEO
INPUT SEL
COUNTER
SELECT
SUB
CLIP
THUMB
NAIL
SET RESET
SHIFT
EJECT
HOLD
STOP
REC
S
H
U
T
T
L
E
J
O
G
V
A
R
MARK1
ESSENCE
MARK
CLIP
MENU
S.SEL
MARK2
IN OUT
ALL/CH-1 CH-2 CH-3 CH-4
OVER
dB
-12
-20
-30
-40
-60
0
CH
-
15
SG DATA
ANASDI
AE8/EBU
OVER
dB
-12
-20
-30
-40
-60
0
CH
-
26
SG DATA
ANASDI
AE8/EBU
OVER
dB
-12
-20
-30
-40
-60
0
CH
-
37
SG DATA
ANASDI
AE8/EBU
OVER
dB
-12
-20
-30
-40
-60
0
CH
-
48
SG DATA
ANASDI
HOURS MINUTES SECONDS FRAMES
AE8/EBU
VITC VITCCOUNTER REC INHVIUB
EDIT KEY INHREMOTE
[
9P iLINK
]
INPUT
i.LINK
SDI
1/2
5/6
3/4
7/8
625
525
IMX
[
50 40 30
]
DVCAM
4 8 CH
18 24 BIT
CMPST
Y-R,B
SG
ALARM
MONITOR
AUDI O
SYS MENU
MENU
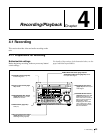
1
2,3,4
5
1,6